Chapter 3 Using EzDMC
|
PCI-DMC-A01 / PCI-DMC-B01
Step 2: User enters a custom User Key then click on "Make Verify Key" to
generate a verify key.
(The input and output will be 1 to 8 bits made up hexadecimal
values between 0 and F)
Step 3: Click on "Write" button to write the generated Verify Key.
(If write successful, block
➋
's status will display "Done". "Failed"
is displayed otherwise)
➍
Verify key confirmation field and status display.
Enter the 4 sets of Verify Key generated above into the 4 fields of Check
Verify Key then click on "Check Verify Key".
(If verification successful then "Pass" is displayed on the status bar below".
"Lock!" is displayed otherwise)
➎
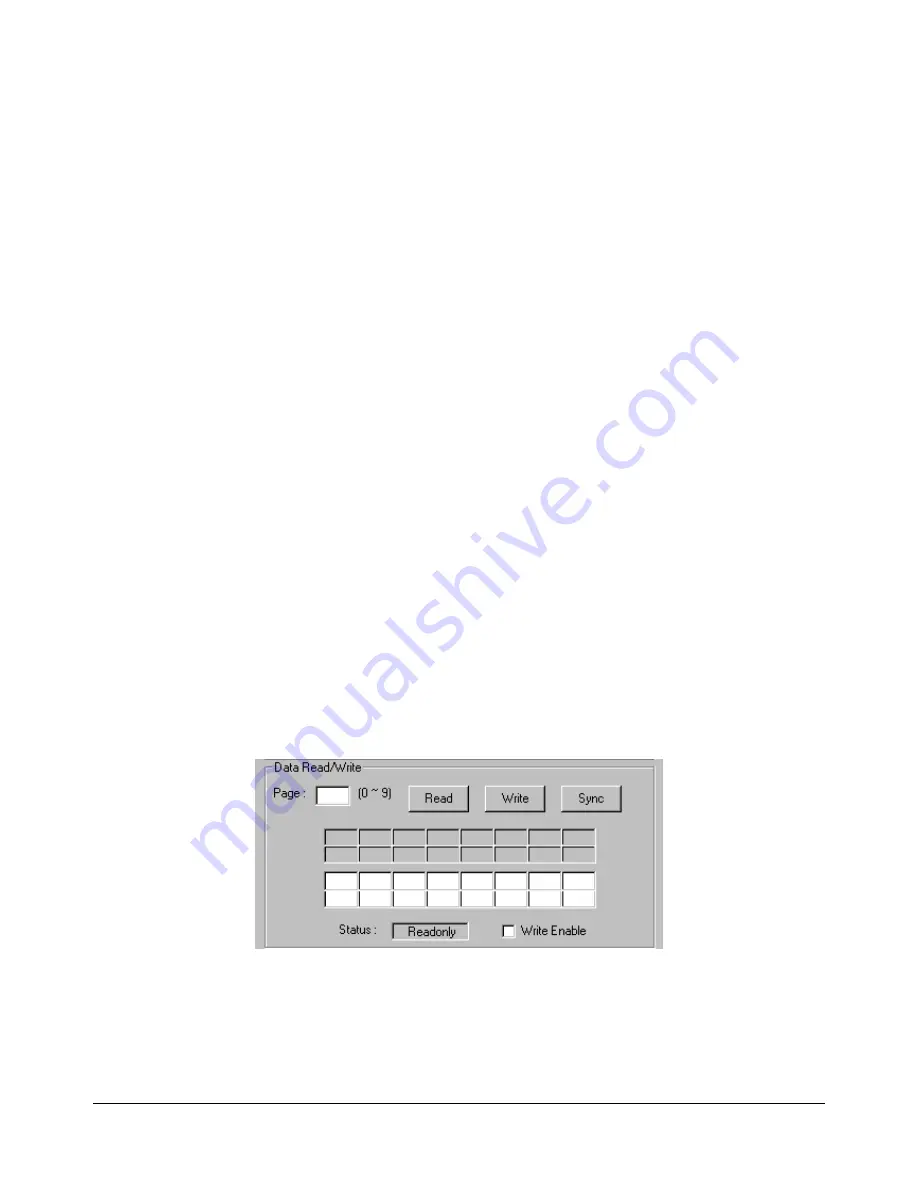
Data read and write area. (Please see Fig. 3.14 for details)
➏
Change password field.
Step 1: Enter two new passwords in the "Password" field. Each is 1-8 bits
in length and take hexadecimal values between 0~F.
Step 2: Enter the same password from "Password" in "Confirmation" again
for verification.
Step 3: If the two passwords in "Password" and "Confirmation" match,
clicking on "Write" will change the password. If the passwords do
not match, then block
➋
's status will show the error message
"Confirmation Error". The change password procedure must now
be repeated again.
Below is a more detailed description of block
➎
in Fig. 3.13
(1)
(2) (3) (4)
(5)
(6)
(7) (8)
Figure 3.14 Master Security block
➎
functions
3-10
Revised May, 2012


