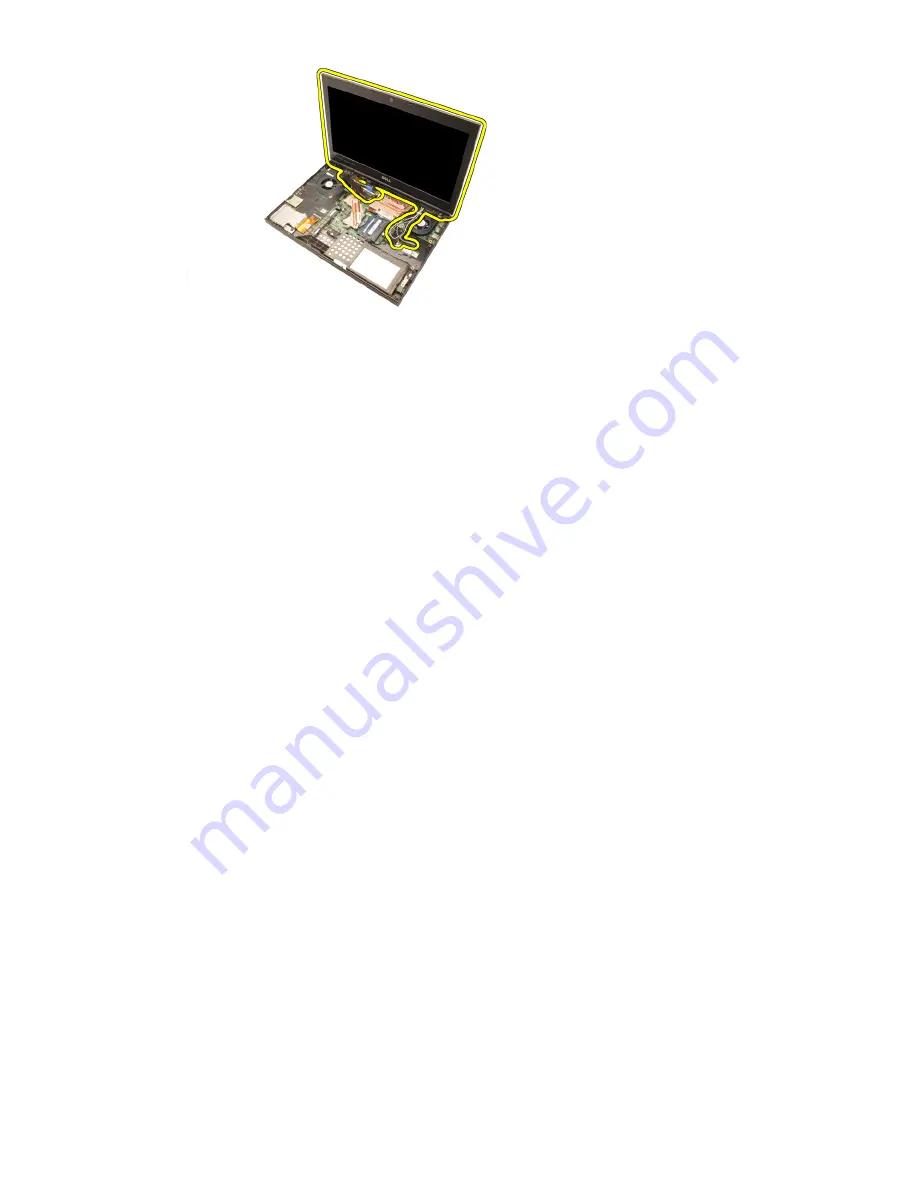
Installing The Display Assembly
1. Attach the display assembly to the base of the computer.
2. Tighten the screws on the display assembly securing it in place.
3. Tighten the screws on the rear of the system securing the display assembly
in place.
4. Tighten the screws on the bottom of the system securing the display
assembly in place.
5. Connect the camera cable to the system board.
6. Connect the LVDS cable to the system board and tighten the two captive
screws securing the LVDS cable in place.
7. Push the antennas through the opening to the bottom of the computer.
8. Secure the antennas to the routing channels.
9. Connect antennas to installed wireless solutions.
10. Install the
palm rest
.
11. Install the
hard drive
.
12. Install the
optical drive
.
13. Install the
keyboard
.
14. Install the
keyboard trim
.
15. Install the
base cover
.
16. Install the
battery
.
17. Follow the procedures in
After Working Inside Your Computer
.
79
Summary of Contents for WORKSTATION M4600
Page 1: ...Dell Precision M4600 Owner s Manual Regulatory Model P13F Regulatory Type P13F001 ...
Page 8: ...8 ...
Page 14: ...14 ...
Page 16: ...16 ...
Page 18: ...18 ...
Page 30: ...30 ...
Page 36: ...36 ...
Page 55: ...20 Remove the palm rest 55 ...
Page 64: ...64 ...
Page 72: ...20 Remove the DC in jack 72 ...
Page 74: ...74 ...
Page 78: ...17 Remove the screws securing the display assembly in place 18 Remove the display assembly 78 ...
Page 80: ...80 ...
Page 84: ...29 Disconnect the DC in cable 30 Remove the system board 84 ...
Page 86: ...86 ...
Page 90: ...90 ...
Page 104: ...104 ...
Page 110: ...110 ...
Page 113: ...cover and remove the LVDS cable 113 ...
Page 115: ...15 Pry up the camera cable from the display cover and remove the camera cable 115 ...
Page 122: ...Environmental Airborne contaminant level G1 or lower as defined by ANSI ISA S71 04 1985 122 ...
Page 136: ...136 ...
Page 140: ...140 ...
Page 142: ......


