Adding and Replacing Parts
147
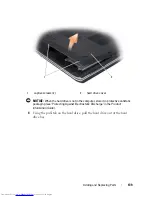
Your computer has two user-accessible SODIMM sockets, one accessed from
beneath the keyboard (DIMM A), and the other accessed from the bottom of
the computer (DIMM B).
NOTICE:
If your computer has only one memory module, install the memory module
in the connector labeled “DIMMA.”
NOTICE:
If you need to install memory modules in two connectors, install a
memory module in the connector labeled “DIMMA” before you install a module in
the connector labeled “DIMMB.”
Removing the DIMM A Memory Module
NOTICE:
To avoid electrostatic discharge, ground yourself by using a wrist grounding
strap or by periodically touching an unpainted metal surface (such as a connector
on the back of the computer).
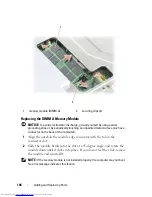
The DIMM A memory module is located under the keyboard.
1
Follow the procedures in "Before You Begin" on page 135.
2
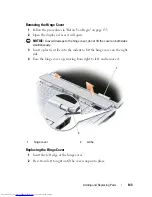
Remove the hinge cover (see "Hinge Cover" on page 142).
3
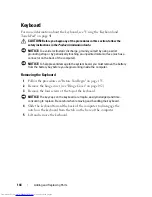
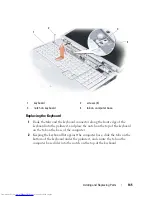
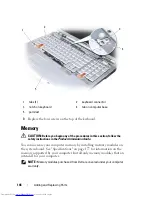
Remove the keyboard (see "Keyboard" on page 144).
NOTICE:
To prevent damage to the memory module connector, do not use tools to
spread the memory module securing clips.
4
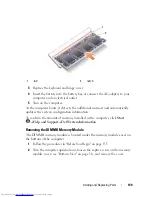
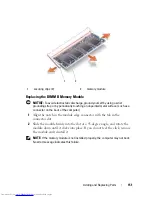
Use your fingertips to carefully spread apart the securing clips on each end
of the memory module connector until the module pops up.
5
Remove the module from the connector.
Summary of Contents for Inspiron 1721
Page 1: ...w w w d e l l c o m s u p p o r t d e l l c o m Dell Inspiron 1721 Owner s Manual Model PP22X ...
Page 20: ...20 About Your Computer Front View 4 5 13 3 6 12 11 9 8 7 14 2 1 10 ...
Page 52: ...52 Using a Battery ...
Page 76: ...76 Using Multimedia ...
Page 80: ...80 Using ExpressCards ...
Page 96: ...96 Securing Your Computer ...
Page 166: ...166 Dell QuickSet Features ...
Page 176: ...176 Getting Help ...
Page 194: ...194 Appendix ...
Page 212: ...212 Glossary ...
Page 220: ...220 Index ...

