3
Remove the expansion card holder.
Steps
1
Unpack the expansion card and prepare it for installation.
For instructions, see the documentation accompanying the card.
2
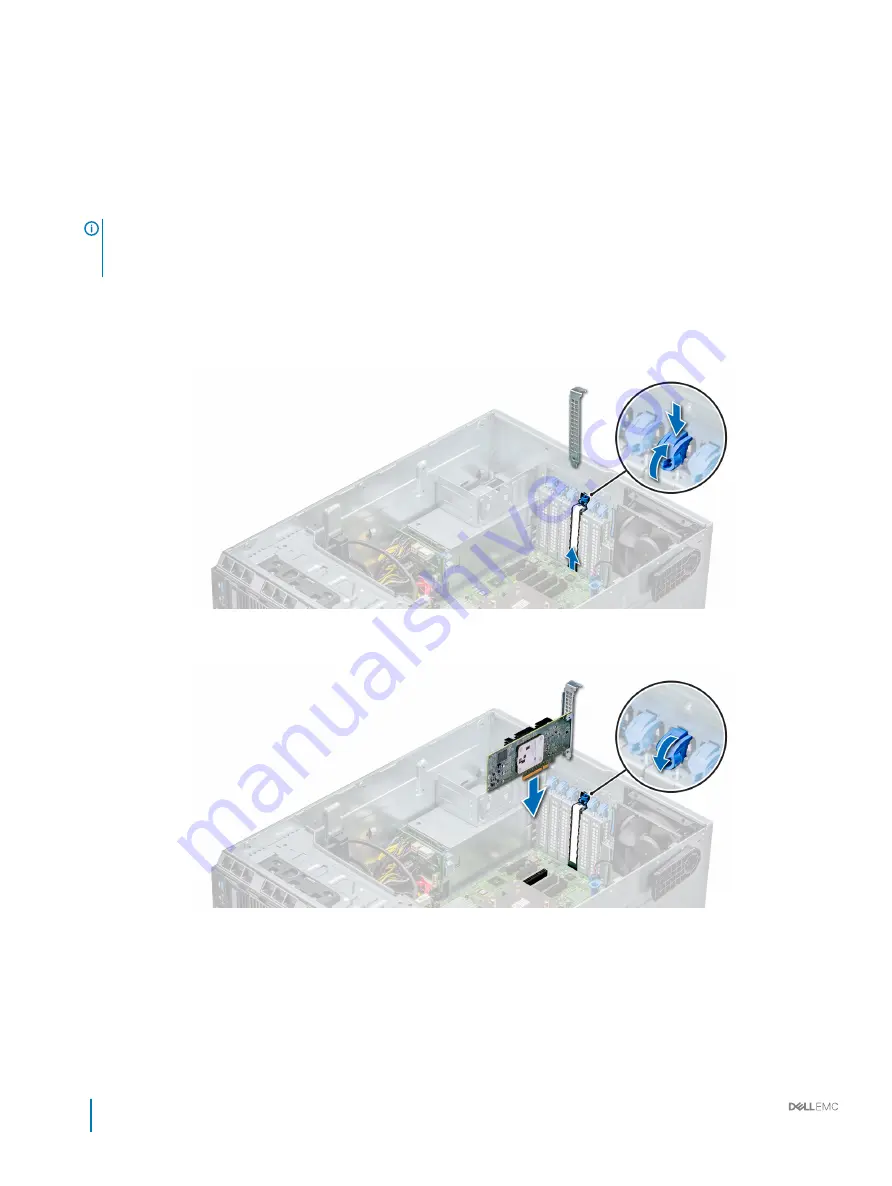
Open the expansion card latch adjacent to the slot you want to install the expansion card.
3
Remove the existing expansion card or filler bracket from the expansion card holder.
NOTE:
Store this bracket for future use. Filler brackets must be installed in empty expansion-card slots to maintain FCC
certification of the system. The brackets also keep dust and dirt out of the system and aid in proper cooling and airflow
inside the system.
4
Holding the card by its edges, position the card so that the card aligns with the expansion card connector.
5
Insert the card firmly into the expansion card connector until the card is fully seated.
6
Close the expansion card latch by pushing the latch up until the latch snaps into place.
7
Connect the data cables to the expansion card and/or the power cables to the GPU card.
Figure 60. Removing the filler bracket
Figure 61. Installing an expansion card
Next steps
1
Follow the procedure listed in
After working inside your system
.
2
Install the expansion card holder.
3
Install the air shroud.
112
Installation and Service Manual
Installing and removing system components


