
Power on and start up the operating system
All the drivers are preloaded, and if there is a need for a driver update, download it from the EGW-5200 page of the Dell
Technologies
site, under the
Drivers & Downloads
tab.
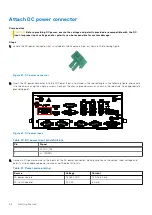
The following drivers must be installed:
●
Chipset
●
Graphics
●
Audio
●
Ethernet
●
Intel ME
●
DI/O
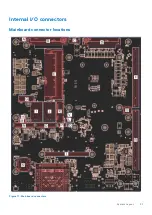
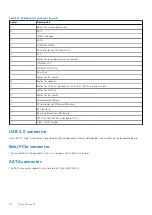
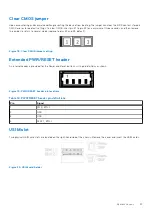
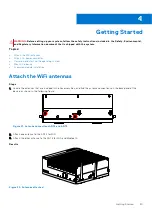
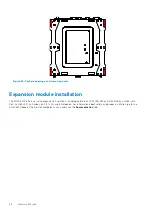
Mount the device
Steps
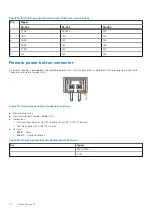
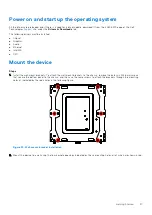
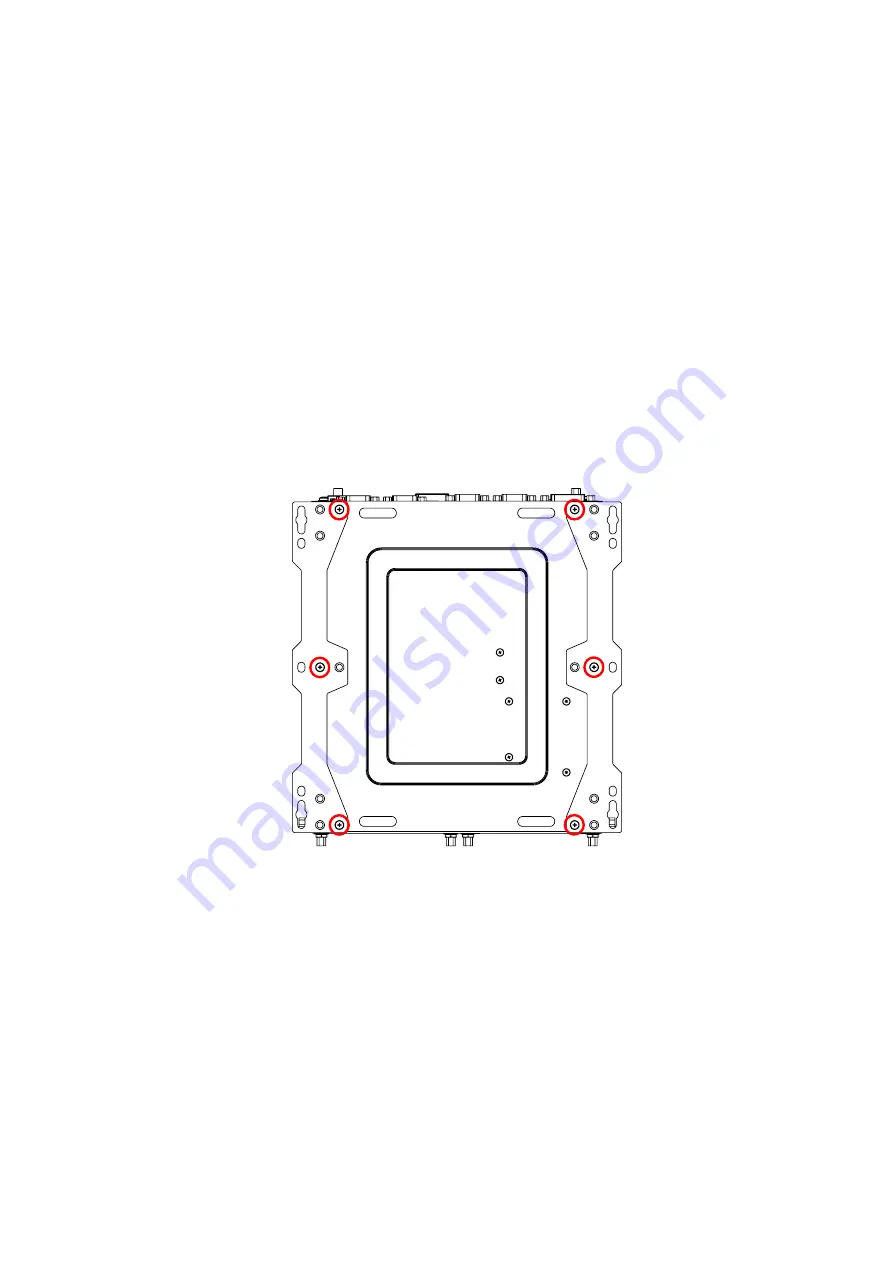
1. Install the wall-mount brackets. To attach the wall-mount brackets to the chassis, remove the outer six M4 6 mm screws
that secure the bottom panel to the chassis, and then use the same screws to attach the brackets through the mounting
holes as indicated by the red circles in the following figure.
Figure 25. Wall-mount bracket installation
2. Mount the device to a wall using the four keyhole openings indicated or the six mounting holes, all of which are shown in red.
Getting Started
27
Summary of Contents for EGW-5200
Page 1: ...Dell EMC Edge Gateway 5200 User s Guide January 2022 Rev A01 ...
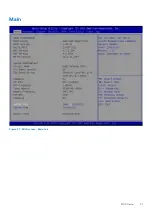
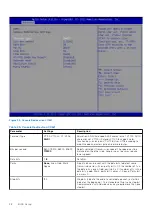
Page 31: ...Main Figure 27 BIOS screen Main tab BIOS Setup 31 ...
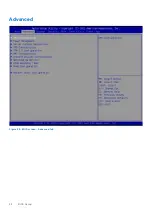
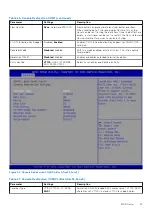
Page 32: ...Advanced Figure 28 BIOS screen Advanced tab 32 BIOS Setup ...
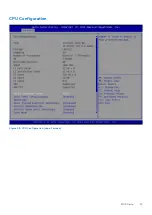
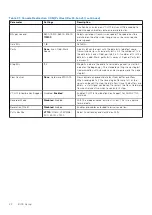
Page 33: ...CPU Configuration Figure 29 CPU Configuration top of screen BIOS Setup 33 ...
Page 47: ...NVMe Configuration Figure 41 NVMe Configuration BIOS Setup 47 ...
Page 51: ...Memory Configuration Figure 45 Memory Configuration BIOS Setup 51 ...
Page 54: ...PCH IO Configuration Figure 48 PCH IO Configuration 54 BIOS Setup ...
Page 56: ...Security Configuration Figure 50 Security Configuration 56 BIOS Setup ...
Page 57: ...M 2 Device Configuration Figure 51 M 2 Device Configuration BIOS Setup 57 ...
Page 58: ...Security Figure 52 BIOS screen Security tab 58 BIOS Setup ...
Page 64: ...Save and Exit Figure 57 BIOS screen Save and Exit tab 64 BIOS Setup ...
Page 65: ...Event logs Figure 58 BIOS screen Event logs tab BIOS Setup 65 ...