


Back to Contents Page
Front Panel
Dell™ Dimension™ 8300 Series Service Manual
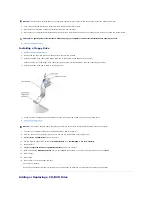
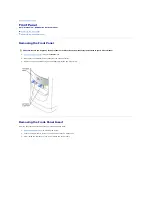
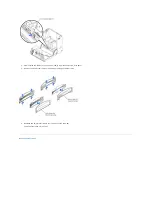
Removing the Front Panel
Removing the Front-Panel Insert
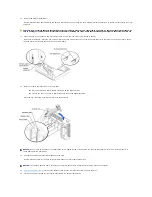
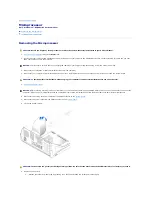
Removing the Front Panel
1.
Shut down the computer
through the
Start
menu.
2.
Disconnect the computer power cable from the electrical outlet.
3.
Remove the front-panel door by gently snapping it off the two hinge arms.
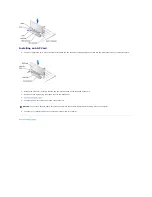
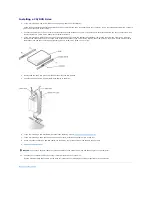
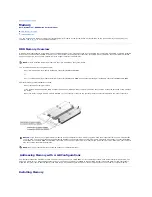
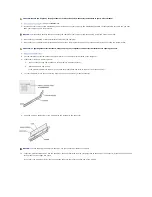
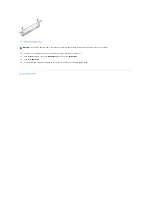
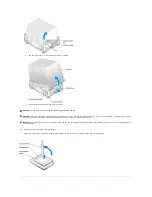
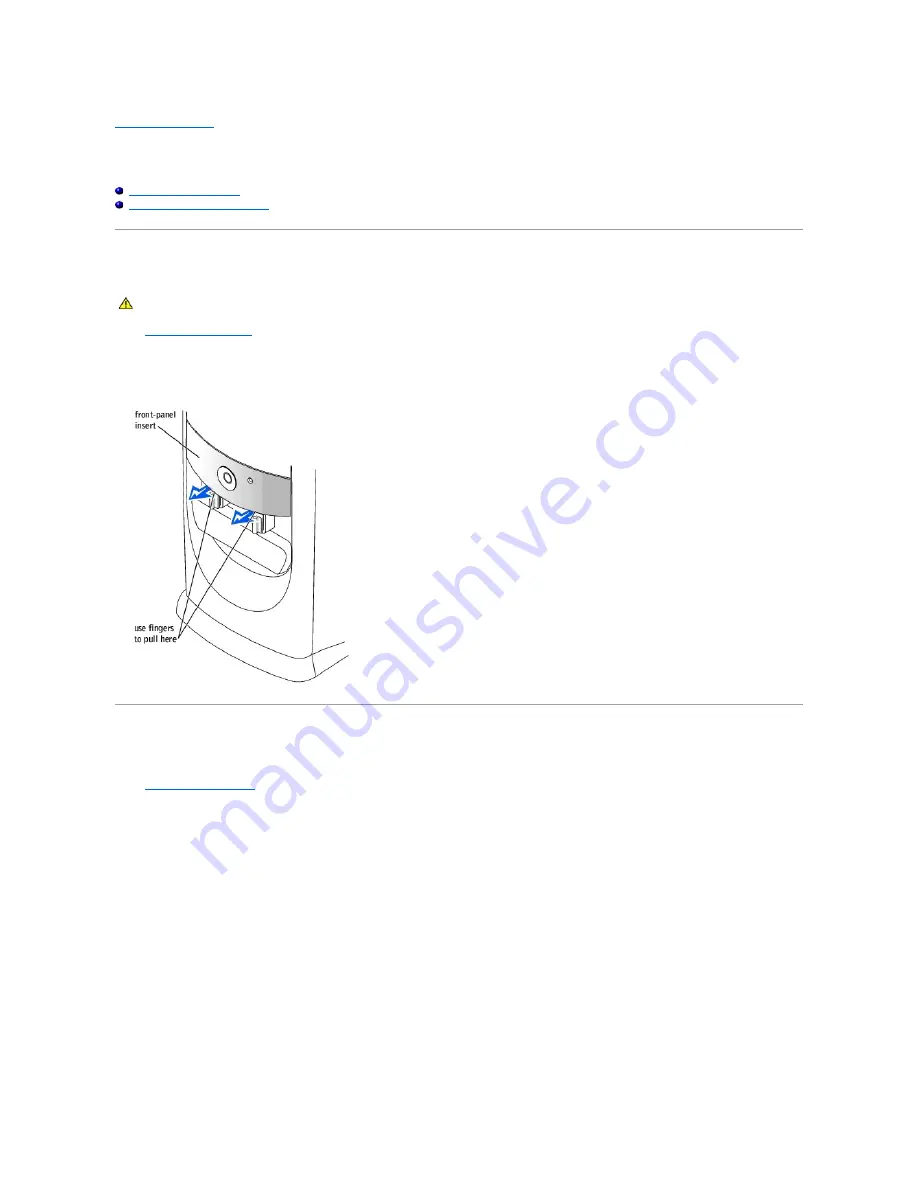
Removing the Front-Panel Insert
Remove the front-panel insert before you install the floppy drive:
1.
Open the computer cover
to a 90-degree angle.
2.
Locate the insert that is in front of the drive bay that you want to use.
3.
From inside the computer, press in the release tab of the insert.
CAUTION:
Before you begin any of the procedures in this section, follow the safety instructions in your
Owner's Manual
.
Summary of Contents for Dimension 8300 Series
Page 6: ...Back to Contents Page ...
Page 42: ...Back to Contents Page ...


