7
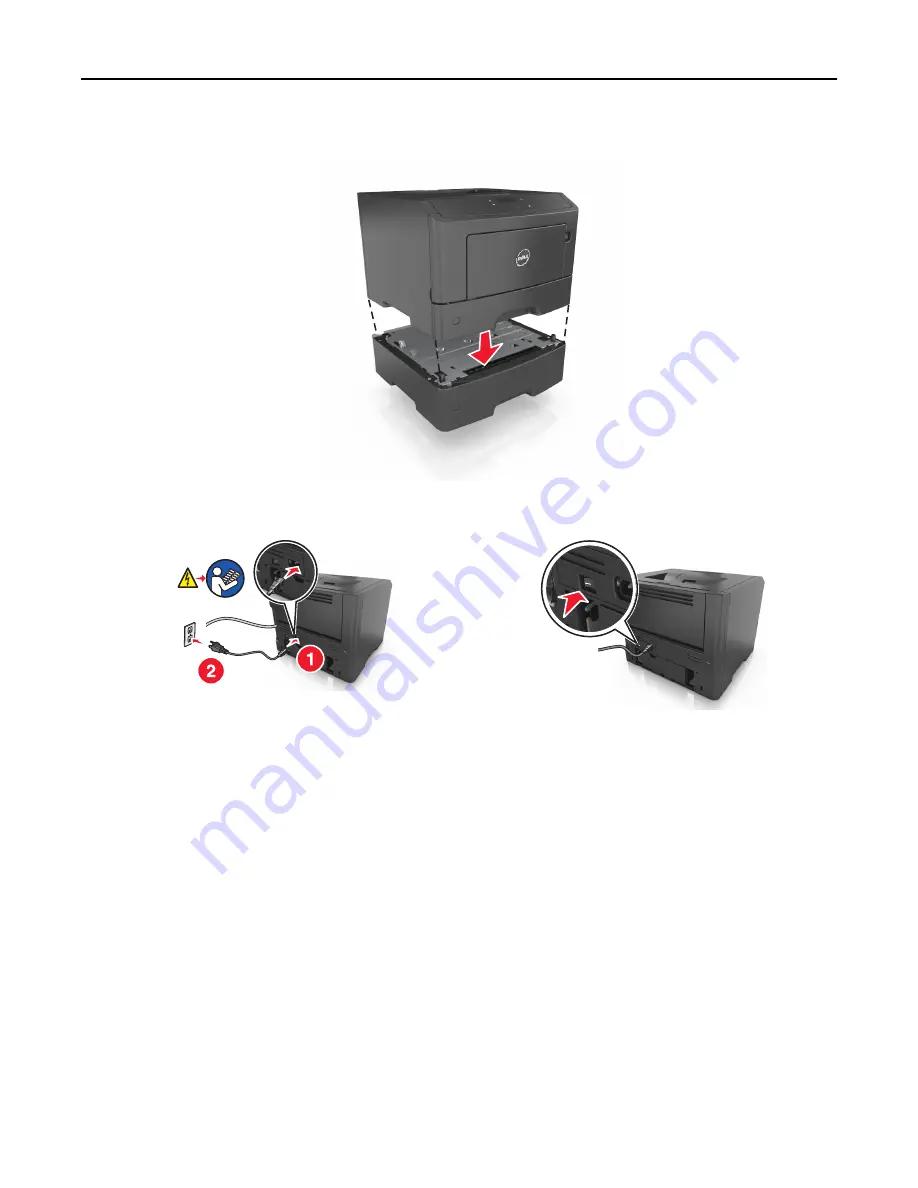
Align the printer with the tray, and then slowly lower the printer into place.
8
Connect the power cord to the printer, then to a properly grounded electrical outlet, and then turn on the printer.
Note:
When the printer software and any hardware options are installed, you may need to manually add the
options in the printer driver to make them available for print jobs. For more information, see “Updating
available options in the printer driver” on page 22.
To uninstall the optional tray, slide the latch on the right side of the tray toward the front of the tray until it
clicks
into
place.
Attaching cables
Connect the printer to the computer using a USB or parallel cable, or to the network using an Ethernet cable.
Make sure to match the following:
•
The USB symbol on the cable with the USB symbol on the printer
•
The appropriate parallel cable with the parallel port
•
The appropriate Ethernet cable with the Ethernet port
Warning—Potential Damage:
Do not touch the USB cable, any network adapter, or the printer in the area shown
while actively printing. Loss of data or a malfunction can occur.
Additional printer setup
20


