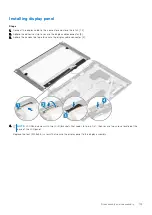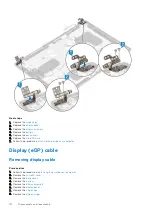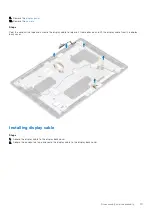
2. Peel the conductive tape [1] on the display cable connector.
3. Remove the adhesive strip that secures the display cable connector [2].
4. Lift the latch and disconnect the display cable from the connector on the display panel [3, 4].
NOTE:
Do not pull and release the Stretch (SR) Tapes from the display panel. There is no need to separate the brackets
from the display panel.
Disassembly and reassembly
101
Summary of Contents for 5500 Series
Page 17: ...Major components of your system 1 Base cover 2 Heatsink 3 Major components of your system 17 ...
Page 22: ...3 Lift and remove the base cover away from the computer 22 Disassembly and reassembly ...
Page 51: ...4 Reroute the WLAN antenna cables Disassembly and reassembly 51 ...
Page 67: ...3 Lift and remove the speakers away from the palmrest Disassembly and reassembly 67 ...
Page 94: ...3 Seat the system chassis on the display assembly 94 Disassembly and reassembly ...
Page 99: ...Disassembly and reassembly 99 ...
Page 102: ...102 Disassembly and reassembly ...


