Back to Contents Page
Hard Drive
Dell™ Inspiron™ 1545 Service Manual
Removing the Hard Drive
Replacing the Hard Drive
Removing the Hard Drive
1.
Follow the instructions in
Before You Begin
.
2.
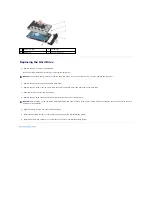
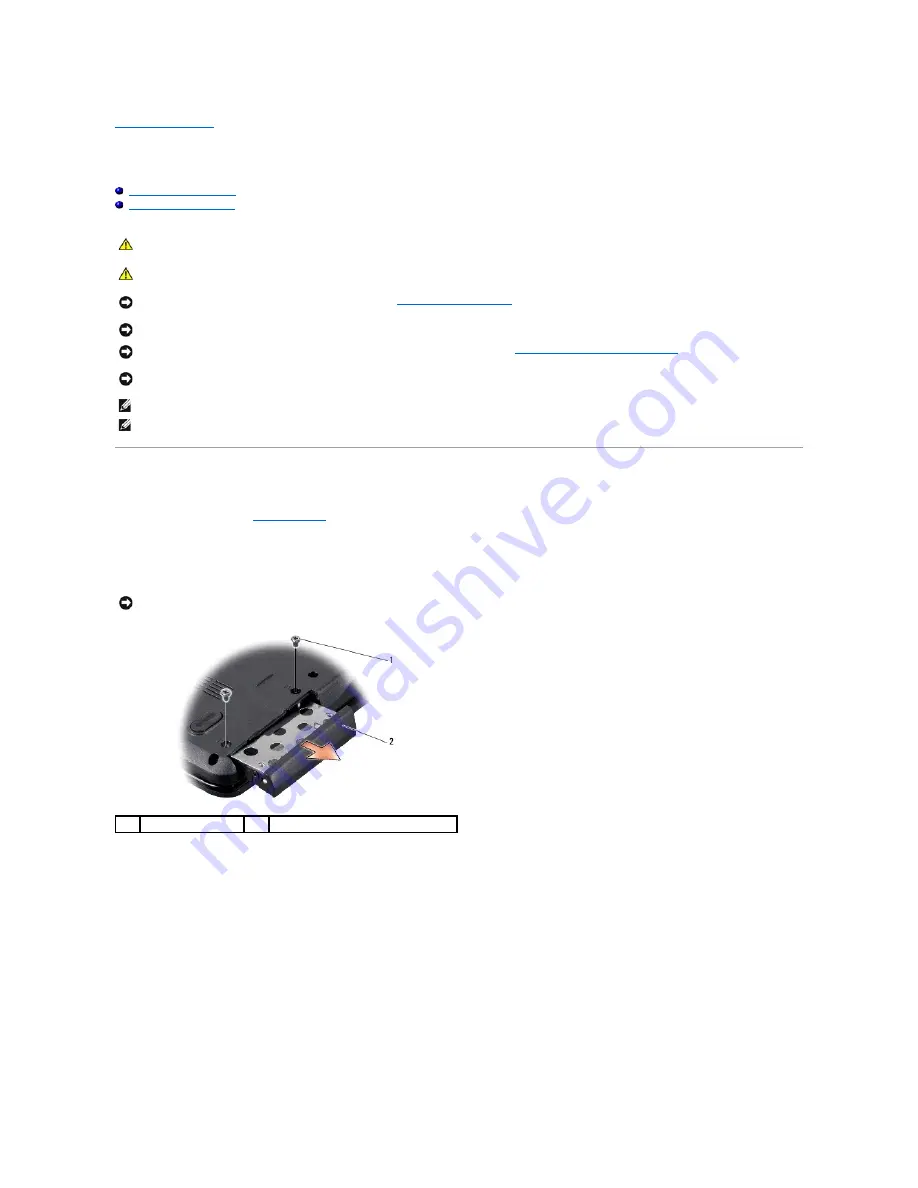
Remove the two screws securing the hard drive assembly to the computer base.
3.
Slide the hard drive assembly out of the bay.
4.
Remove the two screws (one from either side) securing the hard drive cage and bezel to the hard drive.
5.
Remove the hard drive bezel.
6.
Lift the hard drive cage off the hard drive.
CAUTION:
If you remove the hard drive from the computer when the drive is hot,
do not touch
the metal housing of the hard drive.
CAUTION:
Before working inside your computer, read the safety information that shipped with your computer. For additional safety best
practices information, see the Regulatory Compliance Homepage at www.dell.com/regulatory_compliance.
NOTICE:
To prevent data loss, turn off your computer (see
Turning Off Your Computer
) before removing the hard drive. Do not remove the hard drive
while the computer is on or in Sleep state.
NOTICE:
Hard drives are extremely fragile. Exercise care when handling the hard drive.
NOTICE:
To help prevent damage to the system board, remove the main battery (see
Before Working Inside Your Computer
) before working inside the
computer.
NOTICE:
Only a certified service technician should perform repairs on your computer. Damage due to servicing that is not authorized by Dell™ is not
covered by your warranty.
NOTE:
Dell does not guarantee compatibility or provide support for hard drives from sources other than Dell.
NOTE:
If you are installing a hard drive from a source other than Dell, you need to install an operating system, drivers, and utilities on the new hard
drive (for more information see the
Dell Technology Guide
).
NOTICE:
When the hard drive is not in the computer, store it in protective antistatic packaging (see "Protecting Against Electrostatic Discharge" in the
safety instructions that shipped with your computer).
1
screws (2)
2
hard drive assembly


