

Tasks to add an SP
EMC VNXe3100/VNXe3150 — Adding a Second Storage Processor
9
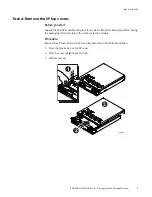
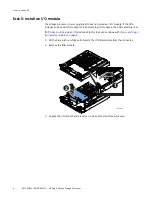
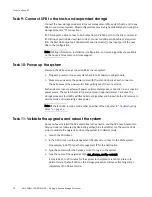
Task 7: Replace the SP top covers
Replace the top cover on both SP assemblies:
1. Align the tabs on the SP cover with the notches in the canister.
2. Slide it forward 1/4 inch until the tab secures the cover.
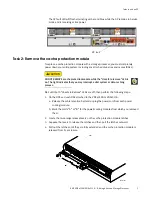
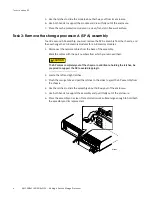
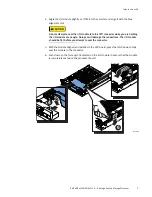
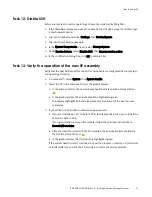
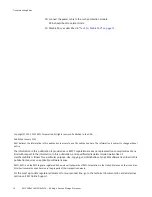
Task 8: Install the SP assemblies
Install the new SP assembly in the left, “B” side of the enclosure and return the SP A
assembly the right, “A” side of the enclosure.
To install an SP assembly:
1. Pull out the latches on each side of the SP and make sure they stay in the open
position.
2. Align the SP with the chassis opening and push it straight into the chassis.
The latches begin to close when they contact the chassis edges.
3. Close the right and left latches to fully seat the SP in the chassis.
An audible click indicates that the latches are secure.
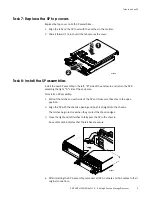
4. After installing the SP A assembly, reconnect all SP A network and SAS cables to their
original connectors.
2
1
CL4686
CL4687


