15
7
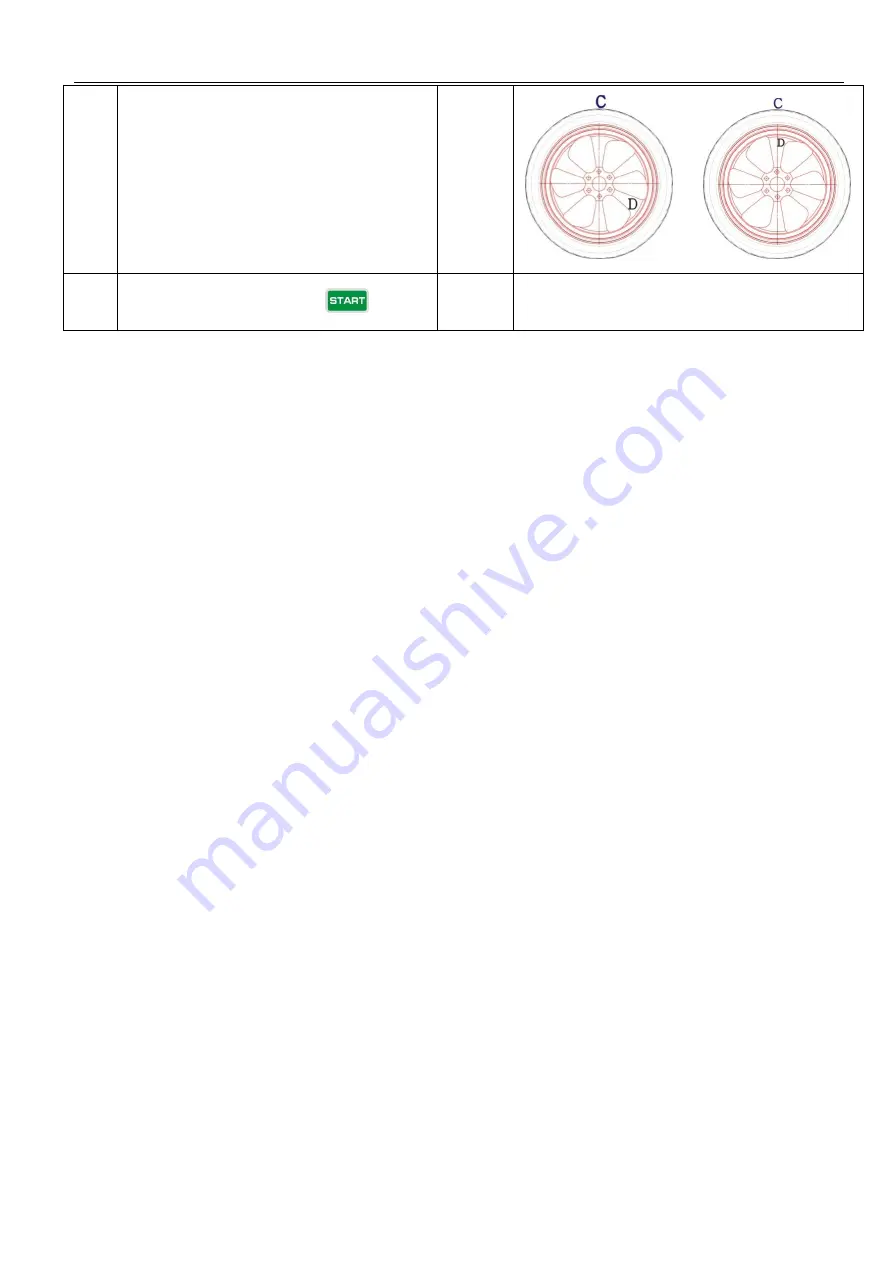
With the help of tire changer, change the rim and
rubber to make C and D match
reference
>
>>
8
Put down safe guard and press
comes
>
If unbalance is less than before, OPT succeed
IDENTIFYING MECHANICAL MOUNTING REPEATABILITY ERRORS ON WHEEL BALANCERS
Chasing weights, changing weight angles, changing weight amounts, and changes in run out and force variation may all be produced by
incorrect mounting or worn/damaged adaptors. Balancers cannot identify mechanical mounting errors caused by incorrect mounting
methods or worn/damaged mounting adaptors. Correct mounting MUST be verified by the technician, including identifying the on-vehicle
mounting method. Adaptors must be inspected for excessive wear and should be cleaned regularly to prevent dirt from affecting the
balancer results.
If mechanical mounting errors do not seem to be evident calibration can be performed – refer to procedures in manual.
TO TEST ELECTRONIC AND HARDWARE REPEATABILITY:
✓
Mount an assembly on the spindle shaft
✓
Input the weight location dimensions using standard clip-on weight locations
✓
Measure and record the non-rounded amount of imbalance on each weight plane
✓
Repeat this procedure four times without removing the wheel to verify the balancer can repeat measurements within 0.05
ounce (per plane). If it does not repeat the measurements, check the wheel for debris or water in the tire
TO TEST MECHANICAL MOUNTING REPEATABILITY:
✓
With the assembly mounted on the spindle shaft, perform a balance spin
✓
Record the non-rounded weight amounts for the inner and outer planes. (Do not apply weights)
✓
When the data is recorded, loosen the wing nut and using the foot pedal to lock the spindle in position, rotate the wheel 90
degrees clockwise. Perform another balance spin. Record the non-rounded weight amounts for the inner and outer planes
✓
Repeat the above steps twice more so measurements are taken at 0, 90, 180, and 270 degrees. The weight amount from
the highest to lowest recorded number should not vary by more than 0.25 ounce for smaller passenger car wheels (per plane), 0.50
ounce for SUV wheels (per plane), and 1.0 ounce for larger truck wheels (per plane). If recorded readings change by more than
this, repeat the measurements at 0, 90, 180, and 270 degrees again
DATA ANALYSIS:
Note: Larger rim/tire assemblies may experience more variation in data than smaller assemblies. This should be considered when


