•
Hint: All scan movements can be undone separately with the “Undo” button
.
•
Hint: You can save your single scans at any time. They will be saved in their current position and
rotation in space, so you won't have to align them again.
•
Hint: After some alignment steps it can be helpful to “combine” several scans temporarily. Select two
or more scans in the List of Scans (press and hold the Ctrl key while you click). Then click on them
with the right mouse button, and choose “Combine”. This puts the selected scans into one group
temporarily and allows you to tread them all as one. In our example, the Büssing bust, we might
combine scans 1 and 4 (or all scans 1-4) and then align scan 5 to that group. This way scan 5 would be
aligned to all scans, which includes more overlapping areas and thus can lead to a more precise
alignment.
Right-click on the group's name in the list and choose “Uncombine” to separate the group again.
•
If automatic alignment cannot solve an alignment task correctly, you can align scans manually by
mouse, keeping the Ctrl key pressed. Please refer to the online manual for details.
2. Scan Fusion
•
Only visible scans will be fused, so select all scans with the
button.
•
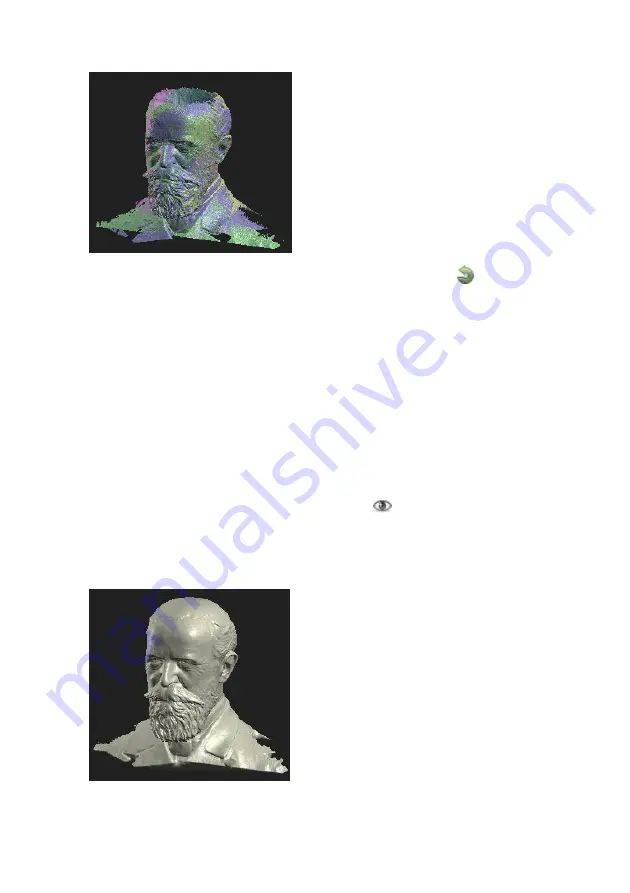
Click “Fuse” to start the Fusion. This is a complex process which requires a computation time of
several seconds or minutes. All visible scans will be merged to one closed triangle mesh, removing
small artefacts. If the scans have textures, a fused texture will also be created. Optionally, all holes
will be closed.
•
Finally you can use the “Save” button to export your fused 3D model as OBJ, STL or PLY file.
14
3DPE.ir


