18
Subject Density
In some circumstances you may find it is almost impossible to remove the edge from one side of your subject
or the other. Or you might find that parts of your subject are too similar to the backdrop colour, and your
subject is also becoming partly transparent; for example if you are using a blue backdrop and the subject is
wearing a pale blue shirt. The DVK-200 has another fine tune adjustment called Subject (or Foreground)
Density. This adjustment will make your subject more or less opaque / transparent; as a result the edges will
become more or less defined.
Press and hold the Density (Level) button for two seconds, until the button flashes red.
(If the red LED is on constantly - i.e. not flashing - press and hold the button until it is flashing).
Turn the Adjustment Knob; you will see the subject getting more or less opaque as you rotate
the knob. Fine tune the setting until you have the desired effect.
Spill Adjustment
The final setting in this section is the Spill Adjustment. Often, due to the green / blue backdrop, the subject
can pick up an unwanted colour cast; the Spill Adjustment will remove it.
Press the Spill button, it will illuminate red
Turn the Adjustment Knob; on the output monitor you will see the colour hue of the subject
changing. Fine tune the setting until you have the desired effect.
All of the settings we have looked at so far work together to achieve the best possible end result. It is often
worth going back to the various settings (Green Keying Level, Density, Edge, Subject Density, Spill) and fine
tuning, as adjusting density, for example, may have an affect on the best Green Keying Level. Any one of the
adjustments can be changed in any order. The procedure above is the sequence that we find quickest in
achieving the best results.
Window Adjustment
There will be occasions when your backdrop isn’t big enough to fill the whole shot. This is most frequently a
problem if you want your subject to appear small in the final shot. In this example you can see there are not
enough backdrops for the effect that we are after so we have to use the Window Adjustment to remove the
garbage.
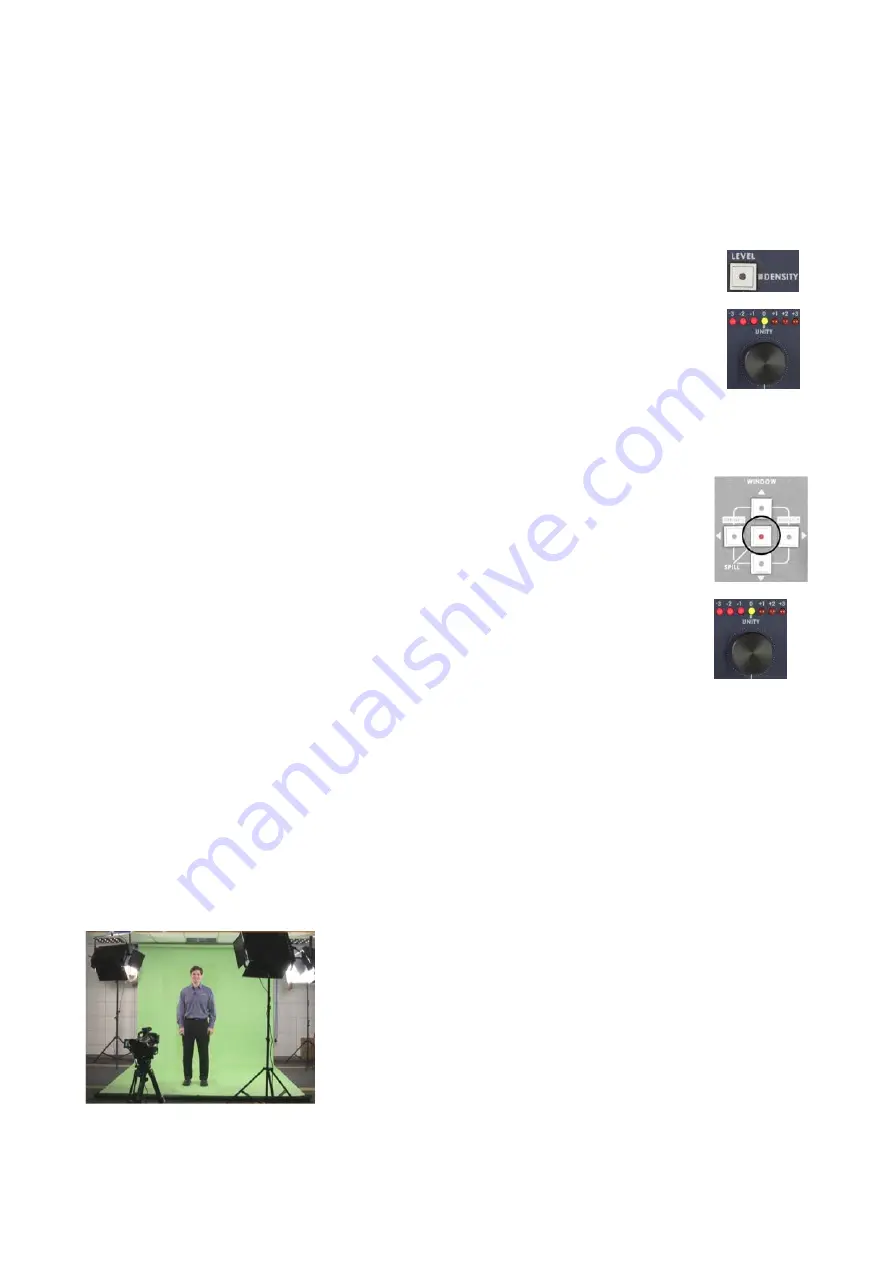
Our Wide-Shot extends beyond the backdrop, so we need to adjust the
window size
There are four parameters that we can adjust Left, Right, Top and Bottom. We will start with the Right.


