12
A bank of 3 small monitors such as the Datavideo TLM-433 may be sufficient for this purpose.
There are no audio connections in the diagram, as the DVK-200 only needs to process the video signal. The
audio would typically be fed via an audio mixer directly to the audio inputs of the DVD Recorder / VCR or
AD-100 audio delay unit.
Setting Up
The DVK-200 is quite easy to set up, and over the next few pages we will look at all aspects of configuring
the DVK-200 within your studio. We will start with connections.
Connections
Power
The DVK-200 is supplied with a 12V / 30W / 1.5A Power adaptor to connect it to a mains supply socket. The
Power Supply has a 2.1mm in-line plug with a screw threaded locking collar.
Push the plug into the DC In Socket of the DVK-200
and screw the locking collar into place.
Connect the power cord to the power supply and then to an appropriate mains power outlet.
Camera
It is best wherever possible to use an S-Video (Y/C) or YUV cable for connecting the camera. Good results
can be achieved using Composite Video, but S-Video or YUV connections will always give better results.
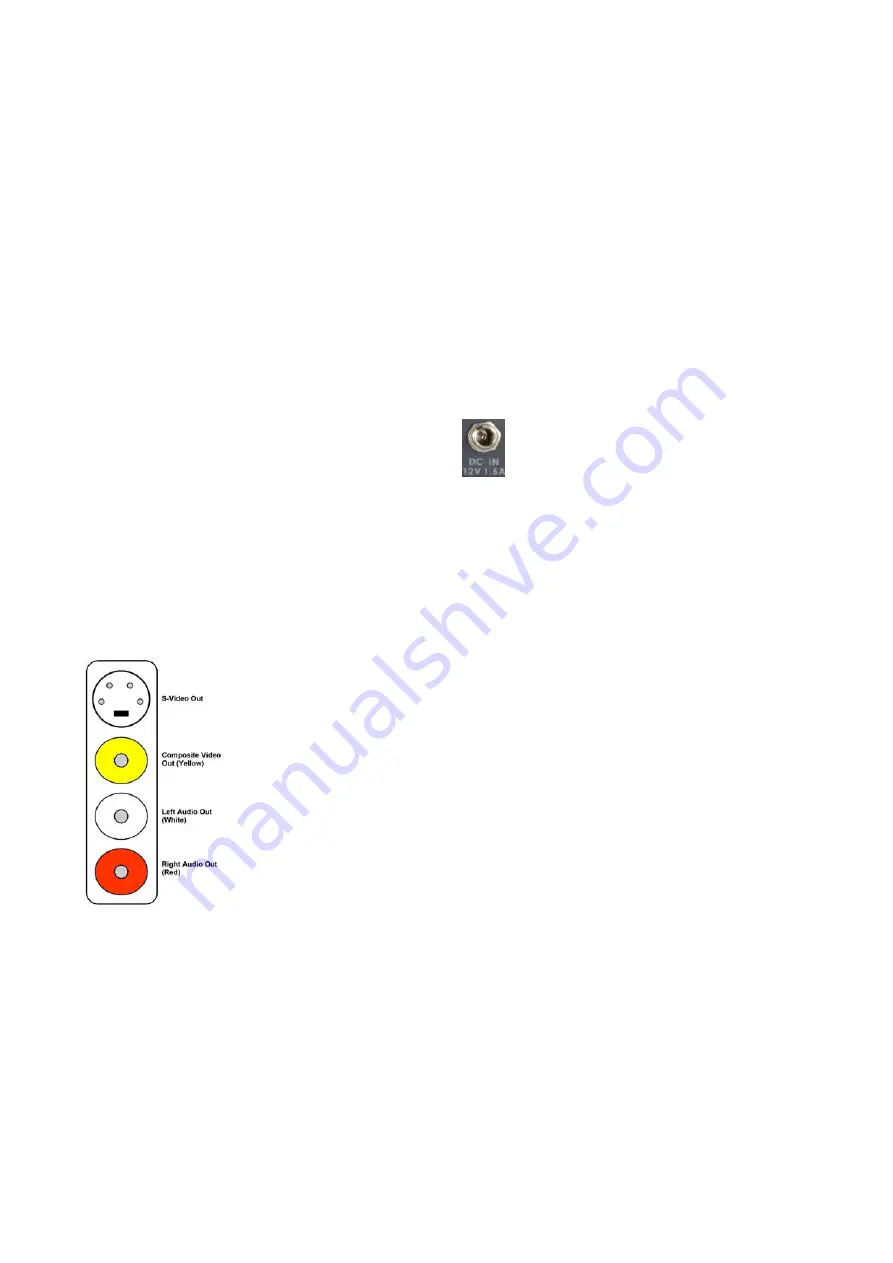
Most cameras have video outputs that look something like this:
S-Video (Y/C) Output via 4 Pin Mini Din Plug
Composite Video Output via RCA / Phono Plug (Generally colour coded yellow)
Left and Right Audio Out (Generally colour coded white for left, and red for right)
The DVK-200 only requires a video connection, so we do not need to worry about the audio connections.


