20
8. Network Streaming
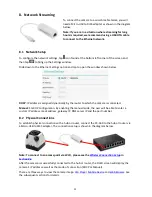
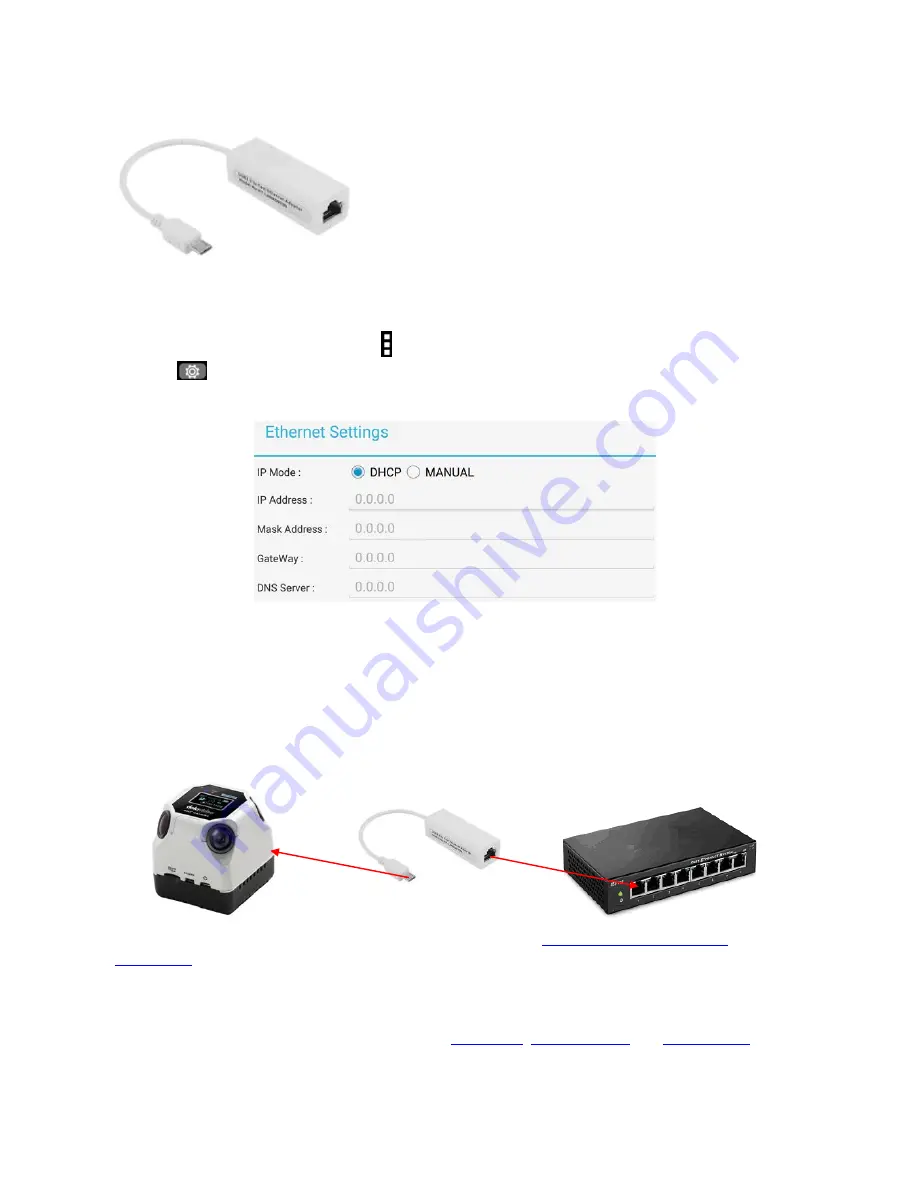
To connect the camera to a Local Area Network, you will
need a Micro-USB to RJ45 adapter as shown in the diagram
below.
Note: If you are in a situation where streaming for long
hours is required, we recommend using a USB OTG cable
to connect to the Ethernet network.
8.1 Network Setup
To configure the network settings, tap icon found at the bottom left corner of the screen and
then tap
to bring up the Settings window.
Slide down to the Ethernet Settings option and tap to open the window shown below.
DHCP
: IP address is assigned dynamically by the router to which the camera is connected.
Manual
: Static IP configuration. By enabling the manual mode, the user will be able to enter a
custom IP address, mask address, gateway IP, DNS server IP and the port number.
8.2 Physical Connections
To establish physical connection with a hub or router, connect the CC-360 to the hub or router via
a Micro-USB to RJ45 adapter. The connection setup is shown in the diagram below.
Note: To connect to an access point via Wi-Fi, please see the
Wireless Connection Setup
in
Section 8.6
.
After the camera is successfully connected to the hub or router, the OLED screen will display the
camera’s IP address as well as the mode of connection (DHCP or Manual).
There are three ways to view the camera image:
VLC Player
,
Mobile Device
and
Web Brower
. See
the subsequent sections for details.


