RS-232
32
QuickScan
®
L
Connecting an RS-232 Interface
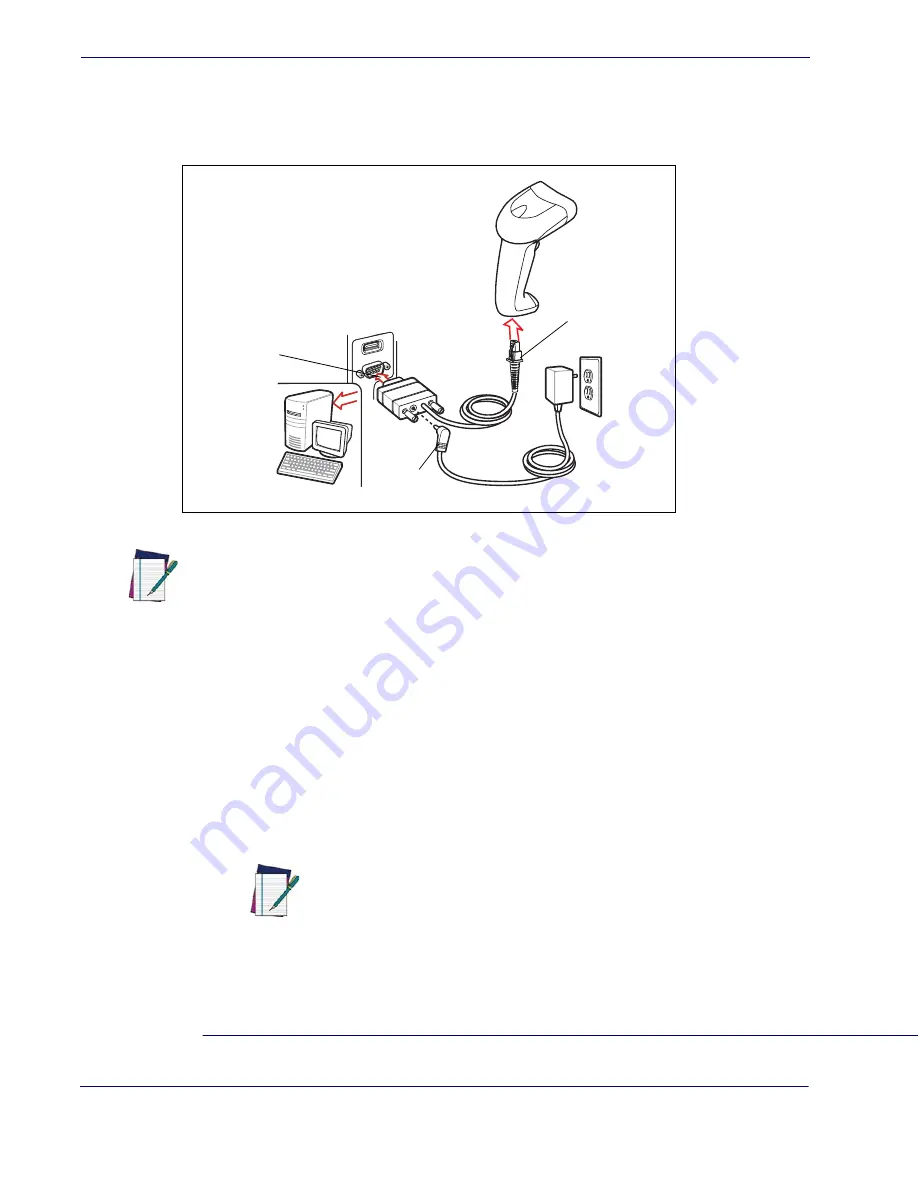
This connection is made directly from the scanner to the host computer.
Figure 8. RS-232 Direct Connection
1. Attach the modular connector of the RS-232 interface cable to the cable interface port on
the scanner (see
Installing the Interface Cable on page 6
).
2. Connect the other end of the RS-232 interface cable to the serial port on the host.
3. Connect the power supply
1
to the serial connector end of the RS-232 interface cable. Plug
the power supply into an appropriate outlet.
4. Select the RS-232 host type by scanning the appropriate bar code from
RS-232 Host
Types on page 36
.
5. To modify any other parameter options, scan the appropriate bar codes in this chapter.
NOTE
Interface cables vary depending on configuration. The connectors illustrated
in
Figure 8
are examples only. The connectors may be different than those
illustrated, but the steps to connect the scanner remain the same.
Serial Port
Connector
to Host
Interface Cable
Power
Supply Cable
1. Use only aDatalogic power supply approved for this product.
NOTE
Refer to
RS-232 Host Commands on page 179
for a listing of host
commands the scanner will respond to when in RS-232 interface mode.
Summary of Contents for QuickScan L QD 2300
Page 1: ...QuickScan L QD 2300 Bar Code Scanner Product Reference Guide...
Page 10: ...Introduction 4 QuickScan L NOTES...
Page 14: ...Getting Started 8 QuickScan L NOTES...
Page 24: ...Problem Isolation 18 QuickScan L NOTES...
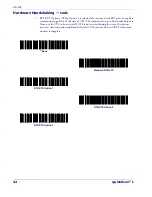
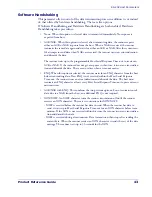
Page 50: ...RS 232 44 QuickScan L Software Handshaking cont None ACK NAK ENQ ACK NAK with ENQ XON XOFF...
Page 60: ...RS 232 54 QuickScan L NOTES...
Page 80: ...Keyboard Wedge Interface 74 QuickScan L NOTES...
Page 100: ...USB Interface 94 QuickScan L NOTES...
Page 162: ...156 QuickScan L NOTES...
Page 184: ...178 QuickScan L NOTES...
Page 186: ...180 QuickScan L NOTES...
Page 190: ...184 QuickScan L...
Page 191: ......


