DataVS1
Series
Instruction
Manual
68
To swap from one area to the other for editing purposes, simply press
SET
. The outline of the
currently selected area will flash and ROI label is highlighted in red
.
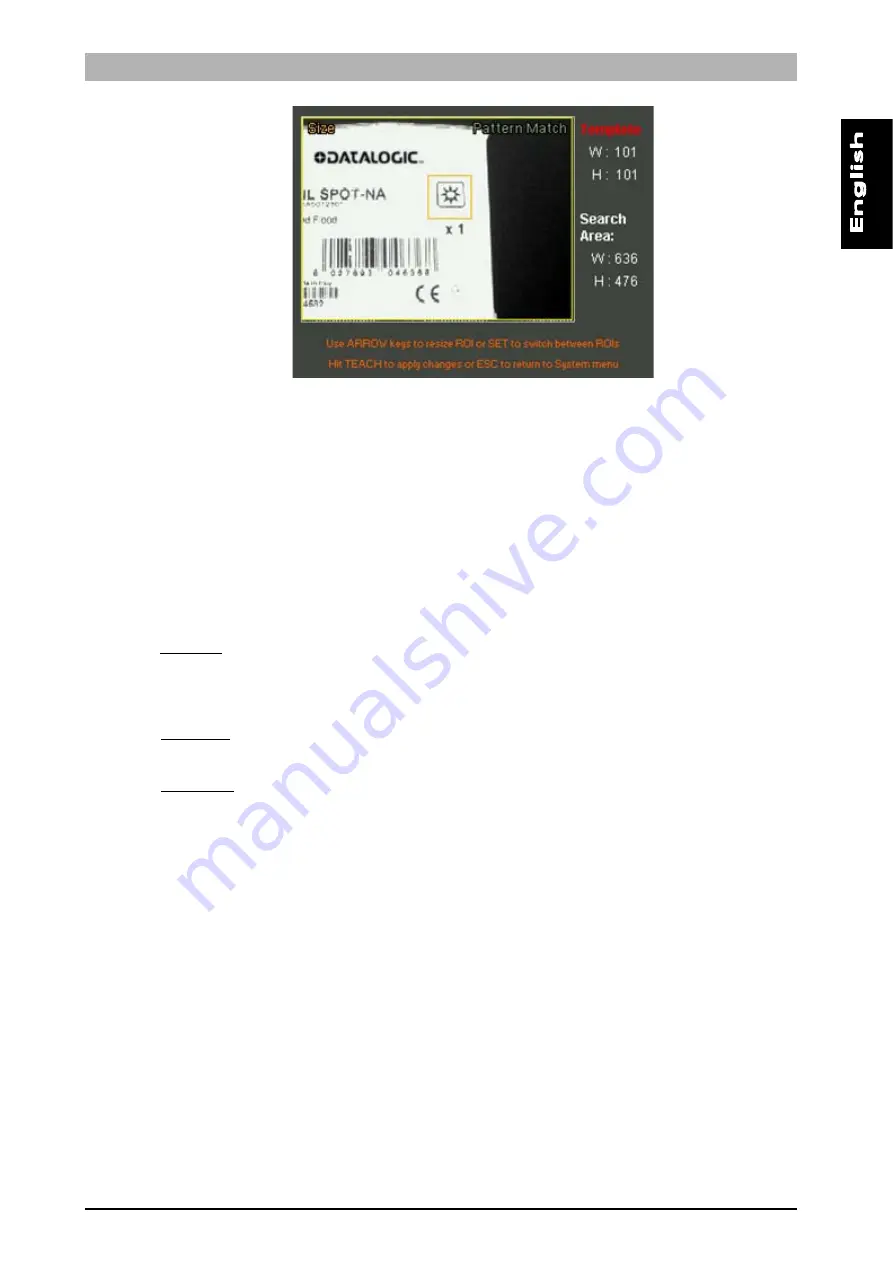
To change the size of the two ROIs it is necessary to set onto
Size ROI
icon and press
SET
. It is
now possible to resize the ROIs at will using the
ARROW
keys. The size of both areas, in pixels,
are displayed on monitor right-hand side. To swap from one area to the other for editing
purposes, simply press
SET
. The outline of the currently selected area will flash. Once required
size is set, press
TEACH
to go back to Setup menu. While, to edit ROIs positions, select
Move
ROI
option from the Setup menu (always use
SET
key). Now you can move the ROIs using the
ARROW
keys on the keypad. Again, to select another ROI you simply need to press
SET
. Press
TEACH
to save any changes.
Parameters
Expected
Threshold for assessing the result. It indicates to what extent the area detected within the
searched ROI must match the sample image in order to be considered valid (100% perfect
match, 0% … ).
Min Count
Setting specifying the minimum number of patterns that can be detected.
Max Count
Setting specifying the maximum number of patterns that can be detected.
Sensitivity
Identifies the accuracy used when searching for the pattern inside the captured image. The
higher the desired quality, the longer is the time required to complete image processing. Vice
versa, the higher the desired speed, the lower the match quality.
Result
If the number of identified patterns falls within the range set by the user (min. and max. values),
the inspection outcome will be positive. If it is not so, result will be negative.
Example
Say that we wish to add an inspection of the "pattern count" type to current inspection, so as to
make sure that the logo is present on the box.


