-61-
7
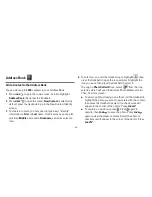
The photo preview appears on the display. You can:
n
Press
CANCEL
to discard it;
n
Press
DONE
to save it to the album you’ve selected; or,
n
Select
to send it via an Email or Picture message.
8
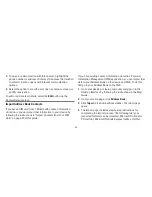
To return to the Browse Albums screen, select
or press
DONE
.
Send Photos by Email or Picture Message
In addition to being able to send a photo after capture (read
“Take a Photo”, step 7 above), you can attach one or more
photos in your Photo Albums to either an email message or a
picture message while composing. For instructions, read “Attach
a Photo, Sound, or vCard to an Email Message” on page 5, and
“Send a Picture Message” on page 44.
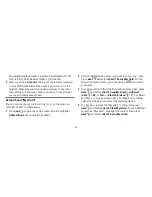
To select all photos in an album, open or highlight the
album, then press
MENU
and select
Edit > Check All in
Album,
or press
MENU
+
A
. To uncheck, select
Edit >
Uncheck All
or press
MENU
+
U
.
Use Photo for Caller ID or Key Guard Background
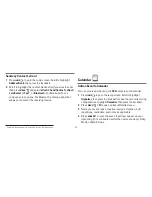
You can assign the photos you’ve saved in one of your photo
albums as a Caller ID or a key guard background image.
To assign a photo as a Caller ID:
Follow the instructions in “Add a Contact to the Address Book”,
step 4, on page 53.


