Maintenance & Troubleshooting
17
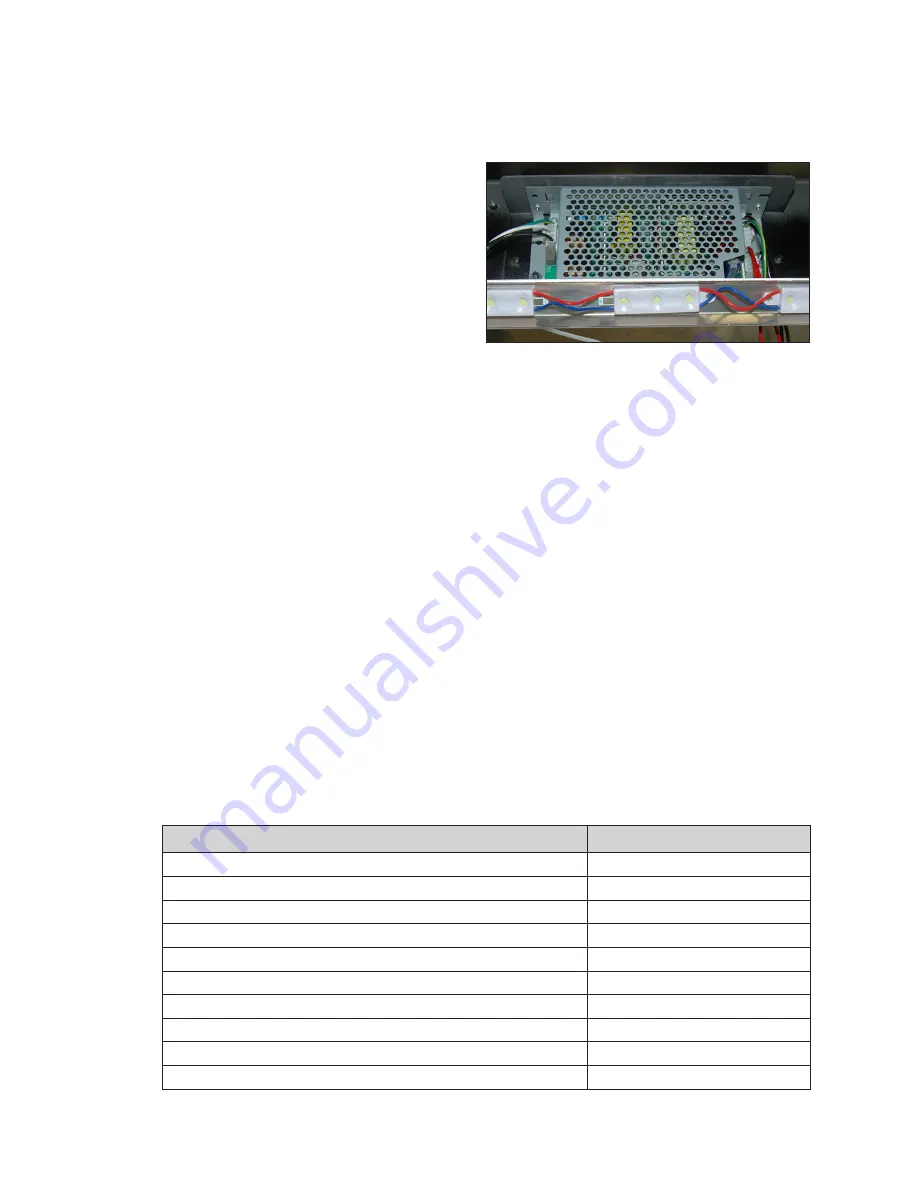
Replacing a Power Supply
Caution! Disconnect display power before servicing the power supplies to avoid
electrical shock� Power supplies run on high voltage and may cause injury if touched�
1�
Access the table from the front as
described in
2�
Use an 11/32" nut driver (part # TH-
1201) to loosen the screws holding the
power supply to the mounting bracket
and the grounding ring for the power
supply. Remove the power supply from
the mounting bracket.
3�
Disconnect all the wires connected to
the power supply and gently remove it
from the display.
4�
Attach the new power supply to the mounting bracket inside the display and
.
5�
Power up and test the display to verify the issue has been resolved.
Tabletop Possession Indicators
To replace an optional tabletop possession indicator arrow/colon:
1�
Unplug the possession indicator from the designated convenience outlet.
2�
Remove the screws securing the possession indicator cover.
3�
Disconnect the power/signal cable from the malfunctioning indicator.
4�
Use a 11/32" nut driver to remove the nuts securing the indicator, and then lift it off
the stud inserts.
5�
Position a new indicator over the studs (making sure the small plastic spacers are still
in place), and then tighten the nuts.
6�
Reconnect the power/signal cable, and replace all screws for the indicator cover.
7�
Plug the possession indicator back into the designated convenience outlet, then
power up and test the display to verify the issue has been resolved.
Replacement Parts
Part Description
Daktronics Part #
Quick Connect Light String Jumpers
0A-1778-7007
Toolkit
0A-1892-0001
LED Driver II, 4-Column [Light Strips]
0P-1150-0130
Red Arrow, 3" [Possession Indicator]
0P-1150-0185
Red Colon, 1" [Possession Indicator]
0P-1230-0070
Power Supply; 12V, 85-264VAC, 150W
A-2855
LED Strip Lighting, White
DS-1784
Table Latch
HS-1669
Transformer, 115/230V; 6.25A [Light Strips, Possession Indicator]
T-1066
XLR Cable, M to F; 5' [Light Strips]
W-1627
Figure 23:
Power Supply Inside Display


