Display Troubleshooting
8
Issue
Issue Image
Troubleshooting Steps
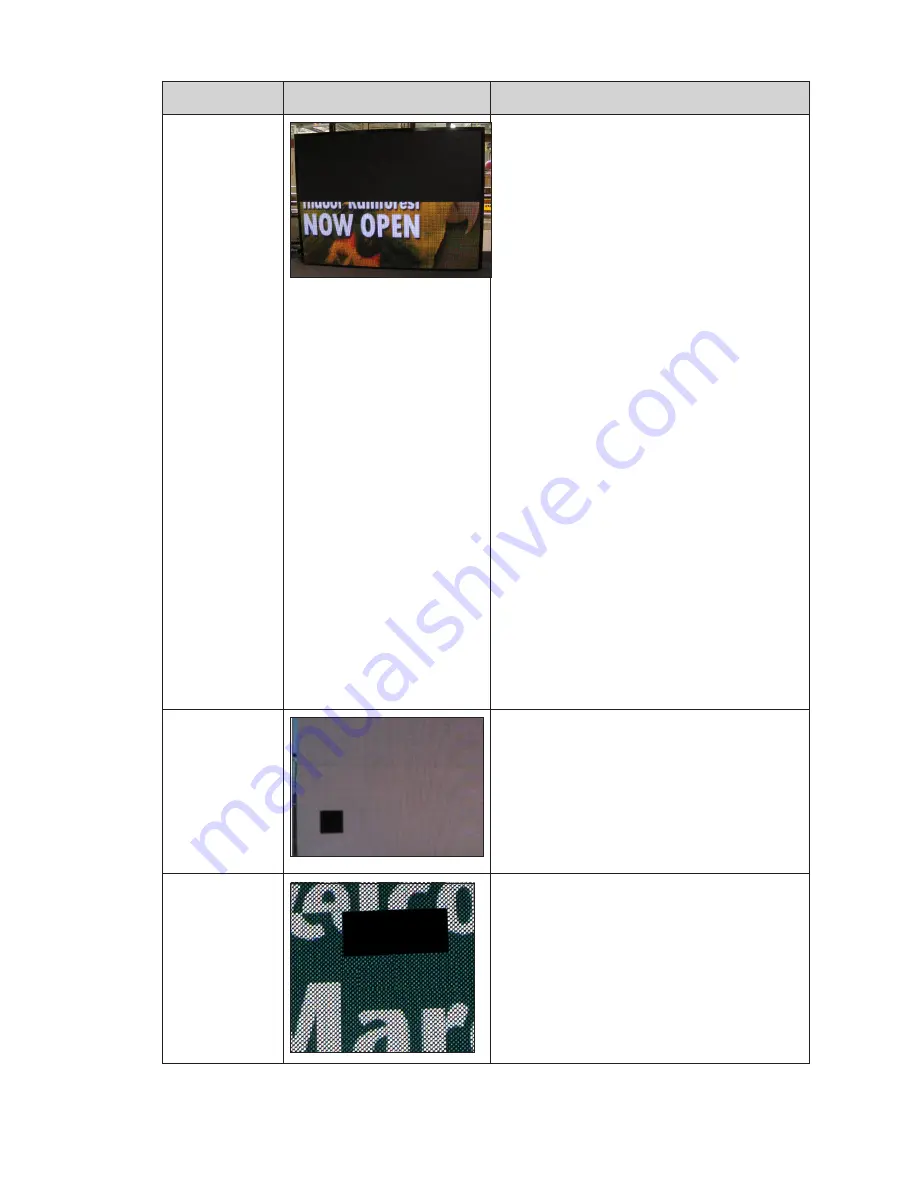
Blank display
section
1.
If applicable, verify the fiber interconnects
are installed.
2. On displays with multiple sections or power
entrances, verify the power interconnect
cables between the display sections are
connected.
3. Check the modules at the beginning and
end of the affected area. This issue can
be caused by disconnected or bad SATA
cables on both of those modules. If the
module power indicator is on, there is most
likely a SATA cable issue. If the module
power indicator light is off, there is most
likely a module issue.
4. Measure site power and verify it meets
the requirements listed on the system
riser. If this issue appears when there is
white or light content, it is possible there
is insufficient power to the display. If this
is the case, work with an electrician to
establish the correct site power.
5. Verify the PLR has power and is
functioning. Disconnect and reconnect
power to the PLR.
6. Verify there is power to that display section
by checking module status indicators on
multiple modules. If there is no power,
check the breakers on that sections term
panel.
7. Check that the contactors in each display
section are closed which means that
section should be receiving power.
1 module out
1. Ensure the SATA and power cables to the
module are connected and secure.
2. A SATA cable may be damaged, replace
both SATA cables to the module to see if
this addresses the issue.
3. It is likely a bad module. Swap the module
with a replacement module and verify
that the new module functions correctly.
Multiple modules
out
1. Check module output with a multimeter
to verify there is output from the 12VDC
supply. If there is no output, and there is
power connected to the power supply,
replace the power supply.
2. If there is power to the power supply and
the modules, check the SATA cables to
the modules. It is possible the SATA cables
at the beginning and end of the affected
modules are disconnected or bad.


