REMOVAL
PROCEDURE
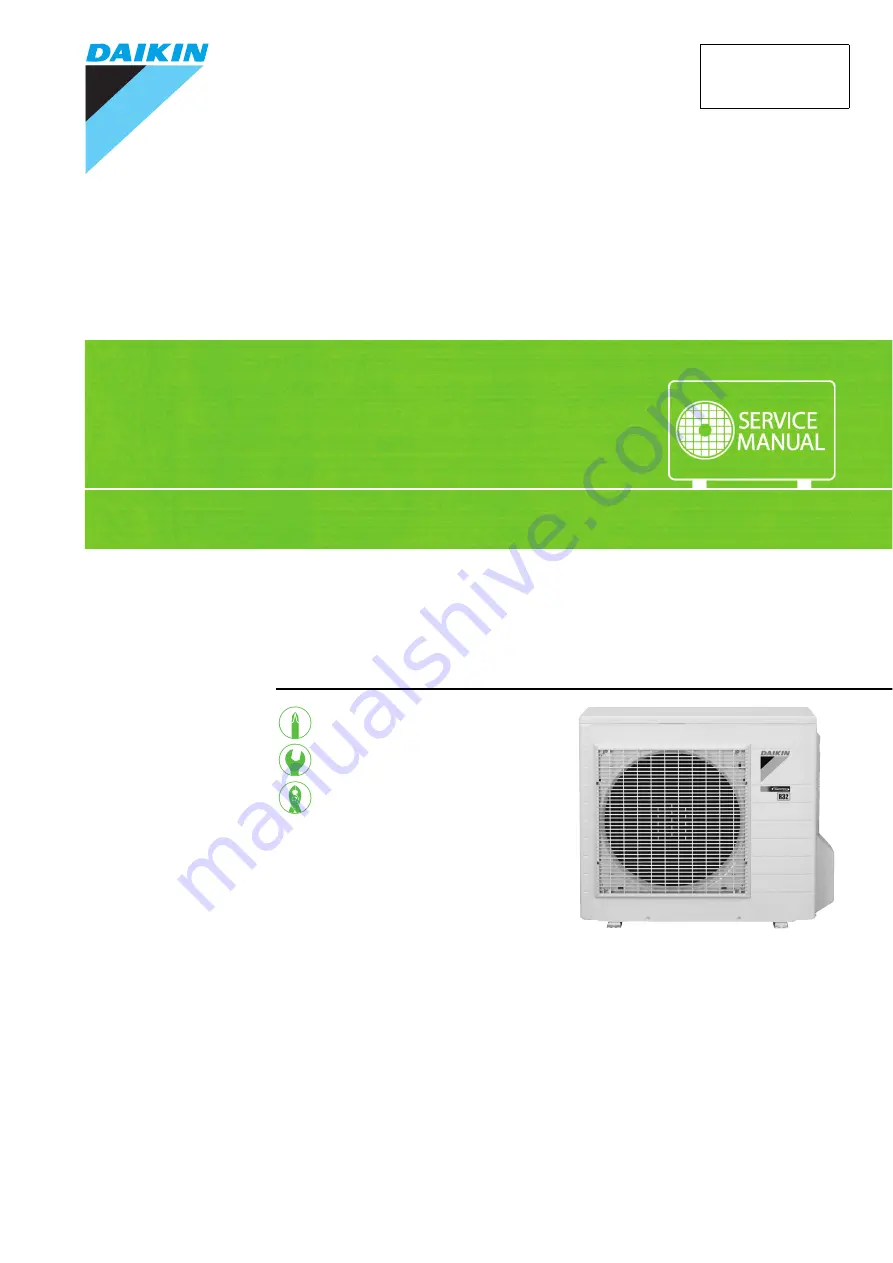
S E R V I C E M A N U A L
Outdoor Unit
Inverter
Pair Type
4.1/4.2/4.6/5.0/6.0/6.3 kW Class
Si001421EA
Page 1: ...REMOVAL PROCEDURE S E R V I C E M A N U A L Outdoor Unit Inverter Pair Type 4 1 4 2 4 6 5 0 6 0 6 3 kW Class Si001421EA ...
Page 2: ...val Procedure Outdoor Unit zCooling Only zHeat Pump RKM46PVMA RXJ41NVLT RKM50PVMA RKM60PVMA RXJ50LV1B RXJ50NVMV RXJ50PVMA RXM42LV1B RXM50LV1B RXM41NVLT RXM50NVLT RXM46PVMA RXM50PVMA RXM60PVMA RXV41NVLT RXV50NVLT RXV63NVLT ...
Page 3: ...n Fan Motor 4 3 Electrical Box 6 4 PCBs 11 5 Partition Plate Sound Blankets 14 6 Electronic Expansion Valve Coil Four Way Valve 16 7 Compressor 18 Note The illustrations may be slightly different depending on the model The illustrations are for heat pump models as representative ...
Page 4: ...it for 10 minutes or more after turning off all power supplies before disassembling work Step Procedure Points 1 Remove the 4 screws and remove the top panel 2 Remove the 4 screws 3 Unfasten the 6 hooks and remove the discharge grille Top panel R21371 R21372 Discharge grille R21373 ...
Page 5: ...Si001421EA Outer Panels Removal Procedure 3 4 Remove the 6 screws 5 Unfasten the 4 hooks and remove the front panel Step Procedure Points R21374 Front panel R21375 ...
Page 6: ...ore after turning off all power supplies before disassembling work Step Procedure Points 1 Remove the drip proof cover 2 Cut the clamp 3 4 Disconnect the connector S70 Release the fan motor lead wire from the groove and the hook S70 fan motor Drip proof cover R21376 Clamp R21377 Hook S70 Groove Fan motor lead wire R21378 ...
Page 7: ...ove the fan motor fixing frame 7 Open the 3 hooks and release the fan motor lead wire When reassembling put the fan motor lead wire through the back of the fan motor so as not to be entangled with the outdoor fan 8 Remove the 4 screws and remove the fan motor Step Procedure Points Outdoor fan Nut R21379 10 mm 0 39 inch R18954 Fan motor fixing frame R21380 Hook Fan motor lead wire R21381 R3249 Lead...
Page 8: ...sembling work Step Procedure Points 1 Remove the right side panel When reassembling make sure to fit the 6 hooks 1 2 Remove the screw Pull down and remove the stop valve cover 3 4 Remove the 2 screws Slide upward and remove the shield plate 5 Remove the 3 screws and remove the wire fixture Stop valve cover R21383 R21384 Shield plate R21385 Wire fixture R21386 ...
Page 9: ...Some models have no demand communication wire 9 Pull out the outdoor temperature thermistor from the protection net and the groove When reassembling pass the thermistor harness through between the heat exchanger pipes as below 10 Remove the 4 screws and remove the right side panel Step Procedure Points Earth ground screw Power supply wire Connecting wire Demand communication wire R21387 Clamp R213...
Page 10: ...ct the connector S90 Pull out the clamp 3 Slightly open the sound blanket top and detach the discharge pipe thermistor Be careful not to lose the fixture for the thermistor 4 Remove the sound blanket back Step Procedure Points Hook Hook R21392 Clamp S90 R21393 Discharge pipe thermistor Sound blanket top R21394 Fixture R21395 Sound blanket back R21396 ...
Page 11: ... 3 Remove the electrical box S40 overload protector When reassembling connect the connectors in the following order 1 S20 2 S80 3 relay connector for compressor 4 S40 1 Disconnect the connector S40 2 Disconnect the relay connector for the compressor Step Procedure Points Clamp Outdoor heat exchanger thermistor R21397 R3264 Clip Thermistor ASSY R21398 S40 R25521 Relay for compressor R25522 ...
Page 12: ... no harness for the connector S80 nor four way valve coil 5 6 Disconnect the connector S20 Pull out the clamp S20 electronic expansion valve coil When reassembling insert the clamps of harnesses as below 7 Remove the 2 screws 8 Remove the electrical box Step Procedure Points S80 Clamp R21401 Clamp S20 R21402 S80 S20 R21403 R21404 Electrical box R21405 ...
Page 13: ...r supplies before disassembling work Step Procedure Points 1 Remove the 2 screws and detach the earth ground wires 2 Cut the clamp The position of the clamp varies depending on the models 3 Pull out the 3 clamps Some models have only 2 clamps Earth ground screw Earth ground screw R21406 Clamp R21407 Clamp Clamp R21408 ...
Page 14: ...rs S201 S203 S201 terminal board S203 main PCB Some models have no connectors S201 and S203 6 Remove the 2 screws 7 Unfasten the hook on the back and remove the electronic component mounting plate Step Procedure Points Terminal board R21409 S203 S201 R21410 R21411 Electronic component mounting plate Hook R21412 ...
Page 15: ...mand control PCB The demand controller as an optional accessory has S204 and S205 instead of S206 S206 S204 S205 smart meter Some models have no demand control PCB 11 12 Remove the 7 screws Unfasten the 5 hooks and remove the main PCB Step Procedure Points Hook S206 R21413 Demand control PCB R21414 Hook R21415 Main PCB R21416 ...
Page 16: ...ng work Step Procedure Points 1 Remove the partition plate When reassembling make sure to fit the hook on the bottom 1 Remove the 2 screws and remove the partition plate 2 Remove the sound blankets Since the piping ports are torn easily remove the sound blankets carefully 1 Remove the sound blanket top upper R21417 Hole for the hook Partition plate R21418 Hook R21419 Sound blanket top upper R21420...
Page 17: ...ankets Removal Procedure 15 2 Remove the sound blanket top lower 3 Remove the sound blanket outer 4 Remove the sound blanket inner Step Procedure Points Sound blanket top lower R21421 Sound blanket outer R21422 Sound blanket inner R21423 ...
Page 18: ...eat Keep below 120 C 248 F For the sake of this wrap the four way valve with wet cloth and provide water so that the cloth does not dry Note Before working make sure that the refrigerant gas is empty in the circuit Be sure to apply nitrogen replacement when heating up the brazed part Do not use a metal saw for cutting pipes by all means because the sawdust comes into the circuit When withdrawing t...
Page 19: ...the terminal cover 4 5 Disconnect the harness for overload protector Disconnect the compressor lead wires 6 7 Remove the sheets of putty Heat up the every brazed part and disconnect the four way valve Step Procedure Points Four way valve coil R21425 Terminal cover R21426 W blue U red V yellow Overload protector R21427 Putty Brazed part R21428 ...
Page 20: ...efore working make sure that the refrigerant gas is empty in the circuit Be sure to apply nitrogen replacement when heating up the brazed part Do not use a metal saw for cutting pipes by all means because the sawdust comes into the circuit When withdrawing the pipes be careful not to pinch them firmly with pliers The pipes may get deformed Provide a protective sheet or a steel plate so that the br...
Page 21: ...t up the brazed part of the discharge side pipe and disconnect it Heat up the brazed part of the suction side pipe and disconnect it Remove the 2 nuts and remove the compressor Step Procedure Points Putty Brazed part of suction side pipe Brazed part of discharge side pipe Nut R22523 ...
Page 22: ...Revision History Month Year Version Revised contents 04 2015 Si001421E First edition 09 2015 Si001421EA Model addition RXM41 50NVLT RXV41 50 63NVLT ...
Page 23: ...ies supplied or specified by Daikin Ask a qualified installer or contractor to install those parts and accessories Use of unauthorised parts and accessories or improper installation of parts and accessories can result in water or refrigerant leakage electrical shock fire or explosion z Read the user s manual carefully before using this product The user s manual provides important safety instructio...