Installation Manual
EDUS72-975
40
BRC1E71
7.6
Field Settings
3P243521-2B
14
English
6-6
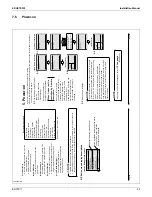
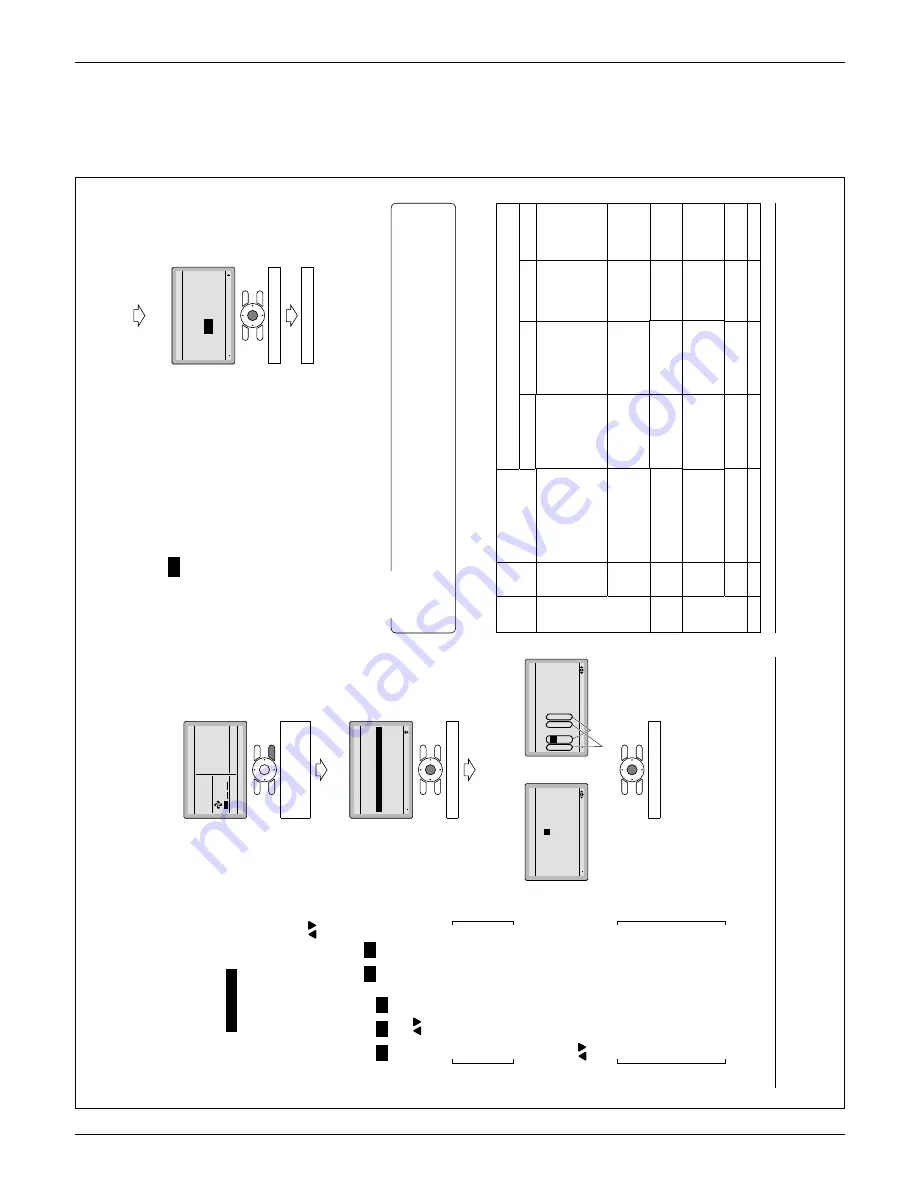
Press Menu/OK button.
Setting
confi
rmation screen is displayed.
Select
6-7
Y
es
and press Menu/OK
button. Setting details are
determined and fi
eld settings
screen returns.
In the case of multiple setting
6-8
changes, repeat “
6-3
” to “
6-7
”.
After all setting changes are com-
6-9
pleted, press Cancel button
twice.
Backlight goes out, and
6-10
“Checking the connection.
Please stand by
.” is displayed for
initialization.
After the initializa-
tion, the basic screen returns.
Ɣ
Installation of optional accessories on the indoor unit may require changes to fi
eld settings.
See the manual of the optional accessory
.
For fi
eld setting details related to the indoor unit, see installation manual shipped with the
Ɣ
indoor unit.
NOTE
Mode
No.
(Note 1)
First
Code
No.
Description
Second Code No. (Note 2)
(Items in bold are factory default settings)
01
02
03
04
10 (20)
2
Priority of thermistor
sensors for space
temperature control
The return air
thermistor is
primary and the
remote
controller
thermistor is
secondary
.
The remote
controller
thermistor is not
utilized. Only
the return air
thermistor will
be utilized.
Only the
remote
controller
thermistor will
be utilized.
————
5
Room temperature
value reported to
multizone controllers
Return air
thermistor
Thermistor
designated by
10-2 above
(Note 3)
————
————
12 (22)
2
Thermo-on/of
f
deadband
(Note 4)
2F (1C)
1F (0.5C)
————
————
1c
1
Thermistor sensor for
auto changeover and
setback control by the
remote controller
Utilize the return
air thermistor
Utilize the remote
controller
thermistor
————
————
3
Access permission
level setting
Level 2
Level 3
————
————
1e
2
Setback availability
N/A
Heat only
Cool only
Cool/Heat
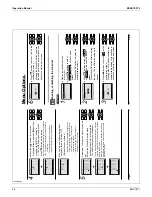
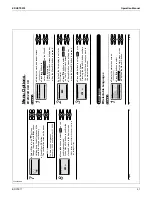
<Setting confi
rmation
screen>
6
6-
7
6-
Setting
Save the settings?
Field Settings
Ye
s
No
Press Menu/OK button.
Setting confi
rmation
01_EN_3P243521-2B.indd 14
8/27/2009 2:00:14 PM
English
13
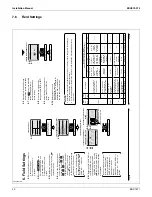
Field Settings
6.
6-1
Press and hold Cancel button for
4 seconds or longer
.
Service settings menu is
displayed.
Select
6-2
Field Settings
in the
Service Settings menu, and
press Menu/OK button.
Field settings screen is dis-
played.
Highlight the mode, and select
6-3
desired “Mode No.” by using
(Up/Down) button.
In the case of setting per indoor
6-4
unit during group control (When
Mode No. such as
20
,
21
,
22
,
23
,
25
are selected),
highlight the unit No. and select
“Indoor unit No.” to be set by
using
(Up/Down) button.
(In the case of group total setting,
this operation is not needed.)
In the case of individual setting
per indoor unit, current settings
are displayed.
And, SECOND
CODE NO. “ - ” means no
function.
Highlight SECOND CODE NO. of
6-5
the FIRST
CODE NO. to be
changed, and select desired
“SECOND CODE NO.” by using
(Up/Down) button. Multiple
identical mode number settings
are available.
In case of setting for all indoor
units in the remote control
group, available SECOND
CODE NO. is displayed as “
∗
”
which means it can be
changed.
When SECOND CODE NO. is
displayed as “ - ”, there is no
function.
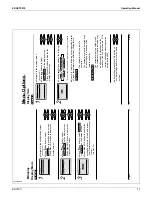
<Basic screen>
1
6-
Set temperature
28
°C
Fan
Return
Press the menu button
Press and hold Cancel
button for 4 seconds or
longer during backlight lit.
<Service Settings menu screen>
2
6-
Setting
1/3
Service Settings
T
e
st Operation
Maintenance Contact
Field Settings
Energy Saving Options
Prohibit Buttons
Min Setpoints Dif
ferential
Press Menu/OK button.
<Service Settings screen>
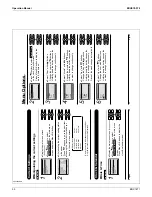
In the case of individual
setting per indoor unit
In the case of group
total
setting
3
6-
4
6-
5
6-
Unit No
0
1
–
01
5
–––
9
–––
2
–
02
6
–––
a
–––
3
–
01
7
–––
b
–––
Field Settings
0
–
01
4
–––
8
–––
Setting
Mode
20
3
6-
5
6-
Mode
10
Unit No
0
1
–
5
–––
9
–––
2
–
6
–––
a
–––
3
–
7
–––
b
–––
Field Settings
0
–
01
4
–––
8
–––
Setting
Press Menu/OK button.
FIRST
CODE (SW) NO.
SECOND CODE NO.
01_EN_3P243521-2B.indd 13
8/27/2009 2:00:13 PM
Summary of Contents for BRC1E71
Page 1: ...AMERICAS...
Page 8: ...EDUS72 975 Features BRC1E71 7 1 5 Other Features...

