Installer reference guide
Split system air conditioners
English
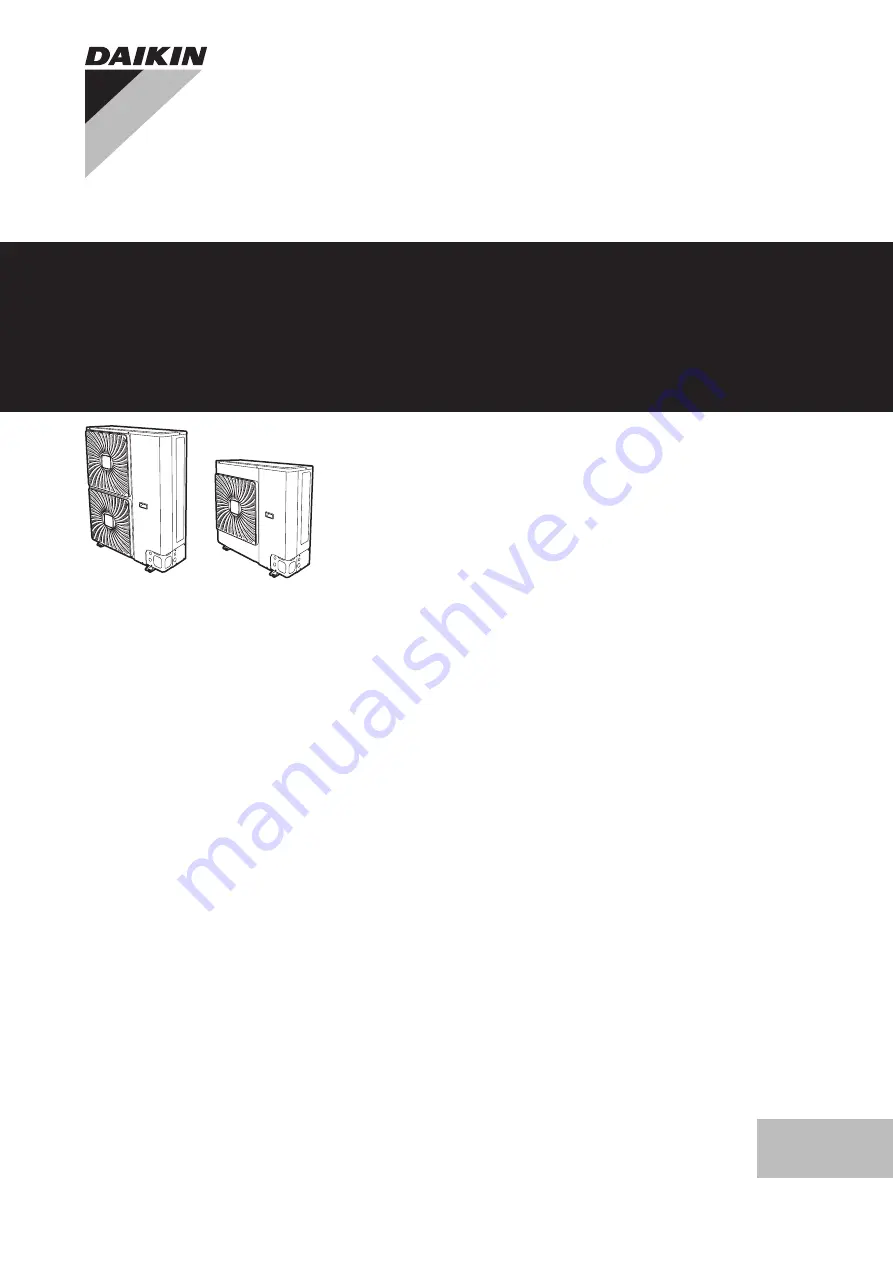
AZQS100B8V1B AZQS125B8V1B AZQS140B8V1B AZQS100B7Y1B AZQS125B7Y1B AZQS140B7Y1B
Page 1: ...Installer reference guide Split system air conditioners English Installer reference guide Split system air conditioners AZQS100B8V1B AZQS125B8V1B AZQS140B8V1B AZQS100B7Y1B AZQS125B7Y1B AZQS140B7Y1B...
Page 2: ...e outdoor unit 13 6 4 9 To determine if oil traps are required 14 6 5 Checking the refrigerant piping 14 6 5 1 About checking the refrigerant piping 14 6 5 2 Precautions when checking the refrigerant...
Page 3: ...BURNING Do NOT touch the refrigerant piping water piping or internal parts during and immediately after operation It could be too hot or too cold Give it time to return to normal temperature If you mu...
Page 4: ...n WARNING Make sure there is no oxygen in the system Refrigerant may only be charged after performing the leak test and the vacuum drying In case re charge is required refer to the nameplate of the un...
Page 5: ...istant to high frequency electric noise to avoid unnecessary opening of the earth leakage protector NOTICE Precautions when laying power wiring Do not connect wiring of different thicknesses to the po...
Page 6: ...lation What to do and know to install the system Commissioning What to do and know to commission the system after it is installed Hand over to the user What to give and explain to the user Maintenance...
Page 7: ...Also read the following requirements General installation site requirements See the General safety precautions chapter Service space requirements See the Technical data chapter Refrigerant piping req...
Page 8: ...tallation only and for ambient temperatures ranging Model Cooling Heating AZQS 5 46 C 15 15 5 C 5 2 2 Additional installation site requirements of the outdoor unit in cold climates Protect the outdoor...
Page 9: ...nsion cords or connections from a star system They can cause overheating electrical shock or fire Do NOT install a phase advancing capacitor because this unit is equipped with an inverter A phase adva...
Page 10: ...350 3 4 5 3 5 5 4 M12 a a Make sure not to cover the drain holes INFORMATION The recommended height of the upper protruding part of the bolts is 20 mm 20 NOTICE Fix the outdoor unit to the foundation...
Page 11: ...ng the refrigerant piping to the indoor unit Installing oil traps Insulating the refrigerant piping Keeping in mind the guidelines for Pipe bending Flaring pipe ends Brazing Using the stop valves 6 4...
Page 12: ...ration A Flare tool for R410A clutch type Conventional flare tool Clutch type Ridgid type Wing nut type Imperial type A 0 0 5 mm 1 0 1 5 mm 1 5 2 0 mm 5 Check that the flaring is properly made a b c a...
Page 13: ...m cap is sealed where indicated with the arrow Do NOT damage it After handling the stop valve tighten the stem cap and check for refrigerant leaks Item Tightening torque N m Stem cap liquid side 13 5...
Page 14: ...might cause liquid compression or deterioration of oil return Oil traps in the rising gas piping can prevent this If Then The indoor unit is installed higher than the outdoor unit Install an oil trap...
Page 15: ...old indicates 0 1 MPa 1 bar 2 Leave as is for 4 5 minutes and check the pressure If the pressure Then Does not change There is no moisture in the system This procedure is finished If the pressure Then...
Page 16: ...the service ports indicated on the figures below opened The location is depending on model type Location of service ports AZQS140_V1 a b c AZQS100 125_V1 a b c AZQS140_Y1 a b c AZQS100 125_Y1 a b c a...
Page 17: ...ional refrigerant amount charged d Total refrigerant charge e Greenhouse gas emissions of the total refrigerant charge expressed as tonnes CO2 equivalent f GWP Global warming potential NOTICE In Europ...
Page 18: ...d single core wire b Screw c Flat washer Stranded conductor wire with round crimp style terminal c b b a c a B B a Terminal b Screw c Flat washer Tightening torques Item Tightening torque N m M4 X1M 1...
Page 19: ...are routed from the unit a protection sleeve for the conduits PG insertions can be inserted at the knockout hole When you do not use a wire conduit protect the wires with vinyl tubes to prevent the e...
Page 20: ...ated this way the compressor will break NOTICE Cooling operation mode Perform the test run in cooling operation mode so that stop valves failing to open can be detected Even if the user interface was...
Page 21: ...wiring and switch two of the three electrical wires U4 or UF The inter unit branch wiring is not correct UA The outdoor and indoor unit are incompatible NOTICE The reversed phase protection detector o...
Page 22: ...her parts according to the applicable legislation INFORMATION For more details see the service manual 11 2 About pump down The unit is equipped with an automatic pump down function with which you can...
Page 23: ...B C D E HB HU HD B 100 A B C 100 100 100 B E 100 1000 500 A B C E 150 150 150 1000 500 D 500 D E 1000 500 500 500 500 B D 100 100 B D E HB HD HB HD HB HU 250 750 1000 500 HU HB HU 250 1000 1000 500 HB...
Page 24: ...required to install a roof but seal the gap between the upper and lower units to prevent discharged air from flowing back to the suction side through the bottom of the unit 12 2 Piping diagram Outdoo...
Page 25: ...ion F1U F8U AZQS100_V1 F1U F2U Fuse F6U Fuse T 3 15 A 250 V F7U F8U Fuse F 1 0 A 250 V F1U F8U AZQS125 140_V1 F1U F4U Fuse F6U Fuse T 5 0 A 250 V F7U F8U Fuse F 1 0 A 250 V F1U F8U AZQS_Y1 F1U F2U Fus...
Page 26: ...company which can perform or coordinate the required service to the product Installation manual Instruction manual specified for a certain product or application explaining how to install configure a...
Page 27: ......
Page 28: ...4P385529 1B 2016 10 Copyright 2014 Daikin...