REMOVAL
PROCEDURE
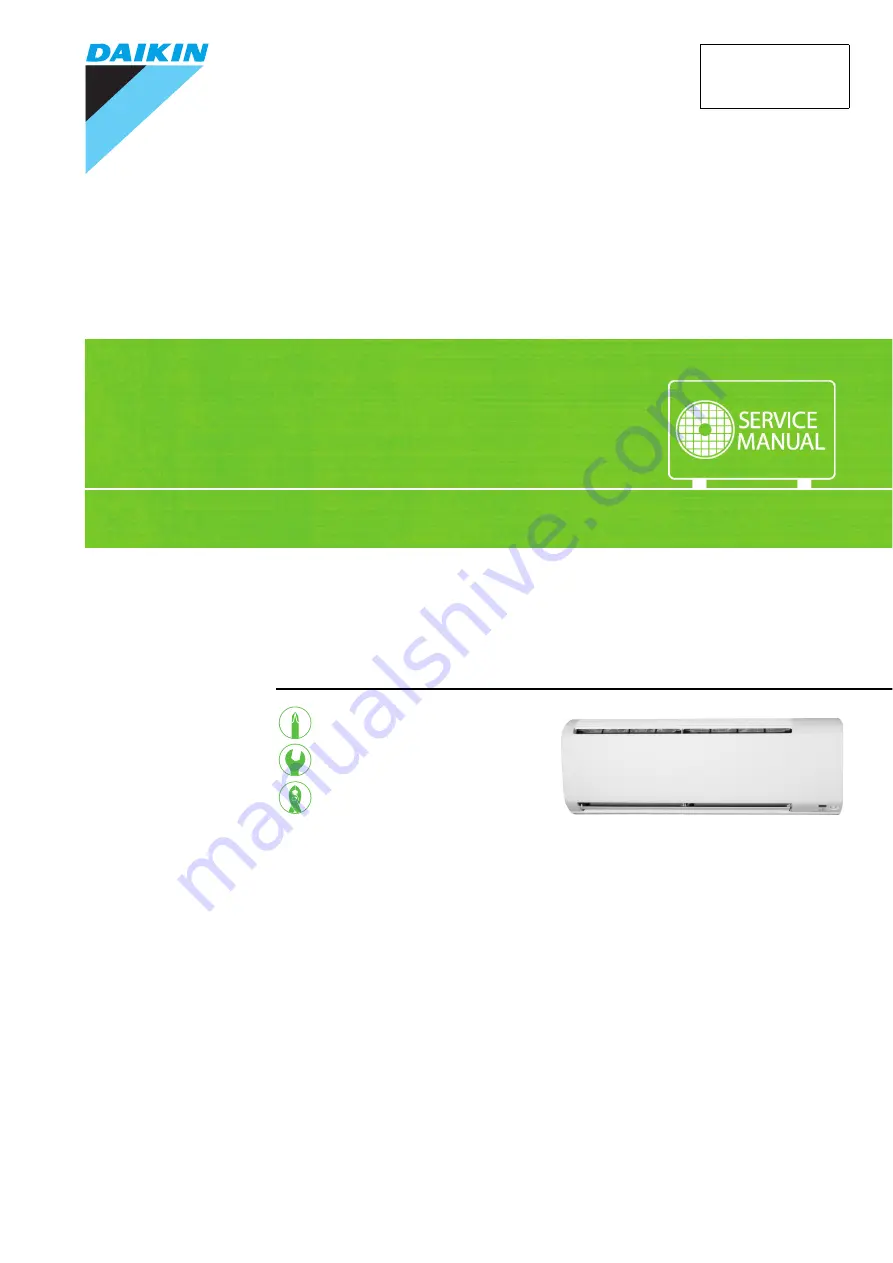
S E R V I C E M A N U A L
Indoor Unit
Inverter / Non-Inverter
Wall Mounted Type
2.5/3.5/4.2 kW Class
Si041402EC
Page 1: ...REMOVAL PROCEDURE S E R V I C E M A N U A L Indoor Unit Inverter Non Inverter Wall Mounted Type 2 5 3 5 4 2 kW Class Si041402EC ...
Page 2: ...QRV16 DTQ35RRV162 DTKM25QRV16 DTKM35QRV16 DTKM25RRV16 DTKM35RRV16 DTKP25QRV16 DTKP35QRV16 DTKP25RRV16 DTKP35RRV16 FTC35PRV16 FTC25QRV16 FTC35QRV16 FTC35QRV161 FTC35QRV1615 FTC25RRV162 FTC35RRV161 FTC42RRV162 FTC35RRV1615 FTC42RRV1625 FTF35PRV16 FTF35QRV16 FTF35QRV161 FTF35QRV1625 FTF35RRV161 FTF35RRV1615 FTQ35PRV16 FTQ35QRV16 FTQ35QRV1625 FTQ35RRV162 FTQ35RRV1625 FTUF35RRV161 FTKH35QRV16 FTKH35RRV...
Page 3: ...s 2 2 Front Panel 3 3 Front Grille 4 4 Horizontal Blade Vertical Blade ASSYs 5 5 Electrical Box 7 6 PCBs 9 7 Drain Pan Unit Swing Motor 13 8 Indoor Heat Exchanger 14 9 Fan Motor Fan Rotor 16 Note The illustrations may be slightly different depending on the model ...
Page 4: ...ssembling insert the air filter along the guides Be sure to insert the 2 hooks when mounting the air filter 1 2 Open the front panel to the position where it stops Pull out the air filter downward and remove it 2 Remove the optional filters The right and left filters are interchangeable 1 Unfasten the 4 projections to remove the optional filter ASSY if available 2 Unfasten the 5 hooks and remove t...
Page 5: ...k Step Procedure Points 1 Open the front panel over the position where it stops 2 Slide the left shaft to the right and release the left shaft When reassembling the front panel fit the right and left shafts one by one into the grooves and fully push them into position 3 4 Remove the right shaft in the same way Remove the front panel Front panel R20053 R20054 R20055 ...
Page 6: ...n reassembling the indoor unit drive the screws with the horizontal blade opened or removed 2 Unfasten the 3 hooks on the top of the front grille The convex marks on the front grille indicate the position of the hooks When reassembling make sure that all the 3 hooks are fastened When reassembling the front grille be sure not to get it stuck on the spacer of the drain pan 3 Pull out the upper part ...
Page 7: ...e Points 1 Remove the horizontal blade 1 Unfasten the center shaft while bending the horizontal blade slightly 2 Unfasten the left shaft Installation procedure 1 Fit the horizontal blade to the right shaft first Make sure to rotate the horizontal blade so the shaft fits correctly 2 Fit the horizontal blade to the center and left shafts 3 Unfasten the right shaft and remove the horizontal blade Hor...
Page 8: ...t 2 Unfasten the 3 hooks of the vertical blade ASSY by pressing them with a flat screwdriver 3 4 Remove the vertical blade ASSY Remove the other vertical blade ASSY in the same way Each vertical blade ASSY has 6 fins It is not possible to replace the fins individually The vertical blade ASSY is not marked for difference between right and left Step Procedure Points Hook R20062 Hook R20063 R20064 ...
Page 9: ...he screw and then the service cover 2 3 Remove the screw and then the wire fixture Remove the 4 screws on the terminal board and disconnect the connecting wire 4 5 Disconnect the 3 connectors Release the harnesses from the hooks a fan motor S1 or CN_FAN b swing motor S6 or CN_STP c fan motor Hall IC S7 or CN101 Service cover R20065 Wire fixture Terminal board R20066 Connecting wire a b c Hook Hook...
Page 10: ... ground wire Be careful not to lose the clip for the thermistor 9 10 Remove the screw of the electrical box Lift up and pull the electrical box 11 Unfasten the hook at the top by pressing it from above and remove the electrical box Step Procedure Points Drip proof plate R20068 Indoor heat exchanger thermistor Earth ground wire R20983 Clip R11234 Electrical box R20070 R20071 Hook ...
Page 11: ...tep Procedure Points 1 Remove the shield plate 1 Unfasten the hook on the right side of the electrical box 2 Unfasten the 2 hooks on the top and remove the shield plate 2 Remove the electrical box cover Some models have COMP L and N instead of S2 1 Disconnect the connector S2 for the terminal board Hook R20072 Hook Shield plate R23418 R20074 Connector s ...
Page 12: ...and remove it 3 Remove the signal receiver unit When reassembling the signal receiver unit make sure the 2 lower hooks are also securely fastened 1 Unfasten the upper hook and remove the signal receiver unit Step Procedure Points Hook Electrical box cover R23419 Hook Hook Signal receiver unit R20076 R20077 ...
Page 13: ...ctor S27 Some models have CN_MB instead of S27 5 Remove the INTELLIGENT EYE sensor PCB Some models have no INTELLIGENT EYE sensor PCB 1 Remove the INTELLIGENT EYE fixing plate 2 Unfasten the 4 hooks and remove the INTELLIGENT EYE sensor PCB Step Procedure Points Hook Hook Display signal receiver PCB R23420 Connector R20079 INTELLIGENT EYE fixing plate R20080 Hook Hook INTELLIGENT EYE sensor PCB R2...
Page 14: ... control PCB 6 Remove the control PCB When reassembling the control PCB make sure the 2 upper hooks are also securely fastened 1 2 Unfasten the 2 lower hooks Lift up the bottom of the control PCB and pull it out Step Procedure Points S36 R20082 R20083 Hook Hook Control PCB ...
Page 15: ...n pan unit When reassembling make sure that the hook at the left side is fitted in the groove 1 Remove the screw at the right side of the drain pan unit 2 3 Press the right side of the drain pan unit and twist the left side Remove the drain pan unit from the indoor unit 2 Remove the swing motor 1 Remove the screw of the swing motor 2 Remove the shaft and then the swing motor R20084 Drain pan unit ...
Page 16: ... the refrigerant leaks repair the spot of leaking then collect all refrigerant from the unit After conducting vacuum drying recharge proper amount of refrigerant From the viewpoint of global environmental protection make sure to use a vacuum pump for air purging Step Procedure Points 1 Remove the 2 screws which fix the indoor unit to the installation plate Insertion of a wooden base may facilitate...
Page 17: ...e left hook with a flat screwdriver When reassembling the indoor heat exchanger make sure that the hooks are fastened 7 Unfasten the right hook 8 Lift up and remove the indoor heat exchanger Step Procedure Points Auxiliary piping R23422 Hook R23423 Left view R23424 Hook Right view Indoor heat exchanger R20094 ...
Page 18: ... between the side face of the rotor and the bottom frame 3 4 Remove the 2 screws of the fan motor fixing plate Remove the fan motor fixing plate 5 Loosen the screw and remove the fan motor and the fan rotor 1 Insert the fan motor allowing for approx 5 mm 0 2 inch of play 2 Tighten the fan rotor screw until it stops Then give the screw one more turn 3 If the fan rotor rotates appropriately tighten ...
Page 19: ...6 DTKM25 35QRV16 DTKP25 35QRV16 FTKM25 35QRV16 FTKP25 35QRV16 05 2016 Si041402EC Model addition ATC25QRV16 ATC25RRV162 ATC35RRV161 ATC42RRV162 ATF35RRV161 ATKM25 35RRV16 ATKP25 35RRV16 ATQ35RRV162 DTC25QRV16 DTC25RRV162 DTC35RRV161 DTC42RRV162 DTF35RRV161 DTQ35RRV162 DTKM25 35RRV16 DTKP25 35RRV16 FTC25QRV16 FTC35QRV1615 FTC25 42RRV162 FTC35RRV161 FTC35RRV1615 FTC42RRV1625 FTF35QRV1625 FTF35RRV161 ...
Page 20: ...sories supplied or specified by Daikin Ask a qualified installer or contractor to install those parts and accessories Use of unauthorised parts and accessories or improper installation of parts and accessories can result in water or refrigerant leakage electrical shock fire or explosion z Read the user s manual carefully before using this product The user s manual provides important safety instruc...