


Deployment Manual
24
Step 7 Set and confirm the password of the devices, then enter a valid email address, and
then click
Next
.
Password can be modified or reset in
System Settings
.
Step 8 Select the options according to your needs, and then click
OK
.
The
Initialization
interface is displayed after initialization is completed. Click the
success icon (
) or the failure icon (
) for the details.
Step 9 Click
Finish
.
The device status in the
Modify IP
interface turns to
Initialized
.
5.2.2 Modifying IP Address
You can modify IP address of one or multiple devices in one time. This section is based on
modifying IP addresses in batches.
Modifying IP addresses in batches is available only when the corresponding devices have
the same login username and password.
Step 1 Do "Step 1" to "Step 4" in "5.2.1 Initializing Face Recognition Terminal with ACS
ConfigTool" to search for the face recognition terminals in your network segment.
After clicking
Search setting
, enter the username and password, and please make
sure that that they are the same as what you set during initialization, otherwise there
will be "wrong password" notice.
Step 2 Select the devices whose IP addresses need to be modified, and then click
Modify IP
.
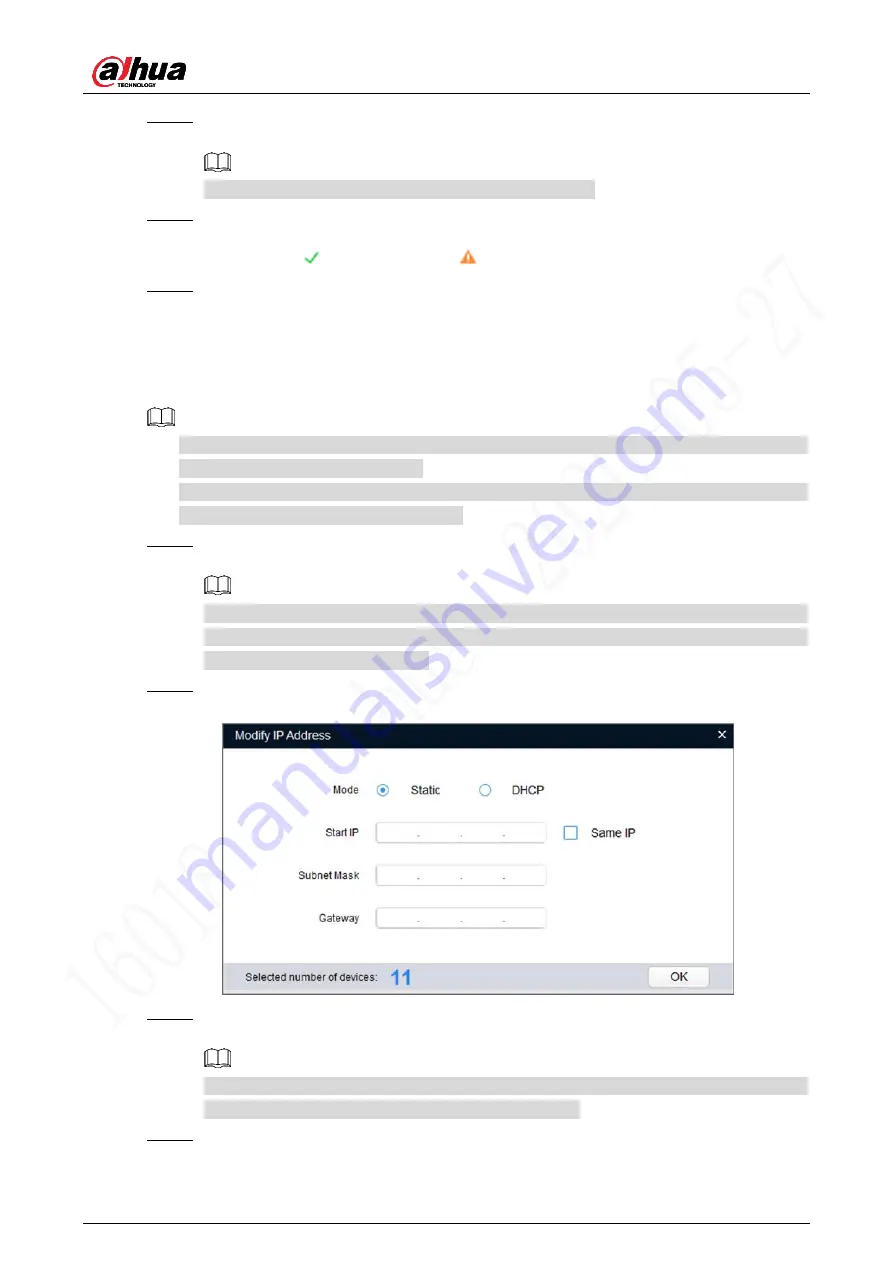
Figure 5-11 Modify IP Address
Step 3 Select
Static
mode, and then enter start IP, subnet mask, and gateway. All the IP
addresses will be modified sequentially from the start IP.
If DHCP server is available in the network, devices will automatically obtain IP
addresses from DHCP server when you select
DHCP
.
Step 4 Click
OK
.


