35
Time Lapse Video Cassette Recorder
34
Time Lapse Video Cassette Recorder
Setting the Buzzer
1
Press the MENU button to display the initial MENU.
2
Press the SHIFT
√
button to select VCR Mode Set.
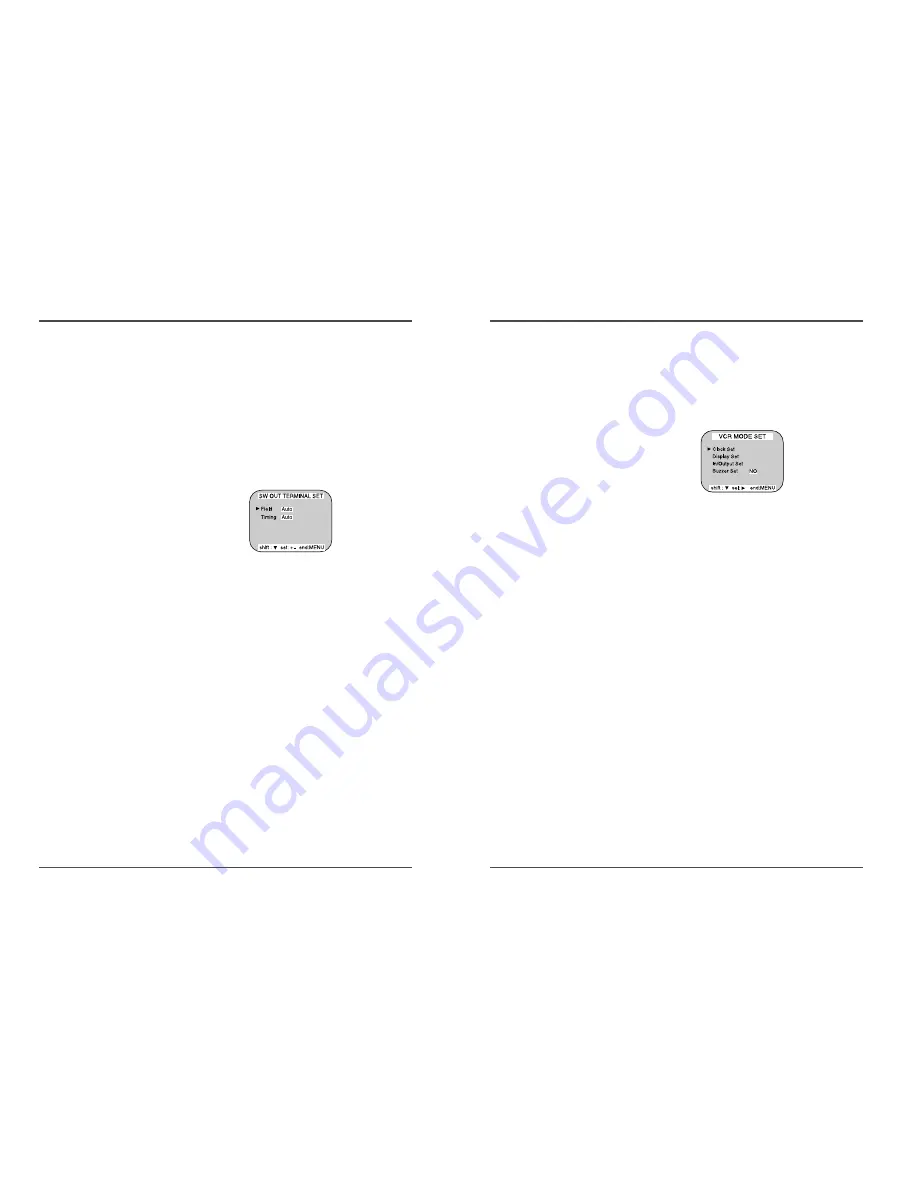
The VCR MODE SET menu is displayed.
3
Press the SHIFT
†
button to move the arrow mark
(
√
) to Buzzer Set.
4
Press the SHIFT
√
button to set “YES” for the
functions described below.
• The buzzer will be heard whenever a button is pressed.
✔
In the following cases, the
buzzer will be heard
approximately 5 times.
- If the REC button is pressed
while a cassette without
erasure-prevention tab is
loaded.
- If a cassette, without the
erasure - prevention tab, is
loaded while the timer is
set.
- If there is a series recording
input while a cassette
without erasure-prevention
tab is loaded.
- If the TIMER button is
pressed without inserting a
cassette.
✔
• If “NO” is set, the buzzer
will not operate.
Setting the SW Out Terminal Output
Synchronization pulses for multiplexer can be obtained
from the SW OUT terminal.
1
Press the MENU button, to display the initial MENU.
2
Press the SHIFT
†
button to move the arrow mark
(
√
) to SW OUT Terminal Set.
3
Press the SHIFT
√
button to display the SW OUT
TERMINAL SET menu.
4
Press the SHIFT
√
button to set “FIELD” (or
“FRAME”).
• With each press of the SHIFT
√
button, the setting will
change as indicated below.
5
Press the SHIFT
†
button, to select Timing.
6
Press the SHIFT
√
button to set the “TIMING”.
• AUTO . . . When you connect with external equipment,
the field will be switched automatically.
• FIELD . . . 1 pulse is output after each set number of
fields. (VHS mode, 3H, 6H)
• FRAME . . 1 pulse is output after each set number
frames. (VHS mode, 3H, 6H)
7
Press the MENU button, the normal screen is
displayed.
• The setting procedure is now complete.
✔
• If “TIMING” is set to
FRAME (see step 6),
“FRAME” will be indicated
instead of “FIELD”.
• In case of TimeLapse
mode, refer to the
“Recording Speed” Table
of page 14.


