A1
A2
A17
A19
A20
A21
A18
A25
A24
A22
A4
A15
A26
A3
A5
A16
A14
A13
A11
A8
A9
A23
A12
A10
A7
A6
2
CONTENTS
REMOTE CONTROL & TV CONNECTIONS . . . . . . . . . . . . . . . . . . . . . . 2
IMPORTANT SAFEGUARDS . . . . . . . . . . . . . . . . . . . . . . . . . . . . . . . . . . 3
INSTALLATION . . . . . . . . . . . . . . . . . . . . . . . . . . . . . . . . . . . . . . . . . . . . . 4
START UP . . . . . . . . . . . . . . . . . . . . . . . . . . . . . . . . . . . . . . . . . . . . . . . . . . 5
CONNECTING EXTERNAL EQUIPMENT . . . . . . . . . . . . . . . . . . . . . . . 5
DAILY USE . . . . . . . . . . . . . . . . . . . . . . . . . . . . . . . . . . . . . . . . . . . . . . . . . . 6
MENUS DESCRIPTION . . . . . . . . . . . . . . . . . . . . . . . . . . . . . . . . . . . . . . . 9
TELETEXT . . . . . . . . . . . . . . . . . . . . . . . . . . . . . . . . . . . . . . . . . . . . . . . . . 14
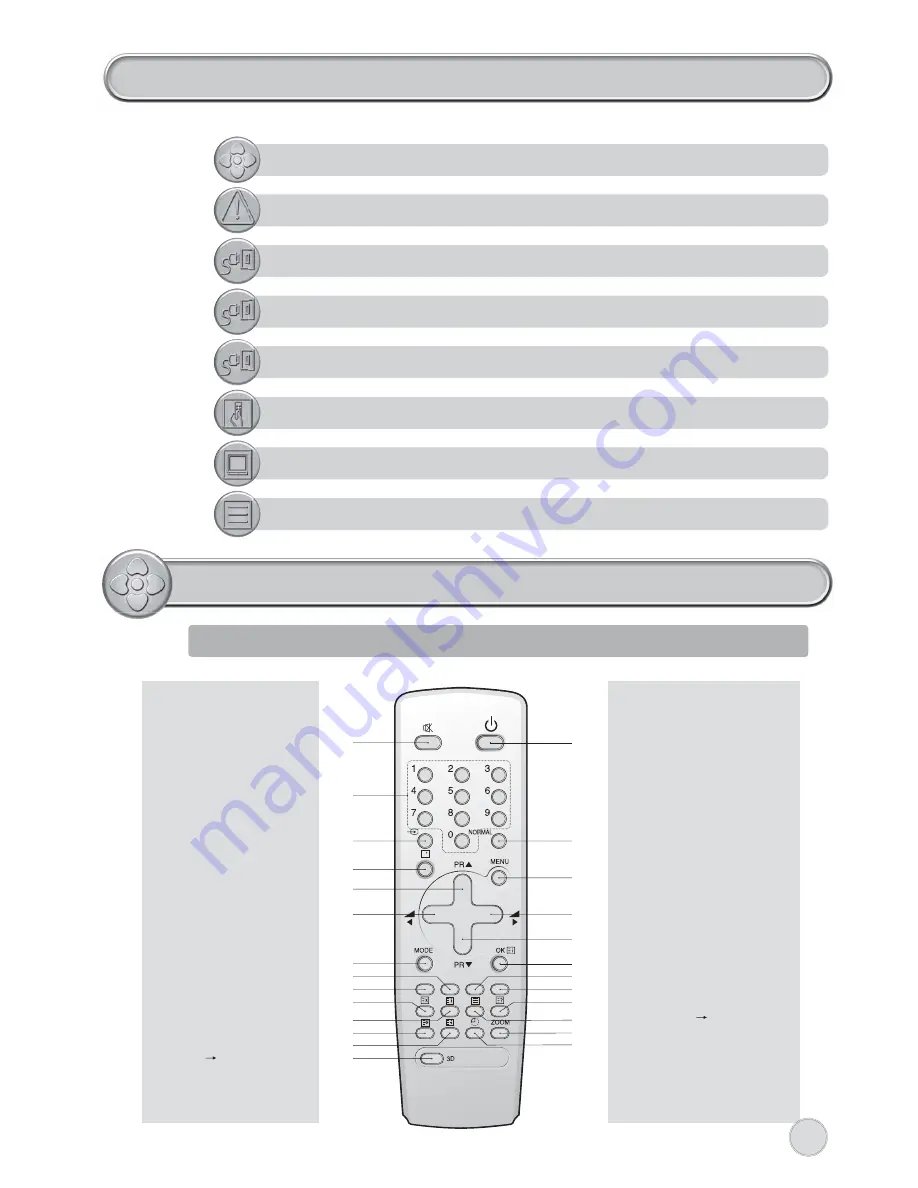
REMOTE CONTROL & TV CONNECTIONS
REMOTE CONTROL UNIT
TELETEXT mode
A1
POWER
A2
SOUND MUTE
A3
NUMBER
0..9
A4
.
A5
.
A6
PAGE UP
A7
VOL/BRIGHT
A8
CANCEL
A9
PAGE HOLD
A10
SUBPAGE
A11
RED
A12
GREEN
A13
.
A14
.
A15
.
A16
.
A17
.
A18
INDEX
A19
VOL/BRIGHT
MENU
SELECTION
A20
VOL/BRIGHT
A21
PAGE DOWN
A22
TELETEXT
TV
A23
HEIGHT
A24
REVEAL
A25
CYAN
A26
YELLOW
TV mode
A1
POWER
A2
SOUND
MUTE
A3
NUMBER
0..9
A4
SLEEP
A5
TV / AV
A6
PROGRAM
UP
(CURSOR
UP)
A7
VOLUME DOWN
(CURSOR
LEFT)
A8
.
A9
.
A10
.
A11
SKIP
A12
MOVE
A13
3D(SOUND EFFECT)
A14
MODE
A15
ZOOM
A16
RECALL
A17
NORMAL
A18
OK/PRESET
A19
MENU
A20
VOLUME UP
(CURSOR
RIGHT)
A21
PROGRAM DOWN
(CURSOR
DOWN)
A22
TV
TELETEXT
A23
.
A24
.
A25
.
A26
DELETE / FREEZE