


177
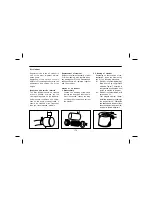
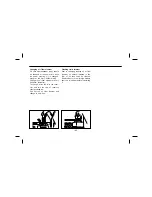
After washing, dry the ele-
ment in the shade or place
of good ventilation.
Drying of element takes 1
week, use spare element
while drying.
Never apply compressed air
or heat for quick drying
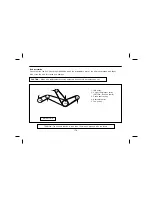
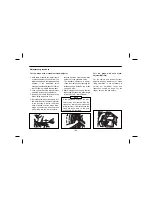
3. Inspection of element
After cleaning, inspect inside of
element for tear, breakage and
distortion, use lighting lamp for
certain inspection.
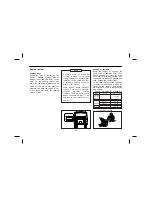
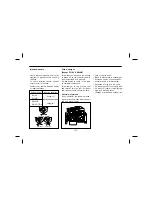
4. Cleaning of air cleaner housing
Discharge dust by opening the
dust trap installed below the hous-
ing.
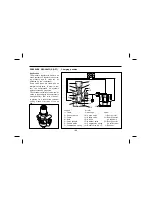
Clean inside of housing, cover and
gasket fitting flange, if any dam-
ages are found replace the ele-
ment.
Also the element should be
replaced if the wall thickness is
reduced to be broken easily.
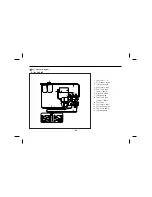
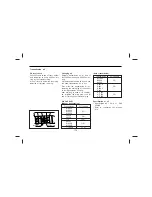
5. Reassembly
Reverse the disassembly sequence
to reassemble, be sure to fit the
element and gaskets, tighten the
screws and nuts securely.
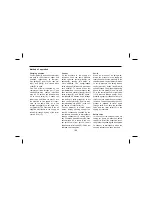
Finally push the button of the air
cleaner element indicator to
restore the signal to yellow from
red.
Do not neglect to extract out the
accumulated dust from the dust
trap installed at the bottom of air
cleaner housing.
NOTE
Summary of Contents for BH090
Page 220: ...218 Drag link RR 2 points For leaf spring Spring and shackle pin 12 points...
Page 255: ...253 BODY DIMENSION BM090 ROOF ON COOLER NON COOLER APPROX APPROX...
Page 256: ...254 BS090...
Page 259: ...257 ROOF ON COOLER SUB ENG COOLER NON COOLER APPROX APPROX BH115E...
Page 260: ...258 ROOF ON COOLER SUB ENG COOLER APPROX APPROX BH120E...


