1
SPX-7200_MAN_181206
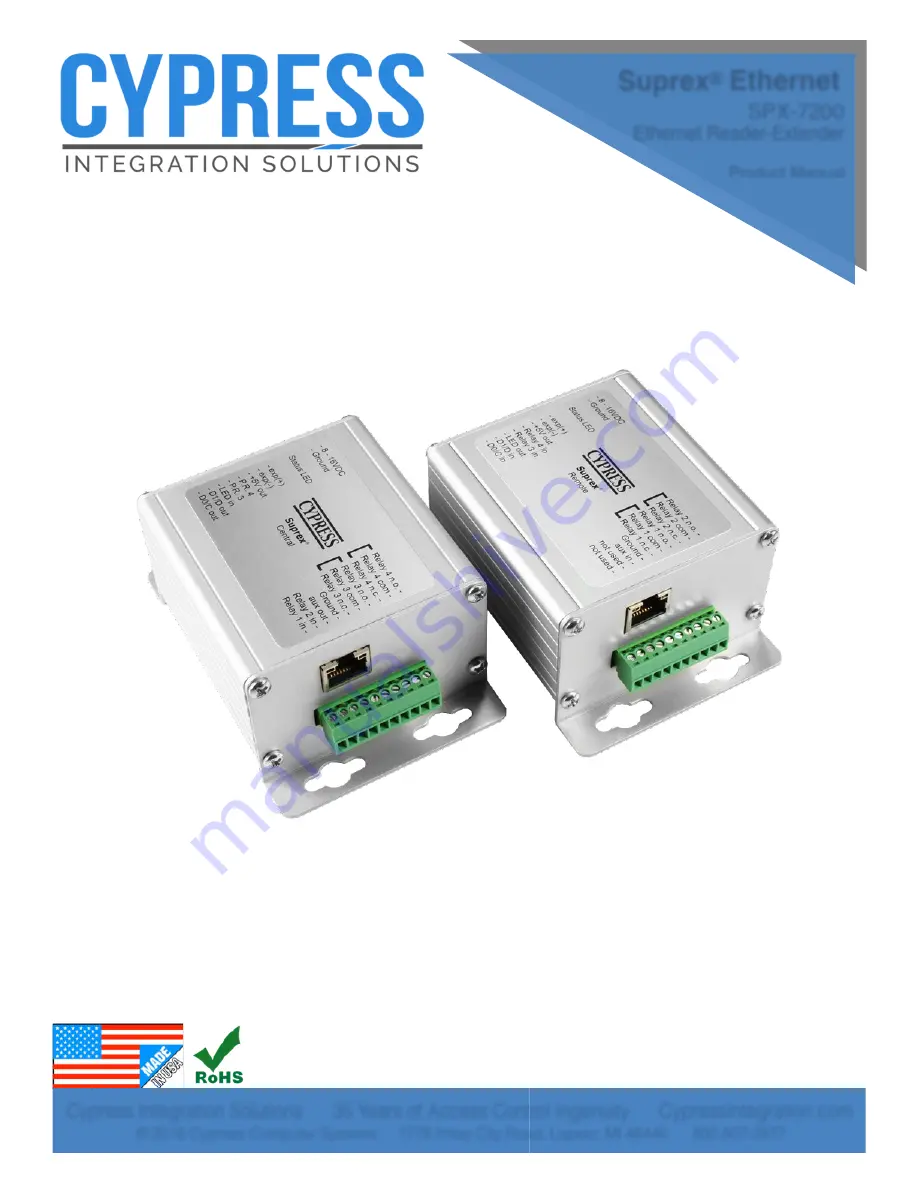
Suprex
®
Ethernet
SPX-7200
Ethernet Reader-Extender
Product Manual
Cypress Integration Solutions 35 Years of Access Control Ingenuity CypressIntegration.com
© 2018 Cypress Computer Systems 1778 Imlay City Road, Lapeer, MI 48446 800-807-2977


