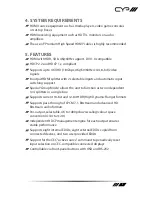
9
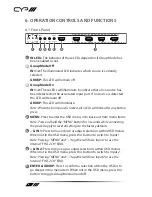
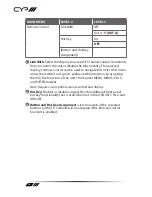
Note: Press and hold the “MENU” and “ENTER” buttons together for 3
seconds to lock or unlock the front panel.
6
IN 1:
Connect to HDMI source equipment such as a media player,
game console or set-top box.
7
OUT A~D:
Connect to HDMI TVs, monitors or amplifiers for digital
video and audio output.
Note: When Group Mode is active, these outputs will display Input 1.
6.2 Rear Panel
SERVICE
RS-232
POWER
DC 5V
R
T
GROUP 2
IN 2
OUT
H
OUT
G
OUT
F
OUT
E
1
2
3
4
5
1
OUT E~H:
Connect to HDMI TVs, monitors or amplifiers for digital
video and audio output.
Note: When Group Mode is active, these outputs will display Input 2.
2
IN 2:
Connect to HDMI source equipment such as a media player,
game console or set-top box.
3
SERVICE:
This port is reserved for firmware update use only.
4
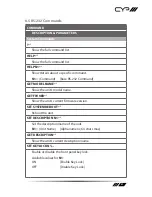
RS-232:
Connect directly to a PC, laptop or other serial control device
with a 3-pin adapter cable to send RS-232 commands to control the
unit.
5
POWER LED & DC 5V:
Plug the 5V DC power adapter into this port
and connect it to an AC wall outlet for power. The LED will illuminate
to indicate the unit is on and receiving power.


