CANifier
User’s
Guide www.ctr-electronics.com 10/8/2017
Cross The Road Electronics Page 15 10/8/2017
2.4. Test CANifier assembly and wiring
Before installing CANifier into the final enclosure or heat shrink tubing, test CANifier in isolation. This is the best
opportunity to field-upgrade CANifier to latest firmware, and test peripherals to ensure wiring is correct before
burying the CANifier assembly into the final robot/platform.
It is recommended to perform basic functional testing on all control system components as soon as they are
received. Many of these components have manufacture warranties that can expire if a boxed component is left
unused/untested for an excessive period.
Spare/backup components meant for competition should be checked
in advance as well. This will ensure the
best chance of success during competition events
where
repair time
is
limited
between matches.
If the 5V or 3.3V rail is used to power a sensor, confirm the sensor is functional and the rails meet the expected
voltages with a voltmeter.
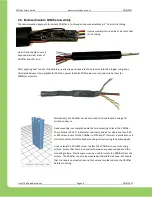
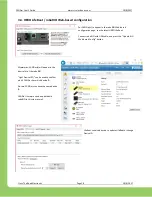
Below, CANifier is directly inserted into a HERO with a simple C# app that streams thru LED strip colors.
Example source is available on
www.ctr-electronics.com
and
www.github.com/CrossTheRoadElec


