


Crestron
MPS-300
Multimedia Presentation System 300
•
To exit the Phantom Power control without saving changes, press
MENU
.
Adjust Microphone Gain
The gain for each microphone input can be individually set. To adjust the gain of a
microphone input:
•
Access the Microphone menu as described on page 54.
•
Press the
k
or
j
buttons until “Mic 1 Gain” or “Mic 2 Gain” is displayed
on the LCD and press
ENTER
to open the Microphone Gain control.
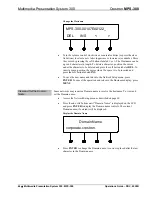
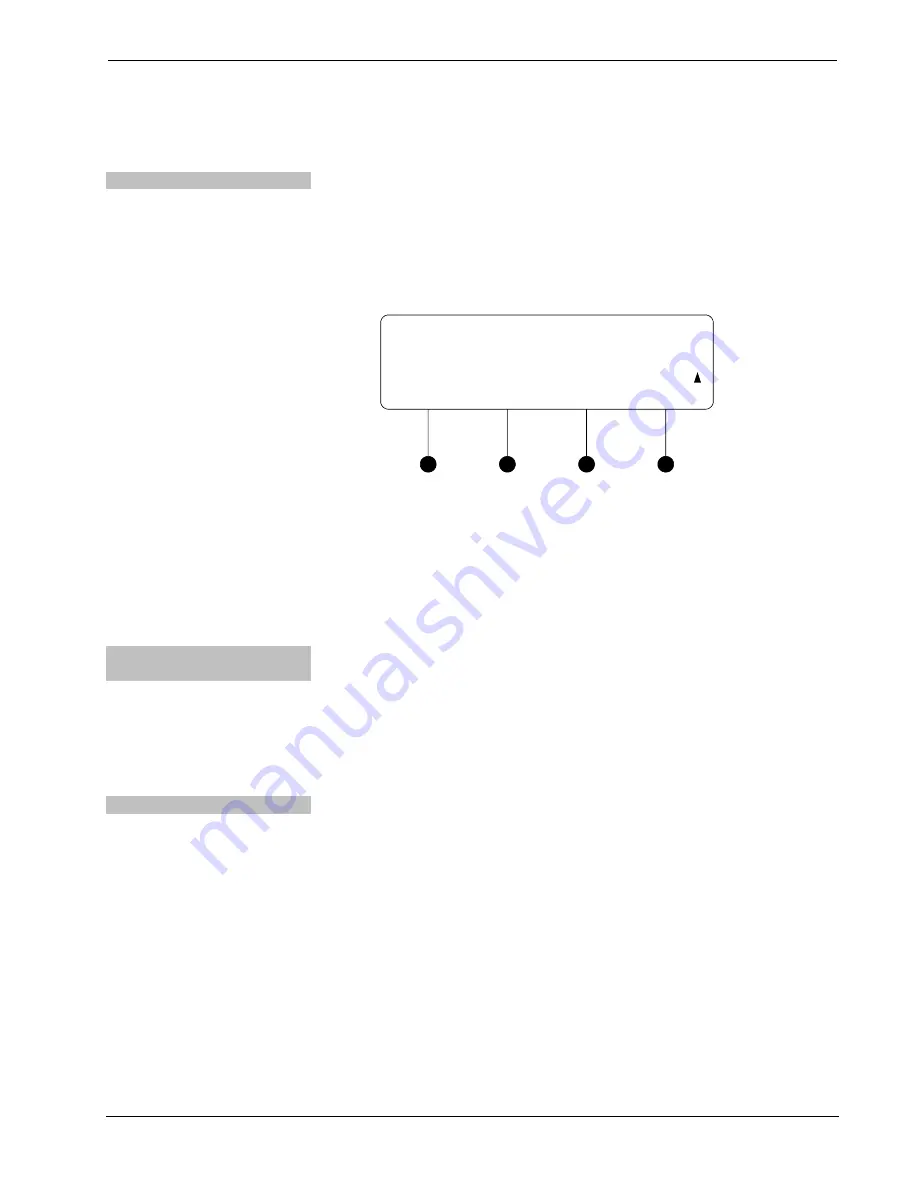
Microphone Gain Control (MIC 1 shown)
Mic 1 Gain
0%
•
Press the
k
or
j
buttons until the desired setting is displayed on the LCD
and press
ENTER
to save the setting.
•
To exit the Microphone Gain control without saving changes, press
MENU
.
Video Setup
The video characteristics of the MPS-300 can be configured from the front panel
using the Video Setup menu.
Access the Video Setup
Menu
To access the Video Setup menu:
•
Access the menu as described on page 36. Press the
k
or
j
buttons until
“Video Setup” is displayed on the LCD.
•
Press
ENTER
to open the Video Setup menu.
•
To exit the Video Setup menu, press
MENU
.
Name Video Inputs
The MPS-300 ships with default names assigned to each of the inputs. Input 1 is
called “BNC 1”. Input 2 is called “BNC 2”. Input 3 is called “RGBHV 3”. Input 4 is
called “RGBHV 4”. Input 5 is called “RGBHV 5”. Input 6 is called “QM In 6”.
Input 7 is called “QM In 7”. Input 8 is called “QM In 8”. To change the input names:
•
Access the Video Setup menu as described above.
•
Press the
k
or
j
buttons until “Input Names” is displayed on the LCD and
press
ENTER
to open the Input Naming menu.
Operations Guide – DOC. 6529B
Multimedia Presentation System 300: MPS-300
•
57


