34 • DM-NVX-D30/E30(C)
Web Interface Configuration Guide — Doc. 8874D
Click the corresponding button in the Actions column to view detailed group information
or
to delete the selected group
.
Click on the Create Group button in the Groups tab to create a new group.
Create Local Group
1. Click the Create Group button.
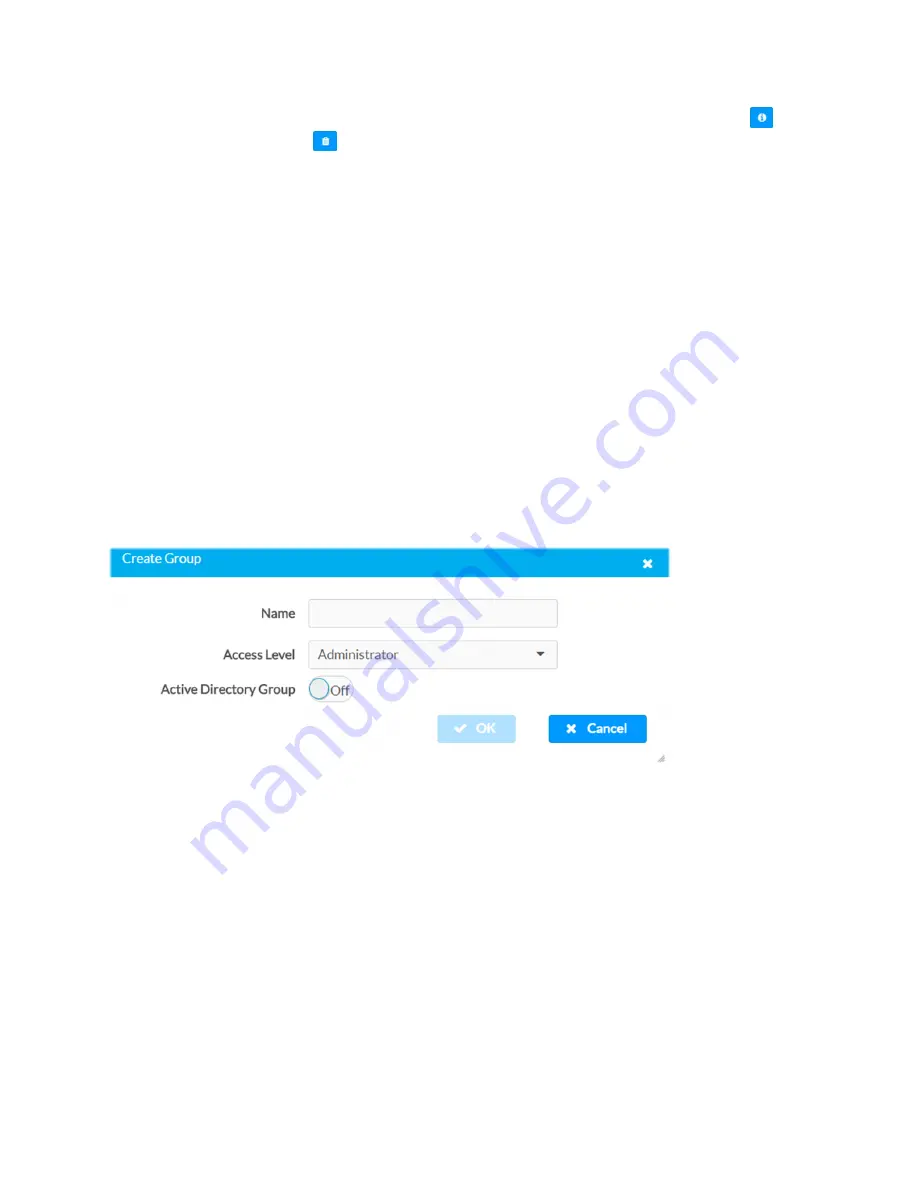
2. In the Create Group dialog enter the following:
l
Enter the group name in the Name field.
l
Assign the group access level by selecting a predefined access level (Administrator,
Connect, Operator, Programmer, User) from the Access Level drop-down list.
l
Make sure that the Active Directory Group slider is set to Off.
3. Click OK to save. Click Cancel to cancel the changes.
Add Active Directory Group
A group cannot be created or removed from the Active Directory server, but access can be
granted to an existing group in Active Directory.
Create Group Dialog Box
Once the group is added, all members of that group will have access to the DM-NVX-D30/E30
(C).
1. Click the Create Group button.
2. In the Create Group dialog enter the following:
l
Enter the group name in the Name field, for example “Engineering Group.”
Note that group names are case sensitive; space is a valid character than can be
used in group names.
3. Assign the group access level by selecting a predefined access level (Administrator,
Connect, Operator, Programmer, User) from the Access Level drop-down list.
Make sure that the Active Directory Group slider is set to On.
4. Click OK to save. Click Cancel to cancel the changes.


