ONE
13
Original instructions.
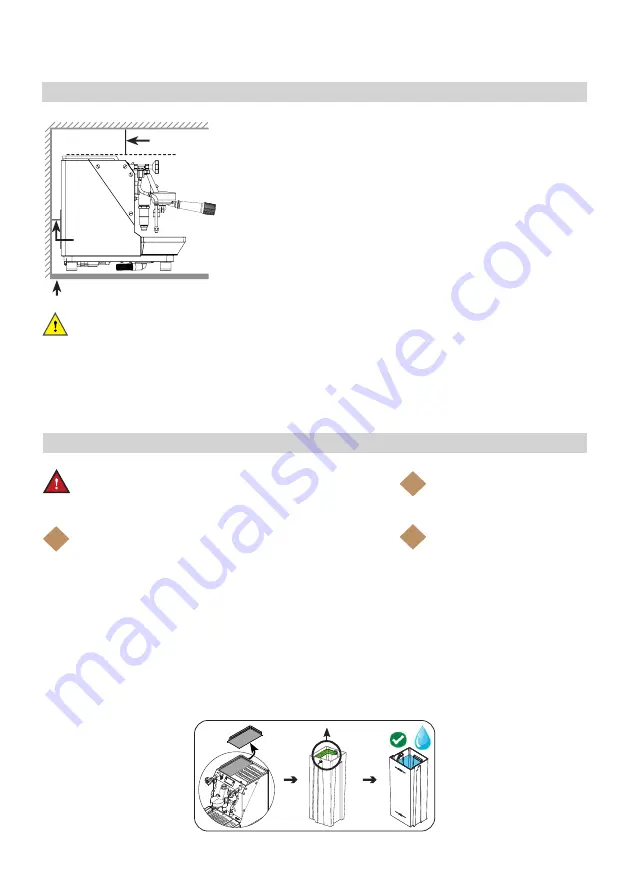
MIN. 10 cm /4 in.
MIN. 30 cm /
12 in.
Install within 0-3º horizontal.
· Machine positioning
DANGER
:
Avoid spills inside the machine, always turn the machine off
when refilling the tank. If spills occur, turn the machine off and unplug
the power supply until the machine is completely dry to avoid RISK OF
SHOCKS.
Note
:
For water quality specs,
please refer to ’Water filtration
requirements’
Note
:
The machine has a position
switch that blocks all functions if
the tank is out of position.
Note
:
The machine has a capacitive sensor that detects when the tank is
empty. Therefore, the water tank should only be removed and refilled when
espresso is not being brewed.
i
i
i
Option 1:
•
Remove the top panel/cup warming tray.
•
Remove the water tank.
•
Fill the tank with clean, fresh drinking water (max.
volume = 1.8L / 0.48 gal.).
•
Replace the water tank in the machine.
•
Replace the top panel/cup warming tray.
•
When the boiler is filled and heated, the machine is
ready for use.
Option 2:
•
Remove the top panel/cup warming tray.
•
Using a pitcher, carefully fill the tank with clean, fresh
drinking water (max. volume = 1.8L / 0.48 gal.). Avoid
spills inside the machine.
•
Replace the top panel/cup warming tray.
•
When the boiler is filled and heated, the machine is
ready for use.
· Filling the water tank
INSTALLATION AND START UP
1.
Installing the machine in the service area must be performed by a qualified person.
As the machine may be quite heavy, at least two strong, capable individuals are
recommend to work together to lift and position the machine. Consult the Technical
Specifications page for the specific machine model being installed for machine
weight and dimensions details. Contact a service technician to do this task if you are
not confident about performing the steps below.
2. Position the machine on a level, sturdy, and water-resistant surface approximately
110cm (43 inch) above floor level for ease of access and usage.
3.
Adjust the feet to ensure that it dispenses coffee evenly to all cups.
4. Ensure enough free space is available above (>30cm / >12inch) and behind (>10cm
/ 3.94 inch) the machine to ensure easy cleaning and maintenance and adequate
ventilation.
Important
:
Leave an air gap of at least 30cm (11.8 inch) above the machine and 10cm (3,94 inch) behind it to ensure
adequate ventilation. The machine must be installed on a level surface from front-to-back and side-to-side to ensure
proper hydraulic function and drainage. Confirm with a spirit level or digital angle gauge. Do not install the machine if the
machine or installation surface it is wet. Allow it to dry completely and ask a service technician to ensure that none of the
electrical components have been affected.


