Creality Ender 3 Pro Assembly Instructions V1.0
22
www.rb42.blog
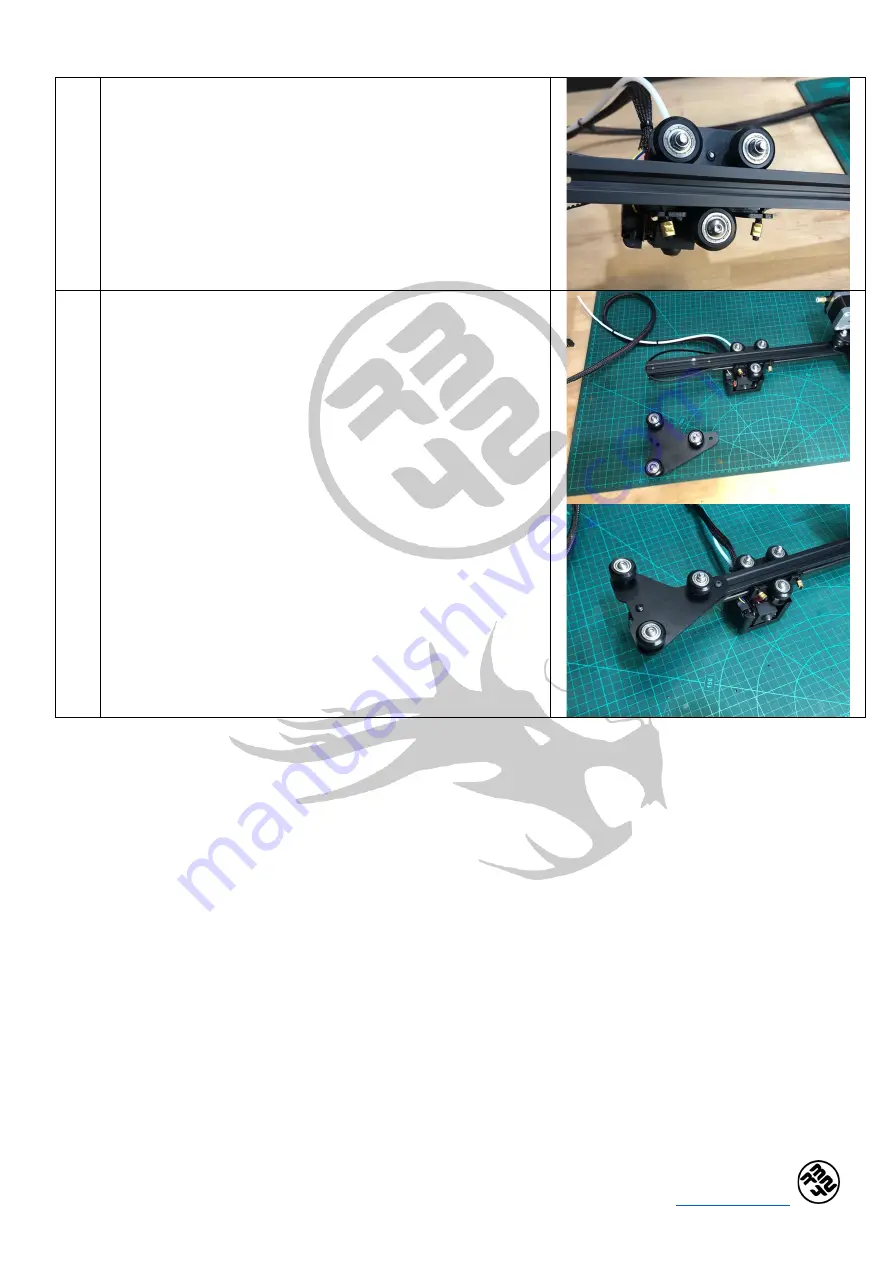
7.2
Slide the tabbed ends of the X-axis synchronous belt (from step
6) into the slotted tabs on the back of the (05) Hot-end carriage.
These slotted tabs are located either side of the single v-slot
wheel at the bottom of the extruder carriage.
7.3
On the reverse side of the X-axis profile, fix the (04) Z-axis
passive block with 2x M4x16 hex socket button head screws
using an M2.5 hex key (Allen key) to screw into place. The (04)
Z-axis passive block is positioned on the reverse, left hand side
(on the right when viewed from front) and predetermined by
the 2 threaded holes in the aluminium profile.
Summary of Contents for Ender 3 Pro
Page 1: ...Version 1 0...


