18
VACUUM HOLD TEST
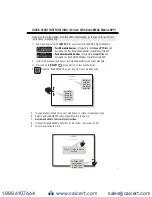
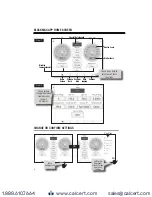
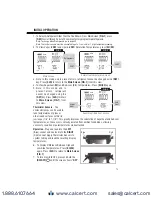
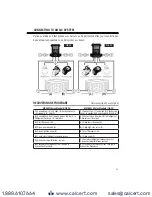
FIG.11
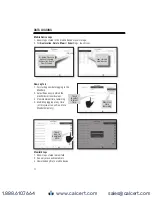
4. In this mode, the manifold will show current vacuum
in the system. The display begins to show vacuum
levels at 25000 microns or less and is accurate to
+/- 10 microns. Continue to run vacuum pump until
the desired vacuum level is reached. Once reached,
proceed to Vacuum Hold Test.
5.
Vacuum Hold Test
- To perform this test, press
[CLR]
to go to the
Main Screen
[
FIG.1
] Vacuum
Gauge Accessory should still be plugged into
manifold.
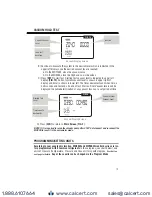
6. At
Main Screen
[
FIG.1
] press
[TEST]
. The
Test
Vacuum Set Screen
appears [
FIG.12
]
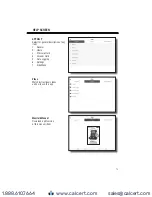
7. Press
[SET]
to advance to Vacuum Hold Test –
Time Set Screen [
FIG.13
].
8. Use
[UP/DOWN ARROWS]
to adjust test
duration in 5 minutes increments (minimum
time is pre-programmed at 5 minutes).
A) Press
[SET]
to store Vacuum Test duration
time.
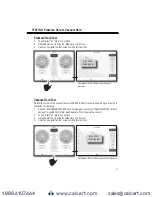
Vacuum Hold Test Screen
[
FIG.14
]
will now be displayed.
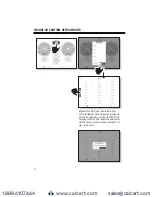
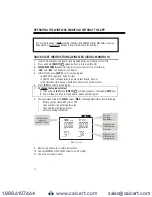
APO
Vac
FIG.12
Test Vacuum Set Screen
hh : mm
Vac
APO
Vacuum Hold Test Time Set Screen
FIG.13
Set test
duration (adjust
in 5 minute
increments
NOTE: The Vacuum Reading in the upper Left display is still active. The Reading in the
upper Right display is not active unit steps 2 and 3 are completed.
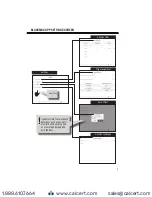
3. Assemble the BLACKMAX
MDXVG vacuum gauge
accessory to the Suction
Port on an AC system as
shown [
FIG.11
].
Suction
port
Discharge
port
Suction
port
Discharge
port
AVT45 Brass
Tee Connector
Vacuum Gauge
Accessory
www.calcert.com
1.888.610.7664
0
5
10
15
20
25
30

