1
Install the camera.
2
Download the CorDEX MONITIR PC Application from
www.cord-ex.com/products/monitir-software/
3
Connect power via the standard screwed terminal
block provided (11-20VDC).
MN4000
MN4100
4
Connect the camera to your PC using a USB
cable.
Connect the camera to your PLC using an Ethernet
cable.
5
Start the CorDEX MONITIR PC App.
6
Select Direct Connect USB icon.
Select Direct Connect Ethernet icon.
7
You have now accessed the CorDEX MN4000
series camera. From this screen you can setup
and provide basic control commands to the
camera.
Input the camera fixed static IP address
192.168.1.100 into the box and click Connect.
8
Click Submit. The camera will now restart with
desired settings.
You have now accessed the CorDEX MN4100 series
camera. From this screen you can setup and provide
basic control commands to the camera.
9
-
Click Submit. The camera will now restart with
desired settings.
QUICK START GUIDE
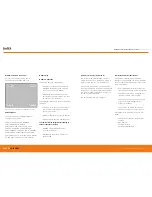
MECHANICAL INSTALLATION
MN4000
The CorDEX MN4000 panel mounted thermal
imager is intended for permanent installation
into electrical panels. Installation is achieved
in two stages.
Once the chassis has been installed, the
camera package can be removed and
replaced without shutting down or interrupting
the panel.
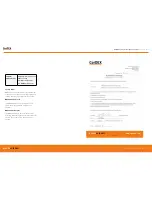
IMPORTANT NOTICE, MN4100
CAMERAS ARE SHIPPED WITH A
PREFIXED STATIC IP ADDRESS OF
192.168.1.100. This can be altered
using the CorDEX MONITIR PC App
(recommended).
1
Install the Chassis into the panel.
2
Attach the Camera Package to the chassis.
!
RUGGED
AUTHORITY
MONITIR Series Thermal Imaging Cameras
– User Manual
7
Document Reference MONITIRSERIESUM Rev. A


