


PC-POD-CP-006-v01
PC-POD-CP-006-v01
Printed copies are not controlled.
Page
33
of
35
9.5
Data Acquisition Window
9.5.1
The options in the “Acquisition Setup Window” need to be verified before the
software allows access to the “Data Acquisition Window”.
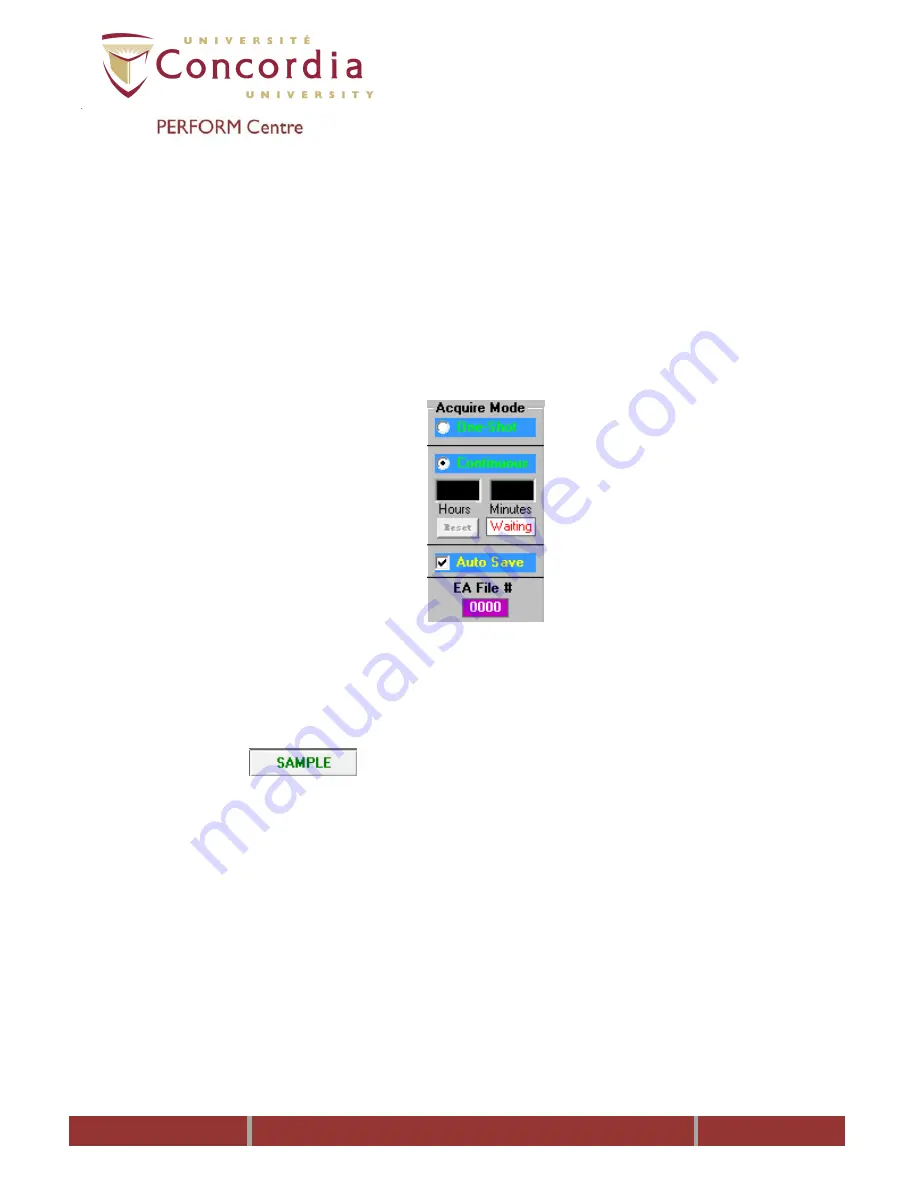
9.5.2
Verify that the mode of acquisition under Acquire Mode is correct. This
option allows the changing the mode of data acquisition without having to go
back to the Acquisition set-up window.
9.5.3
Select “One-shot” mode if a single EA sample is required. This option can be
used for doing a trial run by selecting “One-Shot” and deselecting the “Auto
Save” option. When ready to save data “Auto Save” should be re-selected.
9.5.4
Select “Continuous” mode if continuous data is required until the pre-set time
limit is reached.
9.5.5
Select “Auto Save” if you want data collected to be saved automatically.
9.5.6
Under the Posture frame, ensure that the correct posture is selected (either
“Seated” or “Standing” and that the number under “Electrode Distance is
accurate”. If the subject has changed posture, then adjust the selections
accordingly.
9.5.7
Click
button to begin data acquisition.
9.5.8
Click the “Stop” button to stop EA data acquisition.
9.5.9
In order to edit the last acquired data file, click the “COP Edit Mode” button.
9.5.10
Click the “Quit” button once data acquisition is complete and you are ready
to exit the Acquisition Window.
NOTE: Before selecting “Stop” or “Quit” verify the status of the EA acquisition time
under “Status” to make sure that acquisition isn’t stopped in the middle of an EA
sample, which would end up void.


