49
Log Searching and Backing Up:
1. Click the field next to Start Date & Start Time to choose the starting date & time for your search from the
on-screen calendar.
2. Click the field next to End Date & End Time to choose the end date & time for your search from the
on-screen calendar.
3. Select the type of events you would like to search for from the dropdown next to Log Type, or select All to
see the entire system log for the selected time period.
4. Click Search.
5. Browse system log events from your search period:
• Video events can be played back instantly by clicking in the Playback column.
Right-click to return to your search results.
• Use the
/
buttons in the bottom-right corner of the menu to move between pages
of system log events.
6. Click Backup to create a backup of the system log for your search period. Please make sure your flash drive
has been connected to the Wireless NVR’s USB port.
7. The backup drive menu appears. Navigate to the folder you want the backup file to be saved in,
then click OK to begin.
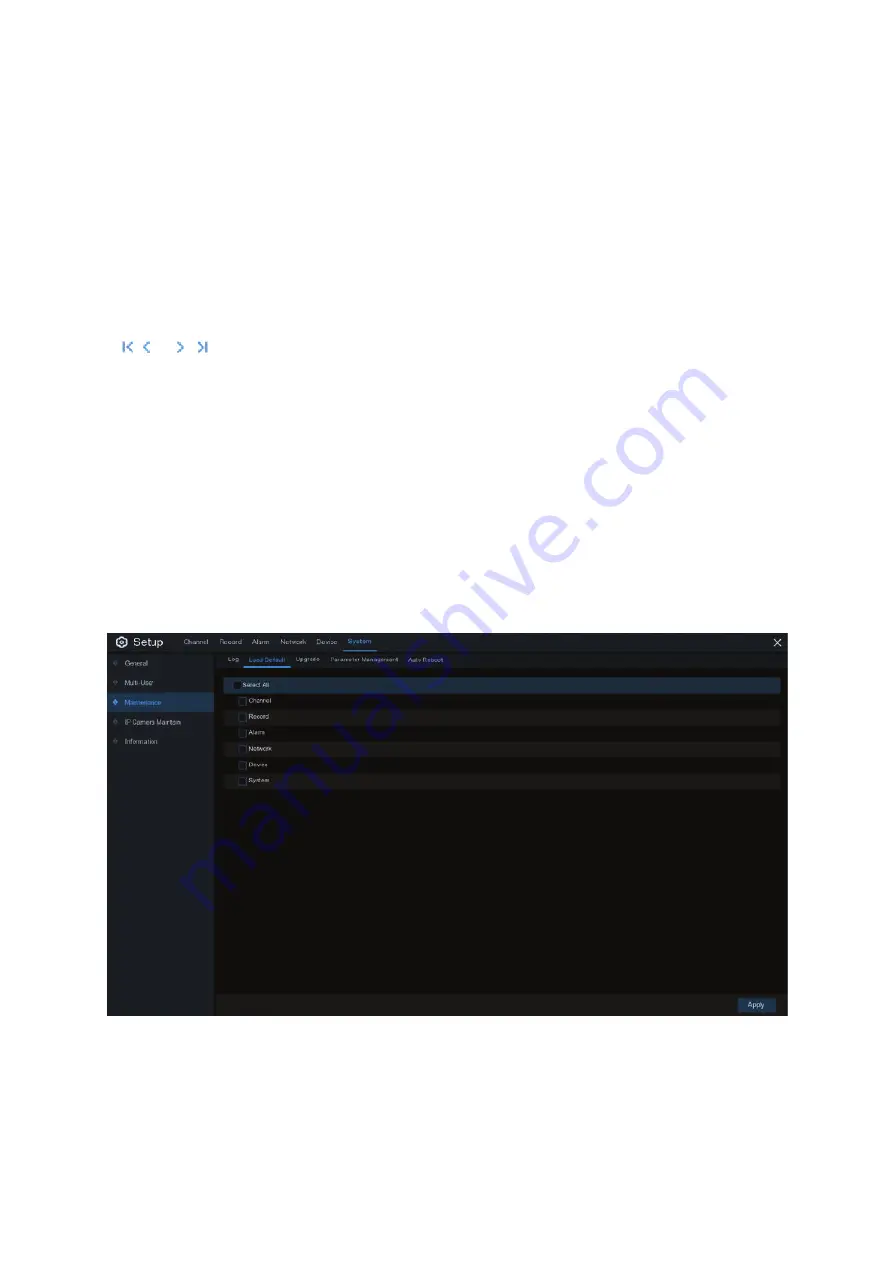
5.6.4.2 Load Default
Reset the Wireless NVR settings to its out-of-box state. You can choose to reset all settings at once, or just settings
on specific menus. Restoring default settings will not delete recordings and snapshots saved to the hard drive.
Check the items you want restore, or check
Select All
to choose all items. Click
Apply
to load default settings of your
chosen items.


