IP CAMERA QUICK START GUIDE
4. Finding the Camera IP Address
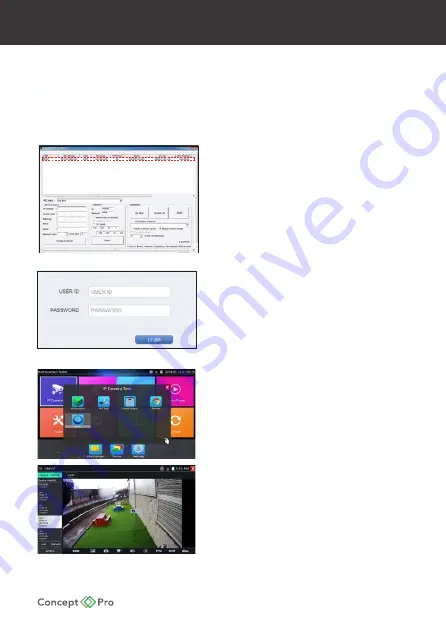
MDLoad is a PC software designed for searching for IP cameras, configuring camera network
settings, and performing other configurations in batches. MDLoad can be found by scanning
the QR Code on the box or on cover of this quick start guide. Download and install MDLoad on
a PC, connect the PC to the same network as the IP camera, and open MDLoad.
Press the SEARCH button to begin scanning the
current network for connected IP cameras.
Discovered IP cameras will be displayed in the results
window, including the relevant model name.
Select DHCP or STATIC for NETWORK TYPE to change
a selected camera’s IP address. If static is selected,
enter the desired IP address, subnet mask, gateway,
and DNS server information. Then select APPLY.
The results window will automatically update with the
newly configured settings. Confirm the information is
correctly configured.
The camera can be accessed by entering the
listed IP address in a web browser (Internet Explorer
recommended). When prompted, install the
ActiveX controls for the best remote web viewing
experience. The default user name is ADMIN and the
default password is 1234.
Note: After first logging in to the IP camera, you will
be prompted to change the default password to a
secure password. This is highly recommended for all
users to ensure proper device security.
Using the Concept Pro Test Monitor (VLEDTM-TS7)
Turn on the VLEDTM-TS7 test monitor and enter the IP
Camera menu, then select ONVIF.
ONVIF will open and automatically scan the
connected network for ONVIF devices.
The test monitor can connect via WiFi or wired LAN
connection to the same network
as the IP camera.
Using the Analogue Service Video Output (SVO)
When the analogue SVO cable is connected to the
camera, the camera IP address is displayed on the
CVBS video displayed on a test monitor. The camera
must be powered on to use the SVO feature.
Summary of Contents for CVP5325DNIR-IP2M/2.8
Page 12: ......


