78
Step 5:
Click the
Save/Apply
button at the bottom of the screen.
IIIa. PUSH-BUTTON CONFIGURATION
The WPS push-button configuration provides a semi-automated configuration
method. The WPS button on the rear panel of the router can be used for this
purpose or the Web User Interface (WUI) can be used exclusively.
The WPS push-button configuration is described in the procedure below. It is
assumed that the Wireless function is Enabled and that the router is configured as
the Wireless Access Point (AP) of your WLAN. In addition, the wireless client must
also be configured correctly and turned on, with WPS function enabled.
NOTE:
The wireless AP on the router searches for 2 minutes. If the router stops
searching before you complete Step 7, return to Step 6.
Step 6: First method: WPS button
Press the WPS button on the rear panel of the router. The WPS LED will
blink to show that the router has begun searching for the client.
Second method: WUI virtual button
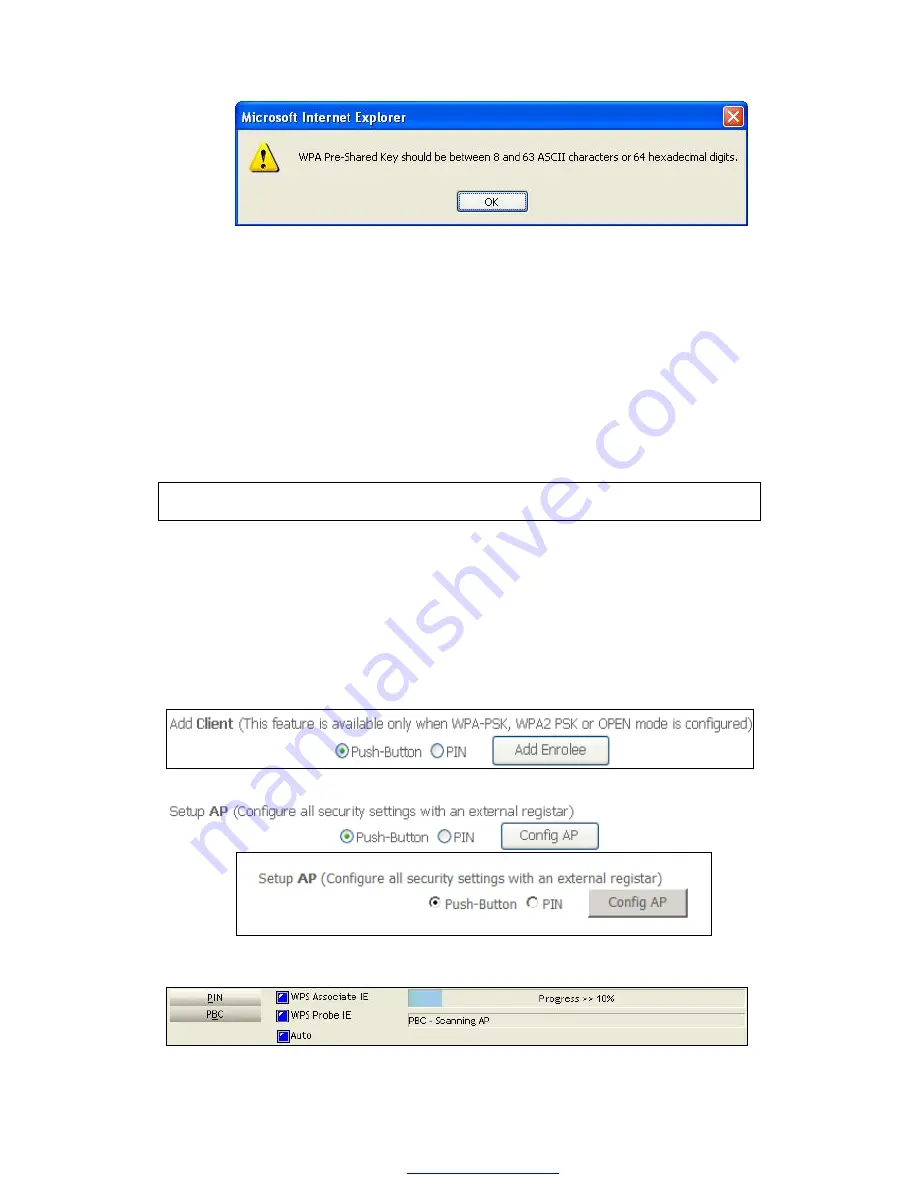
Select the Push-Button radio button in the WSC Setup section of the
Wireless Security screen, as shown in
A
or
B
below, and then click the
appropriate button based on the WSC AP mode selected in step 2.
A -
For
Configured
mode, click the
Add Enrollee
button.
B -
For
Unconfigured
mode, click the
Config AP
button.
Step 7:
Go to your WPS wireless client and activate the push-button function.
A typical WPS client screenshot is shown below as an example.
Now go to Step 8 (part IV. Check Connection) to check the WPS connection.
PDF created with pdfFactory Pro trial version
www.pdffactory.com


