DM240XR High-Speed Digital Modulator
TCP/IP Ethernet Setup
MN-DM240XR– Revision 12
B–4
RJ45
Connector A
RJ45
Connector B
Pin #1
Pin #3
Pin #2
Pin #6
Pin #3
Pin #1
Pin #4
Pin #4
Pin #5
Pin #5
Pin #6
Pin #2
Pin #7
Pin #7
Pin #8
Pin #8
The Computer TCP/IP must be properly configured in order to obtain connectivity. The
following set-up procedure can be used as a guide to aide in this setup. The following
instructions apply only to Windows 2000 or XP Classic.
1.
Click on the Start Button. Select Settings and click on the Control Panel Icon. Double click
the Network Connections Icon.
2.
Select the Local Area Connection icon for the applicable Ethernet adapter. Usually it is the
first Local Area Connection listed. Double click the Local Area Connection. Click on the
Properties icon.
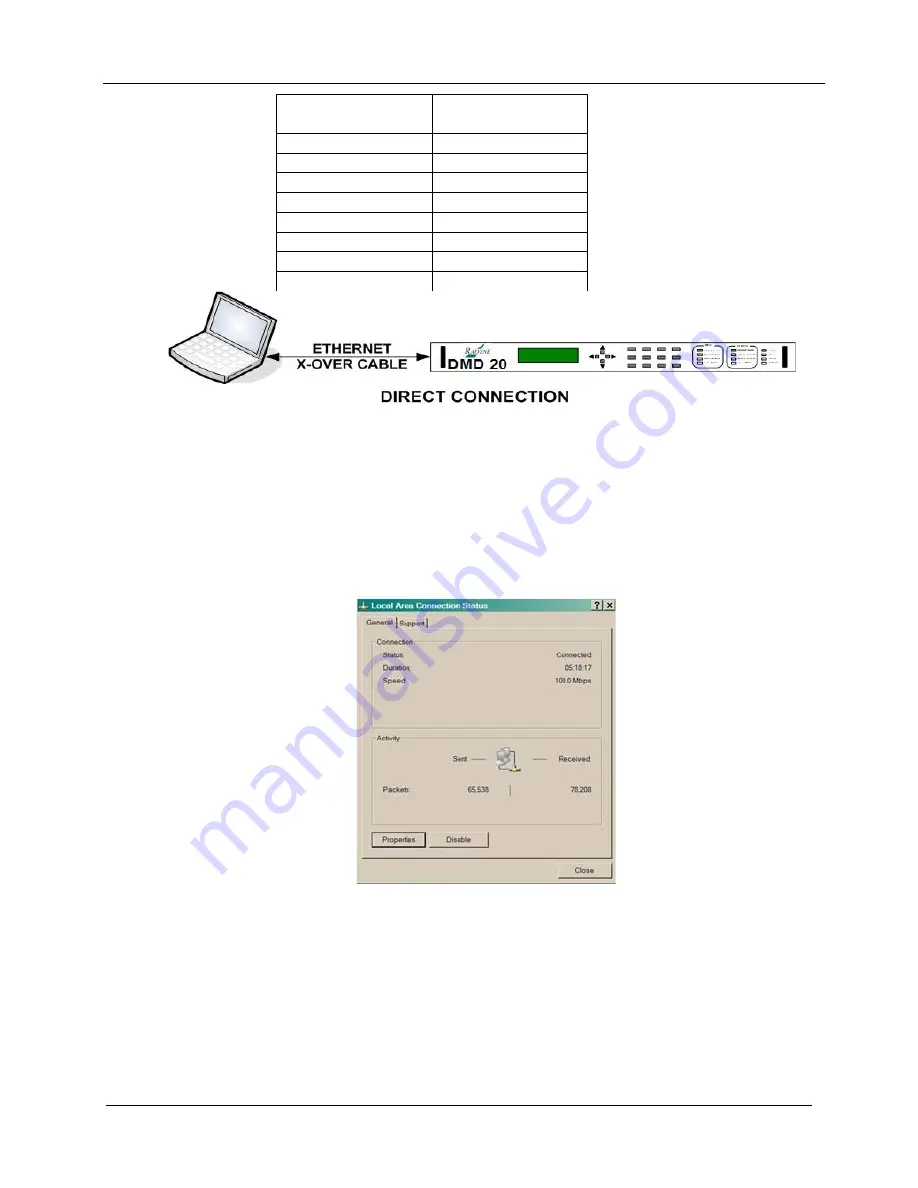
Local Area Connection Status Box
3.
Make sure that the box next to the Internet Protocol (TCP/IP) is checked. Highlight
Interconnect Protocol (TCP/IP) and click on the Properties button.
Summary of Contents for Radyne DM240XR
Page 2: ......
Page 4: ......
Page 23: ...Errata C for MN DM240XR Rev 12 ER DM240XR EC12 Blank Page ...
Page 34: ...Table of Contents Revision 12 DM240XR High Speed Digital Modulator MN DM240XR viii Notes ...
Page 46: ...DM240XR High Speed Digital Modulator Installation MN DM240XR Revision 12 2 4 Notes ...
Page 96: ...DM240XR High Speed Digital Modulator User Interfaces MN DM240XR Revision 12 4 48 Notes ...
Page 200: ...DM240XR High Speed Digital Modulator TCP IP Ethernet Setup MN DM240XR Revision 12 B 8 Notes ...
Page 222: ...2114 WEST 7TH STREET TEMPE ARIZONA 85281 USA 480 333 2200 PHONE 480 333 2161 FAX ...


