OMM Series
User Manual
Document No.: UM-OPM-2 Rev. A
File Name:OPM-2 Optical Power Meter User Guide Draft
Confidential
4
8.
Reference Key
a.
Short press momentarily displays the current reference value
b.
Long press (> 2 seconds) sets current Power Meter measurement as the reference level.
Two beeps will sound when the reference level has been set and will display dB units.
When the reference value is set, it is only applied to the current wavelength. Individual
reference values for each wavelength can be set and stored separately. After a reference
value has been set and each time the wavelength is selected on the power meter, the
measurement will use the correct reference offset automatically. The offset is shown in
dB. To get the absolute power measurement, press the dBm/dB/mW key until the
measurement in dBm is shown.
Note: Deleting all of the stored values will not delete the reference measurements.
9.
Power key
a.
Short press until beep sounds to power on with auto-off function Active
b.
Long press (>2 Seconds after beep) when powering on Disables auto-off function
c.
Meter will display “auto-off” when function is enabled.
10.
Unit of Measure selector key
a.
Press to cycle between dBm, dB and mW. dBm units will always display the absolute
measurement value. dB units will show the delta between the absolute measured value
and the stored reference level. For example: The measured power value is 5 dBm. The
Reference value has been set to 4 dBm. The delta between the measured value and the
reference level will be 1dB.
b.
In “Load” mode, this key will function as the up arrow key to numerically cycle through
stored measurements: 1, 2, 3 …
11.
Backlight key
a.
Press to cycle display backlight on and off
b.
In “Load” mode, this key will function as the down arrow key to numerically cycle
through stored measurements: 3, 2, 1 …
1.3.4
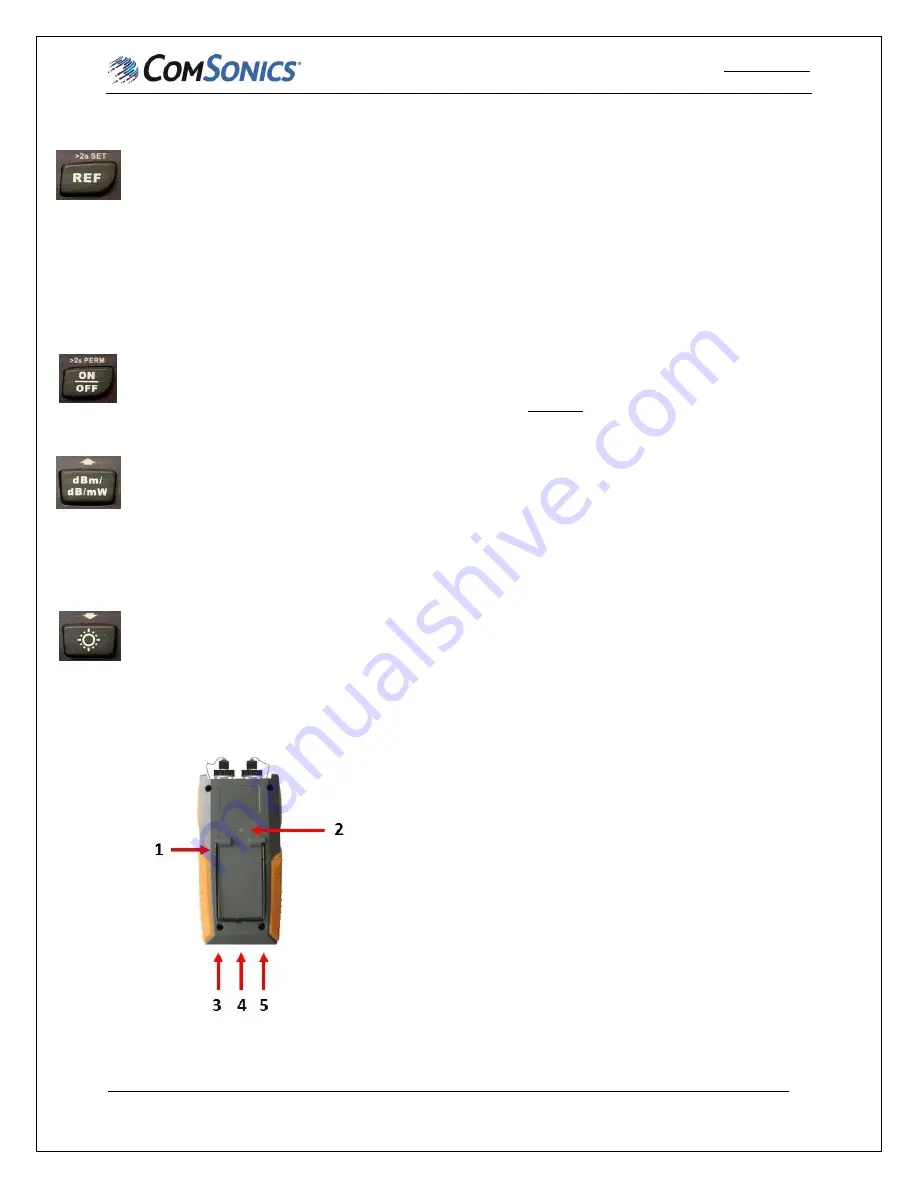
Bottom and Back Panel (Refer to Figure 1-4)
1.
Kickstand
2.
Battery compartment cover with locking mechanism
3.
DC Power jack
4.
Charging LED
a.
Flashing red indicates charging
b.
Green indicates full charge
5.
USB Port
Figure 1-4


