• Close
This filter performs a dilation followed by an erosion to filter out dark features
that are smaller than the size of the processing neighborhood. The result is an
output image with slightly increased overall brightness.
• Auto Stretch
This filter reduces the pixel value range. It maps the pixel values from 0 to
255.
•
Optical Density
This filter specifies an inversion of pixel values based on a logarithmic scale.
The result is an output image that reveals the density of objects and features
in the input image by measuring the amount of light that passes through them.
Denser objects and features are represented by lighter pixels in the output
image.
•
Invert
This filter specifies an inversion of pixel values based on the 256-step
greyscale. The result is an output image that is a “negative” of the input
image.
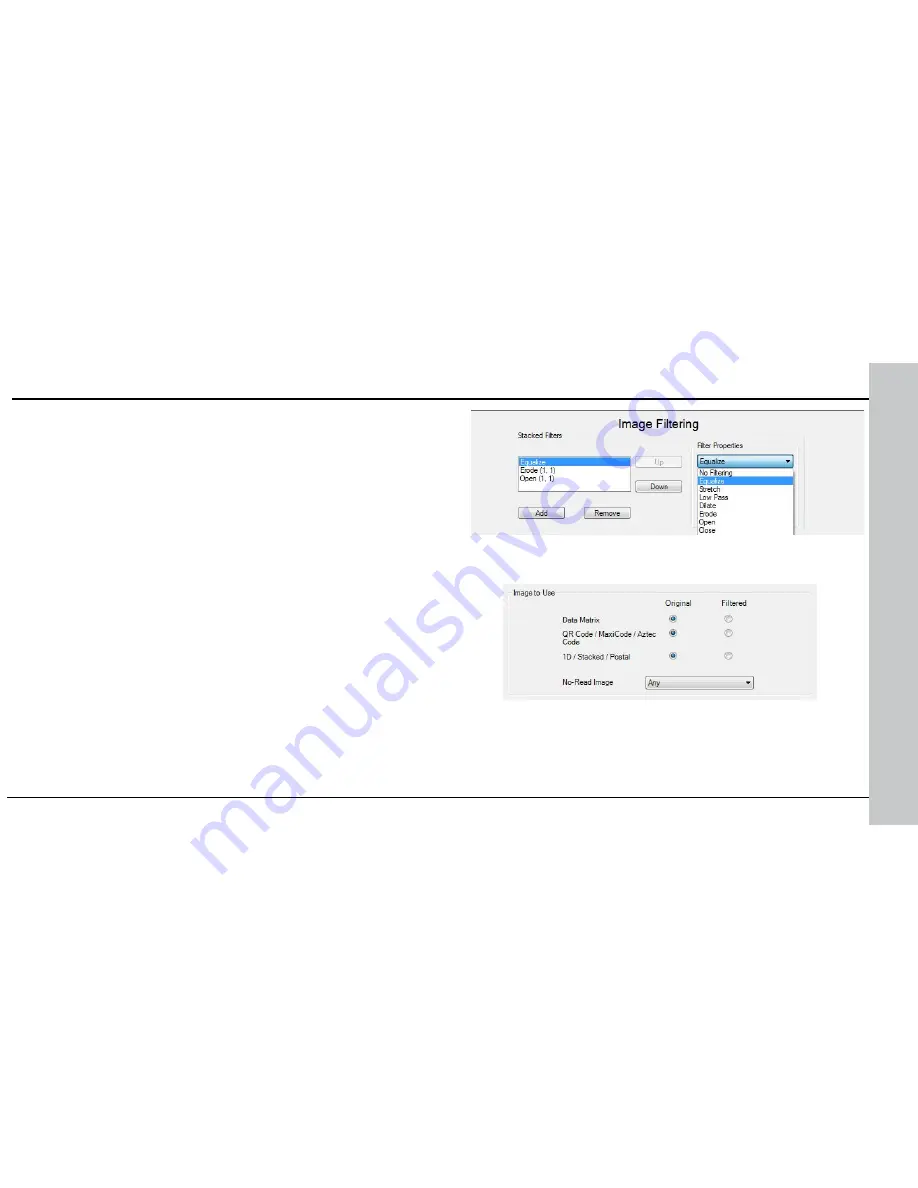
To use Image Filtering, perform the following steps:
1. On the Image Filtering pane, click
Add
.
2.
Select a filter from the
Filter Properties
drop-down box. You can add more
than one filter. You can also specify the order in which filtering is done by
moving the filters using the
Up
and
Down
buttons.
3.
If the filter you selected require further settings, change properties
according to your needs.
4. Change the selection in the
Image to Use
group box according to
the symbology you want to be filtered (after making sure that that
Symbology is enabled):
If no image is read, the Results Display shows the image according to
your selection under No-Read Image.
66 DataMan 300 Quick Reference Guide
DataMan 300 Quick Reference Guide 67
DataMan 300 Series Image Filtering (Continued)


