background image

LCD TV

A Wide Array of Screen Settings

You can choose different screen settings depending on the type of program you are
watching or the surrounding conditions (the lighting or the outside weather conditions).
You can switch between the Sport, Movie, Music and Normal options, or you can configure
the screen settings yourself.

A Wide Array of Sound Settings

You can choose an optimal sound setting for the type of program you are watching.
You can switch between the Music, Movie, News and Normal options, or you can configure
the settings yourself.

Favorite Channel Memory

You can store your favorite channels in order of preference for easy channel selection.

Closed Caption

When you watch a closed-captioned TV broadcast, turn the caption option on to see the English
transcript on the screen. This feature also works with video CDs or videotapes with captions.

NOTICE

If the same pattern is continuously displayed on the Monitor / TV for a long period     
of time, a residual image may be "burned in" to the screen.
This apparatus should not be exposed to moisture and no object filled with liquids,
such as vases, should be placed on the apparatus.

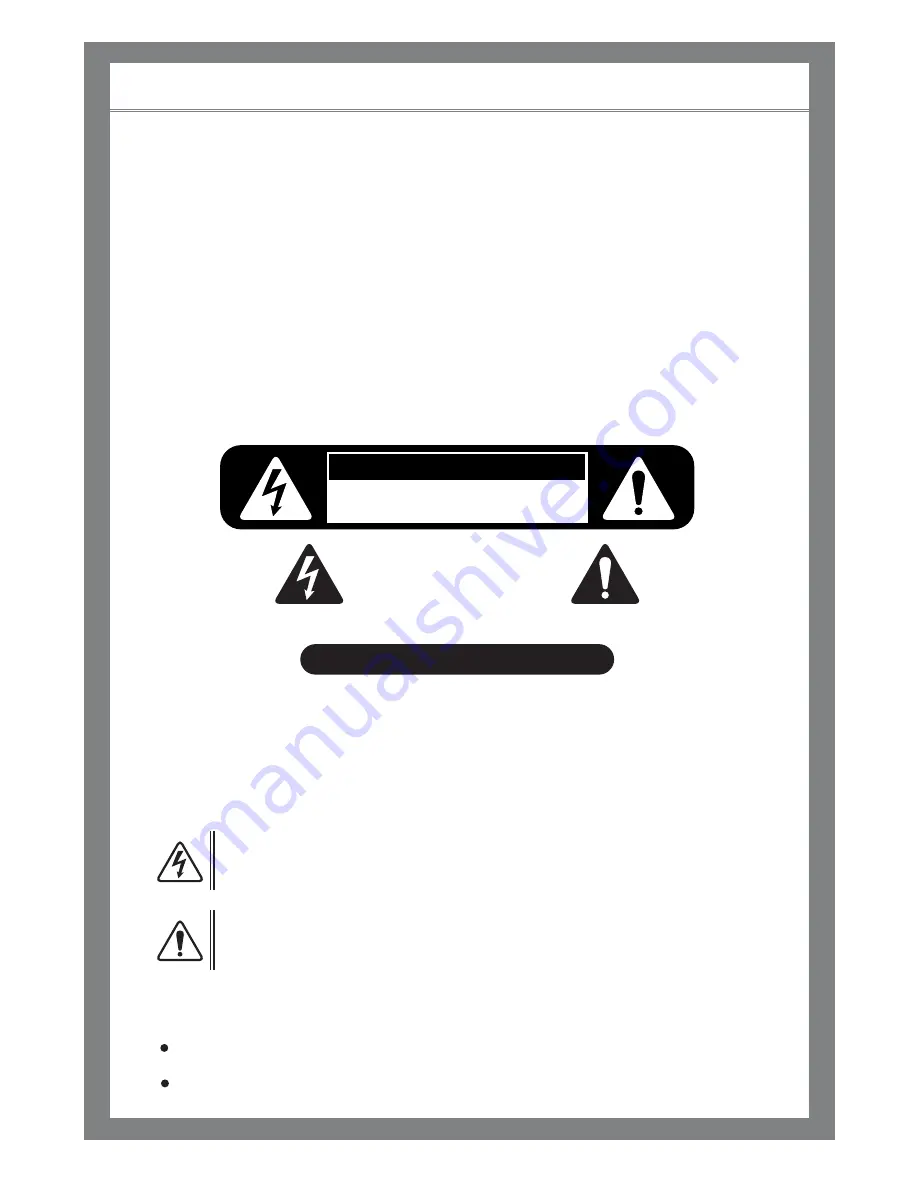
This symbol is intended to alert the user to the presence of uninsulated
“dangerous voltage” within the product’s enclosure that may be of sufficient
magnitude to constitute a risk of electric shock to persons.

This symbol is intended to alert the user to the presence of important operating
and maintenance (servicing) instructions in the literature accompanying the
appliance.

WARNING -

To reduce the risk of fire or shock hazard, do not expose the TV to rain or moisture.

CAUTION

WARNING HIGH-VOLTAGE

RISK OF ELECTRIC SHOCK

DO NOT OPEN

WARNING

AVERTISSEMENT

RISQUE DE CHOC ELECTRIQUE-NE PAS OUVRIR.

´

TO PREVENT FIRE OR SHOCK HAZARD DO NOT REMOVE COVER.

NO USER SERVICEABLE PARTS INSIDE.

REFER ALL SERVICE QUERIES TO QUALIFIED PERSONNEL.

DO NOT EXPOSE THIS RECEIVER TO RAIN OR MOISTURE.

REMOVE MAIN PLUG FROM WALL SOCKET WHEN NOT IN USE.

CARE SHOULD BE TAKEN WHEN REMOVING BACK CABINET FOR SERVICING;

SUB CHASSIS MAY BE DAMAGED IF ALLOWED TO BECOME UNSUPPORTED.

Summary of Contents for TF-TV3709

Page 1: ...TF TV3709 TF TV4209...

Page 2: ...iod of time a residual image may be burned in to the screen This apparatus should not be exposed to moisture and no object filled with liquids such as vases should be placed on the apparatus This symb...

Page 3: ...e will not occur in a particular installation If this equipment does cause harmful interference to radio or television reception which can be determined by turning the equipment off and on the user is...

Page 4: ...rd from being walked on or pinched particularly at plugs convenience receptacles and the point where they exit from the apparatus 11 Only use attachments accessories specified by the manufacturer 12 U...

Page 5: ...non active please note that this does not affect the performance of the television External Television Antenna Grounding Antenna Lead in Wire Ground Clamp Electric Service Equipment Antenna Discharge...

Page 6: ...thing vase etc on top of the unit Do not use the unit in direct sunlight and keep it away from heaters stoves and other sources of heat During storm conditions especially when there is lighting unplug...

Page 7: ...se industrial chemicals Do not touch the antenna wire and disconnect the plug from the electrical outlet during storms or lightening Place the unit away from the wall for well ventilation Do not touch...

Page 8: ...ettings 25 Adjusting the Sub Screen Contents 25 Switching the Main and Sub Screen 26 Adjusting the Sub Screen Size 26 Adjusting the Sub Screen Position 26 Adjusting the Sub Screen Channel 27 Capturing...

Page 9: ...ote control is no longer operating correctly Inserting Batteries in the Remote Control Push the mark at the back of the remote control and pull forward slightly Insert two AAA 1 5V batteries ensuring...

Page 10: ...Panels Front View Bottom Side Indicator Red Green Status Stand by Power on Power Indicator Status 1 2 3 4 6 5 MENU selection Input TV AV selection Channel selection Volume adjustment Remote control se...

Page 11: ...Sound Input Terminal External Terminals 1 2 Component Sound Input Terminals 1 2 Component Video Input Terminals 1 2 AIR CABLE Antenna Input Terminal 1 2 3 4 5 6 7 8 9 10 11 12 Bottom Side Connection...

Page 12: ...4 POWER CH LIST Press to see the channel list AIR CABLE Press to select AIR CABLE channels FAV Watch your favorite channels CHANNEL Press to change channels INFO Check the current program information...

Page 13: ...the channel you wish to watch Selecting channels directly via the numeric keypad e ex x To watch channel 4 Press 4 Press OK To change channels using the CHANNEL button e ex x Change from Channel 4 to...

Page 14: ...Use the component video cable to connect the COMPONENT 1 video input or COMPONENT 2 video input Y Pb Pr Green Blue Red terminal at the back of the TV to the Component output on the DVD player Use the...

Page 15: ...ca alllle ed d a a m mu ullt tiim me ed diia a iin nt te er rf fa ac ce e r ra at th he er r than a video terminal The difference between HDMI and DVI is that the size is smaller HDCP has an embedded...

Page 16: ...ng a PC screen on a TV Useful Tips Audio output is only available for PCs with a sound output terminal PC TV External Input Settings Press INPUT The external input list will appear Press to move to an...

Page 17: ...al lo og g a an nd d D Di ig gi it ta al l f fr ro om m t th he e a an nt te en nn na a i in np pu ut t W Wh he en n s se el le ec ct ti in ng g A Ai ir r o on nl ly y o on nl ly y A Ai ir r c ch ha a...

Page 18: ...l Tips T To o c co on nf fi ir rm m t th he e a ad dd de ed d c ch ha an nn ne el l a af ft te er r t th he e m me en nu u d di is sa ap pp pe ea ar rs s p pr re es ss s C CH HA AN NN NE EL L Adding o...

Page 19: ...favorite channel set up press the green button again Press the EXIT button to exit the menu Press FAV Go to Menu Favorite channels and press the FAV button to check your favorite channels in the list...

Page 20: ...ic broadcasting guide should be set to Current Guide The Program Guide may change without notice by the broadcast station Pressing OK The current channel will be reserved Pressing the button again wil...

Page 21: ...to move to Setup then press OK The Setup menu will appear Press to move to Menu Transparency then press OK Menu Transparency will be selected Press to select the transparency then press OK There are 4...

Page 22: ...andard Dynamic Mild Manual Screen Mode Standard The manufacturer default for the optimal conditions status Dynamic Select this for a brighter screen You will be able to see the screen more clearly Mil...

Page 23: ...ess to move to Color Temperature then press OK The Color Temperature Menu will appear Press to move to a menu Press to move to Normal Cool or Warm Press EXIT to exit the menu 1 2 3 4 5 Useful Tips T T...

Page 24: ...can select the size of the screen depending on the type of program Adjusting the Screen Size Press MENU The menu will appear Press to move to Picture then press OK The Picture Menu will appear Press t...

Page 25: ...s OK The Source Menu will appear Press to select the input to the Sub Screen You can view your selection on the Sub Screen Press EXIT to exit the menu 1 2 3 4 5 6 Useful Tips T Th he e s se el le ec c...

Page 26: ...to Size then press OK The Size Menu will appear Press to select the size of the Sub Screen The size of the Sub Screen will be selected Press EXIT to exit the menu 3 4 5 6 Press to move to PIP then pre...

Page 27: ...3 4 5 6 Useful Tips O On nl ly y u us se e t th he e c ch ha an nn ne el l f fu un nc ct ti io on n w wh he en n t th he e S Su ub b S Sc cr re ee en n i is s a an na al lo og g T TV V C CH H c ca an...

Page 28: ...Press to select either bass midrange or treble as desired then press to change the levels Adjust to low or high levels Press EXIT to exit the menu 3 4 5 6 Useful Tips You can use the equalizer to adju...

Page 29: ...r Press to move to Sound then press OK The Sound Menu will appear Press to move to Digital Output then press OK The Digital Output Menu will appear Press to move to Dolby digital or PCM then press OK...

Page 30: ...English Spanish and French in this order Languages are only available when provided by a broadcasting station When changing the channel the set language will be selected Sound Analog Broadcasting Set...

Page 31: ...ess OK The Time Menu will appear Press to move to Clock then press OK The Clock Menu will appear Press to move to Manual then press OK The Manual Clock item can be selected Press to move to Manual Clo...

Page 32: ...ss to move to Yes then press OK Select Yes for Daylight Saving and NO to cancel Daylight Saving Press EXIT to exit the menu 1 2 3 4 5 6 Users can select the time zones Time Zone Settings Press MENU Th...

Page 33: ...C Ca an nc ce el l E Ev ve er ry yd da ay y o or r O On nc ce e C Ca an nc ce el l T Th he e T TV V t tu ur rn n o of ff f t ti im me e i is s d de ea ac ct ti iv va at te ed d O On nc ce e T Th he e...

Page 34: ...loses the password the Master Password needs to be used Enter the 4 digit password 0 9 using the remote control The V Chip Menu will appear Press to move to Changing PIN then press OK The Changing PIN...

Page 35: ...ontent strong language and more intense violence TV PG Parental guidance suggested The program may contain infrequent coarse language limited violence some suggestive sexual dialog and situations TV G...

Page 36: ...ing limit then press OK The lock symbol will be marked and the rating will be set Pressing OK will display the Unlock symbols and limit the view Press EXIT to exit the menu 5 6 7 Canadian French Ratin...

Page 37: ...The Analog Mode Menu will appear Press to move to CC1 TEXT4 then press OK Analog Caption may be selected Selecting Off will cancel the Captions Press EXIT to exit the menu 1 2 3 4 5 Useful Tips I If...

Page 38: ...ton on the remote control The availability of captions depends on the particular program being broadcast Digital Font Options Press MENU The menu will appear Press to move to Caption then press OK The...

Page 39: ...instructions when connecting a PC graphics and sound cards Do not connect the power unless all connections have been completed Severe damage can be caused if the power is on while devices are being c...

Page 40: ...you have pressed the correct key for the correct option Avoid positioning bright lights near the TV that shine a strong light on the TV remote sensor I cannot change channels with the remote control P...

Page 41: ...ress the power button on the TV If you pull the plug on the TV the settings will be deleted Problems Solve Screen The channels are not functioning Connect the antenna connectors again Set to memorize...

Page 42: ...75 ohm unbalanced 15W 15W 2 Way 4 Speaker Internal Type AC 110 240V 50 60Hz Max 190W 3W 70 6 lbs 37 1 x 28 5 x 5 Remote Control 2 AAA Batteries Operating Instructions Power Cord Size Display Size Pix...

Page 43: ...nbalanced 15W 15W 2 Way 4 Speaker Internal Type AC 110 240V 50 60Hz Max 210W 3W 83 8 lbs 43 x 31 9 x 5 5 Remote Control 2 AAA Batteries Operating Instructions Power Cord Size Display Size Pixel Pitch...

Page 44: ...P N 941262P1CB01...

Reviews: