1 - 28 Video Features
Quick Start Guide
1
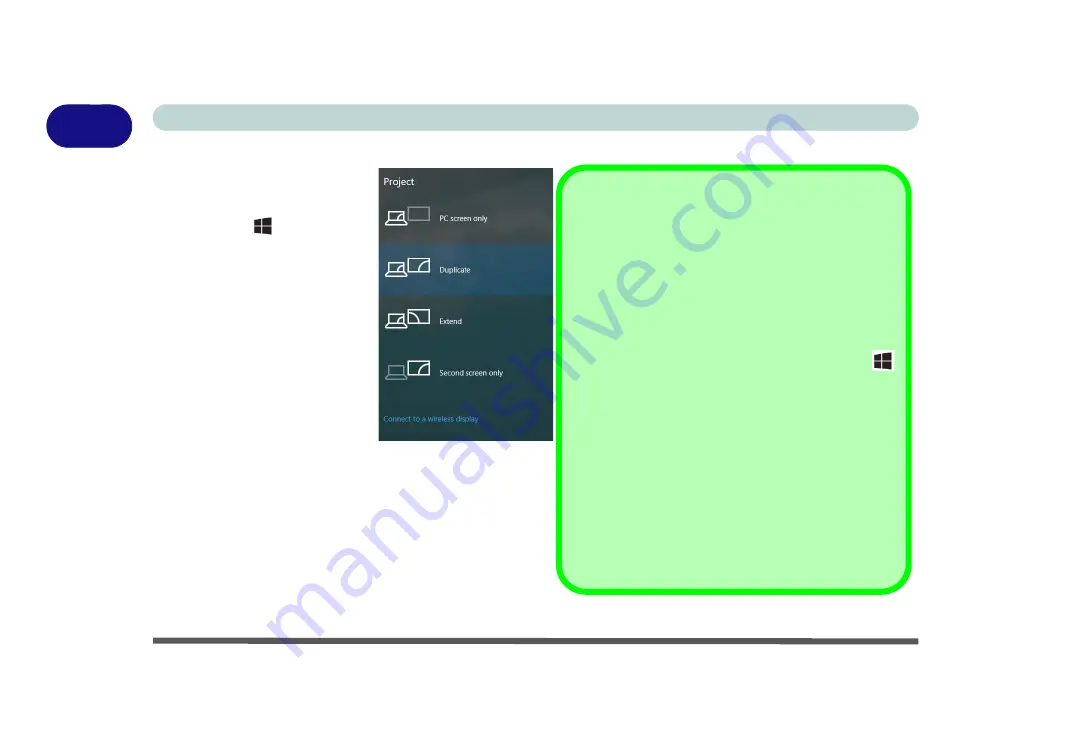
To Configure Displays using Project
Figure 1 - 19
- Project (Devices)
1.
Attach your display to the
appropriate port, and turn it
on.
2.
Press the
+ P
(or
Fn +
F7
) key combination.
3.
Click on any one of the
options from the menu to
select
PC screen only
,
Duplicate
,
Extend
or
Second screen only
.
4.
You can also click
Connect
to a wireless display
at the
bottom of the
Project
screen
and follow the steps to
connect to any wireless
enabled display.
Intel or NVIDIA Video Driver Controls
More detailed video controls are provided by the
Intel/
NVIDIA Control Panel
(for more detailed information
see
).You can also access the control
panel by right-clicking the desktop and selecting
In-
tel(R
)
Graphics Properties/NVIDIA Control Panel.
All external and internal displays can be configured
from
Windows
by using
System > Display
control
panel in
Settings
(in
Settings -
page
+ P
(or
Fn + F7 -
page
) key combination. It is rec-
ommended that you use the
Windows
controls to con-
figure multiple displays. in addition you can use any of
the following to configure external displays attached to
a particular port.
To configure an external display connected to
Mini
Display Port 1.3
use the
NVIDIA Control Panel (see
“NVIDIA Control Panel” on page C - 14
To configure an external display connected to
the
HDMI Port
use the
Intel Control Panel (see
HD Graphics Control Panel” on page C - 28
).
Summary of Contents for NB55TK1
Page 1: ...V18 1 00 ...
Page 2: ......
Page 20: ...XVIII Preface ...
Page 34: ...XXXII Preface ...
Page 142: ...BIOS Utilities 5 20 5 ...
Page 202: ...Modules 6 60 6 ...
Page 218: ...Troubleshooting 7 16 7 ...


