RADIUS SL PLUS 03.2019 en
28
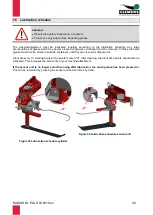
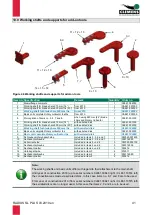
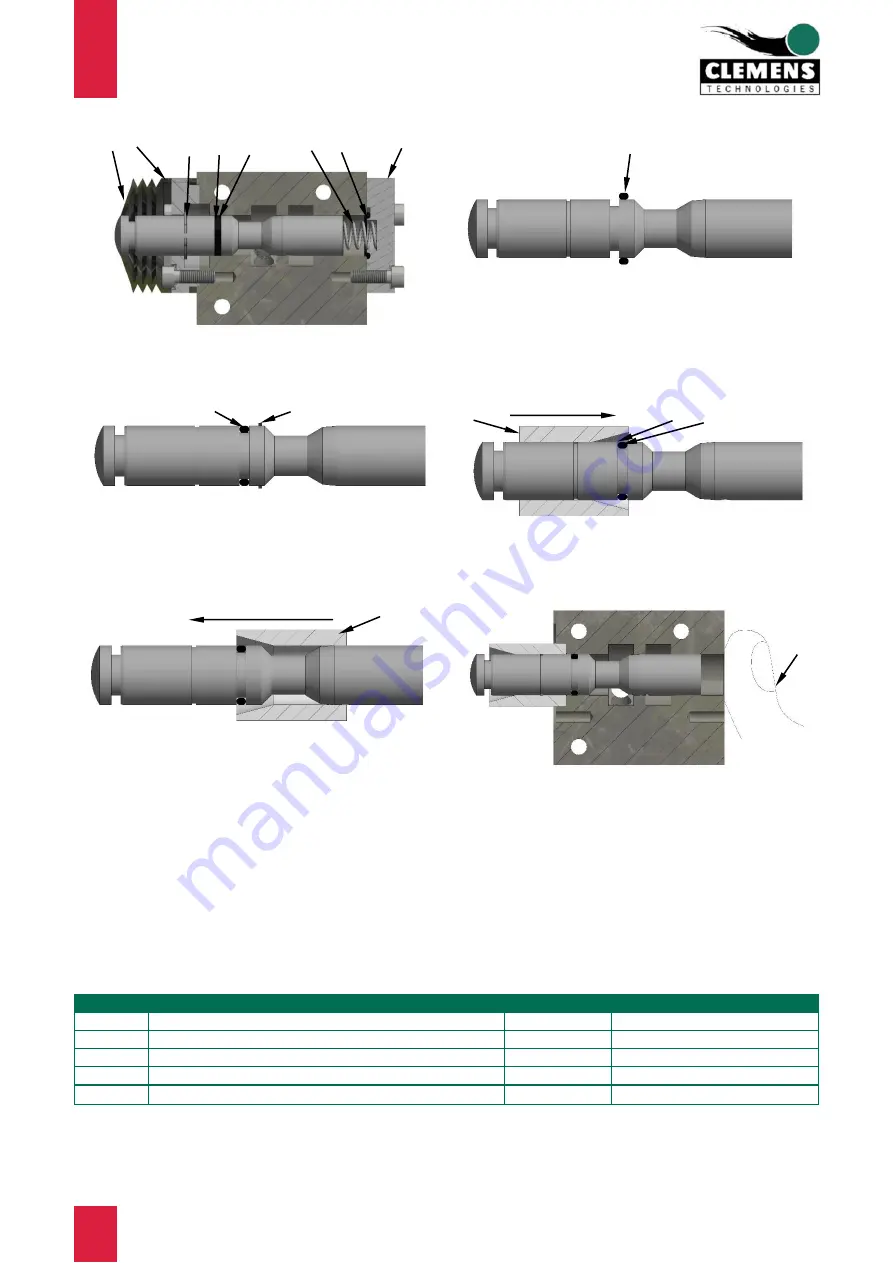
7.5.1 Replacement of control valve seal
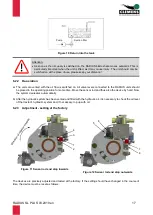
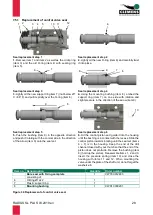
Seal replacement step 1
Seal replacement step 2
1.
Remove item 1 and item 2 as well as the circlip ring
(item 3) and the old O-ring (item 4) with sealing ring
(item 5).
2.
Lightly oil the new O-ring (item 6) and carefully twist
it into place.
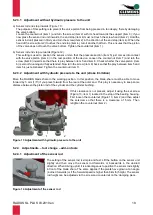
Seal replacement step 3
Seal replacement step 4
3.
Lightly oil the new support ring item 7) (not below 20°
C / 68° F) and pull it spirally over the O-ring (item 6).
4.
Using the mounting bushing (item 8), embed the
support ring (item 7) on one side with rotation and
slight pressure in the direction of the arrow (item 9).
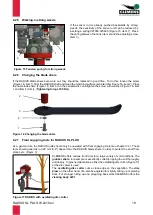
Seal replacement step 5
Seal replacement step 6
5.
Push the bushing (item 8) in the opposite direction
and push it rotating with the conical side in the direction
of the arrow (item 9) onto the seal set.
6.
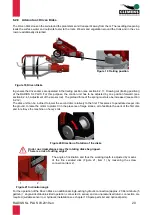
Oil the control piston and guide it into the housing
until the bushing is in contact with the recess. Slide the
control piston inwards rotating until the seal set (items
6 + 7) is in the housing. Keep the end of the drill
channel closed with your thumb so that the end of the
piston does not protrude. Remove the bushing (item
8) (hold up the piston). Reassemble items 1, 2 and 3.
Insert the pressure spring (item 10) and close the
housing with items 11 and 12. When mounting the
valve under the plate of the shaft unit, do not forget the
washers ø6.
Item no. Denomination
Quantity
Order number
Bore seal with O-ring complete
1
CW780.012600
consisting of:
6
O-Ring Ø12x2
1
7
Plastic support ring
1
8
Mounting bushing
1
CW010.000201
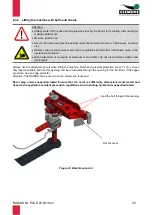
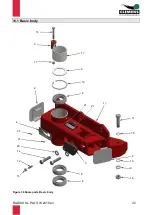
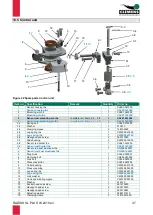
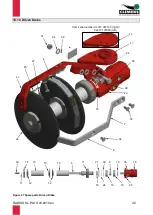
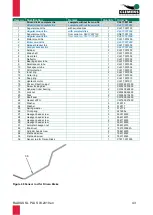
Figure 34 Replacement of control valve seal
1 2
3
4
6
7
8
9
9
10
12
11
6
5
7
6
8
13


