Menus and Functions
48
P2398PM |
2019-12
Apex Tool Group
3
EN
To save torque graphs:
1. Connect the USB stick with the tool via the Micro B USB cable.
2. Navigate to
Save torque graphs
:
>
>
3.
must be pressed to start the saving process.
→
The progress bar and status bar indicate when the archive is saved.
→
A folder is created that contains a
.csv
and a
.svg
file. The name of the folder shows the date and
time when the export was performed:
graphic_year_month_day_hour_minute_second
.
csv file
In the .
csv
file, the angle, time, torque and speed are entered for each data point.
The name of the .csv file contains the date and time when the result was recorded. The ID in the file name
corresponds to the
GraphicID
column from the table of the archive, see 3.11.2 Saving an archive, page 45.
In this way, each graphic can be assigned to a measurement result from the archive:
graphic_ID_year_month_day_hour_minute_second.csv
.
The .
csv
file contains a table with the following columns:
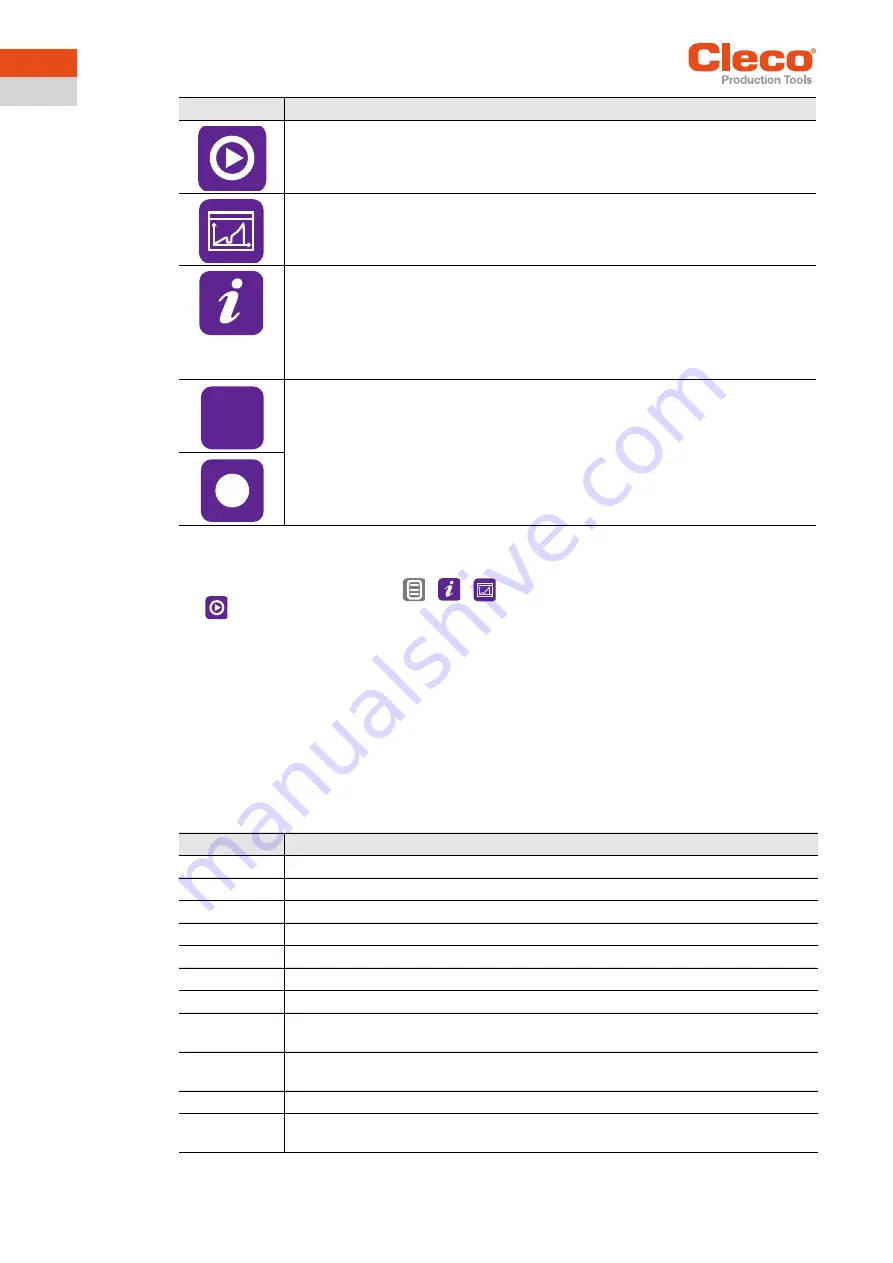
Button
Description
Start the saving process.
Display of the saving progress.
The status bar indicates what percentage of the torque graphs are already saved.
Display of the status of the saved torque graphs.
After saving, the status bar is red or green:
•
Green: The saving process has been successfully completed. There is an "OK" in
the status line.
•
Displays how the decimal place of the torque is indicated.
Designation
Description
Type
Tool type with which the tightening was done
Serial
Serial number of the tool
Date
Date of export: Day.Month.Year
Time
Time of export: Hour:Minute:Second
Application
Number of the FastApp
GraphicID
Number of the graphic entry. The number is identical to the
GraphicID
for the archive.
Size
Number of graphic points
Torque low
[Nm]
Minimum Torque
Torque high
[Nm]
Maximum Torque
Torque [Nm]
Shut-Off Torque
Angle low
[deg]
Minimum Angle
,
Summary of Contents for CellCore CCBA
Page 65: ......


