17
CLEARSPAN
™
GREENHOUSES
Revision date: 07.29.14
INSTALL THE END WALL FRAME (continued)
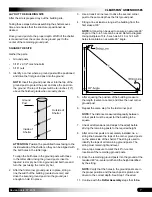
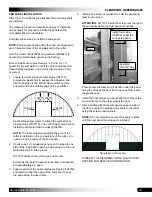
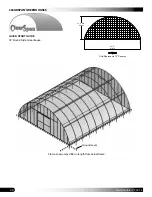
22. Use the end frame diagram to determine the number of
remaining vertical end frame supports and place one
band clamp on the end rafter for each of the remaining
vertical supports. Use the diagram for the location of
these clamps.
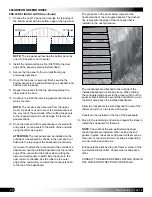
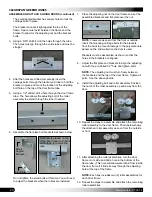
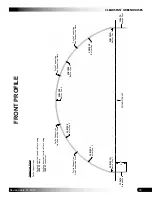
23. Using the end frame diagrams (Quick Start section),
measure and mark (on the base tube) the locations of
the remaining vertical end wall supports.
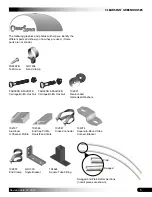
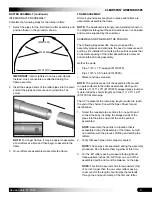
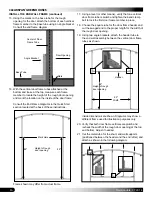
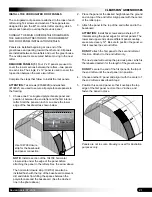
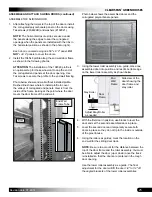
24. Choose the parts for each remaining vertical support
for the end wall framing. Each vertical support consists
of the following parts:
25. Use the steps presented earlier in these instructions
and the end frame diagrams to measure and cut each
section of square tubing for the remaining vertical
frame members.
ATTENTION:
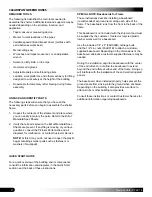
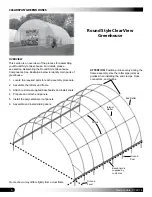
Remember to subtract the amount
needed to account for the square-to-round tube
connect bracket that will be attached to the top of each
remaining frame member.
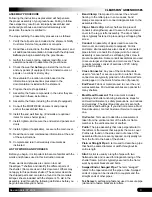
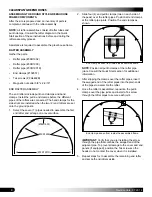
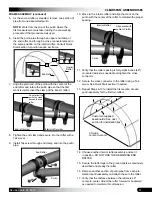
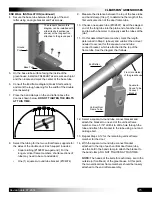
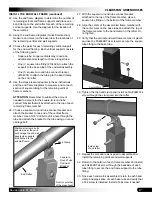
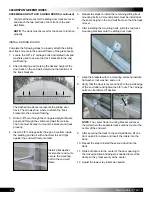
26. Choose a square-to-round tube connect bracket and
attach the bracket to one end of the vertical frame
member. Use a 5/16" drill bit to drill a hole through the
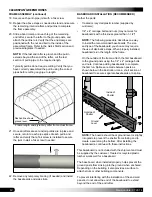
tube and attach the bracket to the tube using a nut and
carriage bolt.
• Square tube: Longer verticals may require an
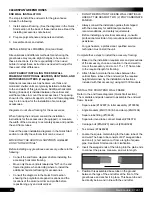
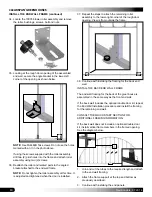
additional shorter length cut from a longer tube.
• One (1) square tube fitting (#104624) to attach the
support to the base tube of the end wall assembly.
• One (1) square-to-round tube connect bracket
(#104074) to attach the tubing to the band clamp
on the end rafter.
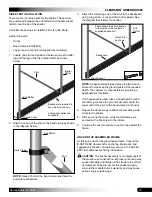
Front (or outside)
of the greenhouse
Square-to-
Round Tube
Connect
Bracket
Band Clamp
Position all screws, bolts
and clamps so they will
not damage the end wall
panels when panels
are attached to the
end wall frame.
End Rafter
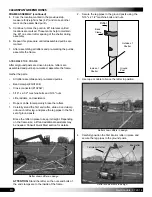
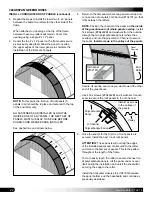
27. With the square-to-round tube connect bracket
attached to the top of the frame member, place a
square tube fitting on the bottom of the frame member.
28. Align the center of the assembled frame member with
the center mark on the base tube and attach the top of
the frame member to the band clamp on the rafter.
Do
not tighten
.
29. Verify that the vertical end wall frame member is plumb
and use the FA4482B Tek screws to secure the square
tube fitting to the base tube.
Center Mark
30. Tighten the top band clamp and
install an FA4482B Tek
screw through the clamp and into the rafter.
31. Repeat the procedure as needed to assemble and
install the remaining vertical end wall supports.
32. Return to the bottom of each frame member and install
an FA4482B Tek screw through the backside of each
tube fitting to secure the end frame support to the tube
fitting.
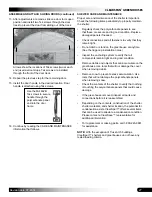
33. Once each end wall is assembled, return to each band
clamp and pipe splice of each base tube and verify that
a Tek screw is installed. Install a Tek screw if needed.
Inside view
of end rafter

