


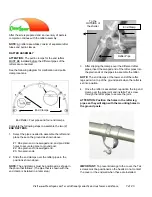

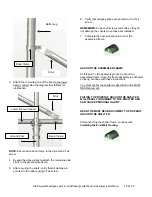

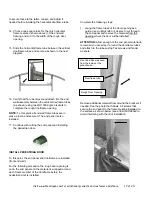

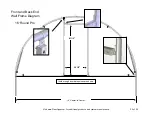

The cross connector (above) and the end clamp (below)
will sit on top of the ground post as shown below.
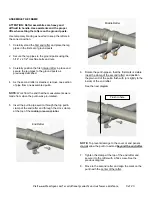
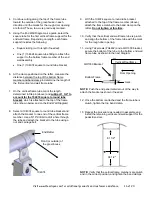
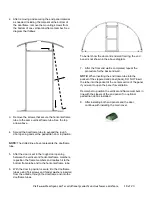
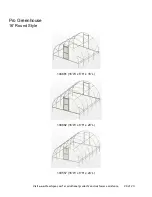
19. Once all rafters are set and all purlins and lower
frame conduits are in place and secured, return to
each pipe splice of each pipe assembly and insert a
Tek screw through the pipes to secure the joints.
NOTE:
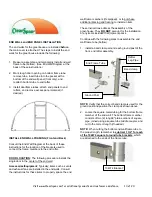
Some greenhouses have only a single purlin.
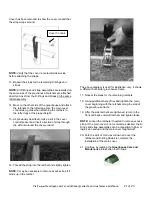
20. Remove any temporary bracing (if needed) and
attach the side struts to the assembled frame.
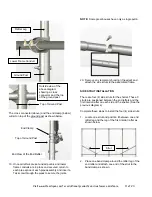
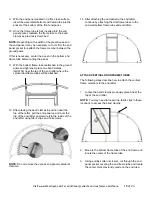
SIDE STRUT INSTALLATION
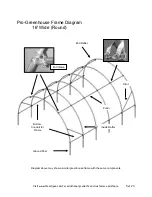
There are four (4) side struts for the shelter. These 5'
struts are positioned between the end rafters and the
first interior rafter on each side of the shelter. (See the
previous diagrams.)
Complete these steps to install the four (4) side struts:
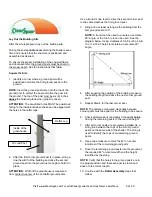
1. Locate one strut and position it between one end
rafter leg and the leg of the first interior rafter as
shown below.
2. Place one band clamp around the rafter leg of the
end rafter and attach one end of the strut to the
band clamp as shown.
Ground Post
Lower Frame Conduit
Rafter Leg
End View of the End Rafter
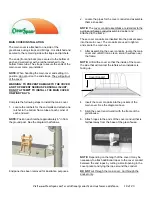
Top of Ground Post
End Clamp
Outside view of the
above diagram
showing a cross
connector and the top
of the ground post.
Top of Ground Post
Strut
Visit www.ClearSpan.com for additional products and customer assistance.
11 of 24


